 Save
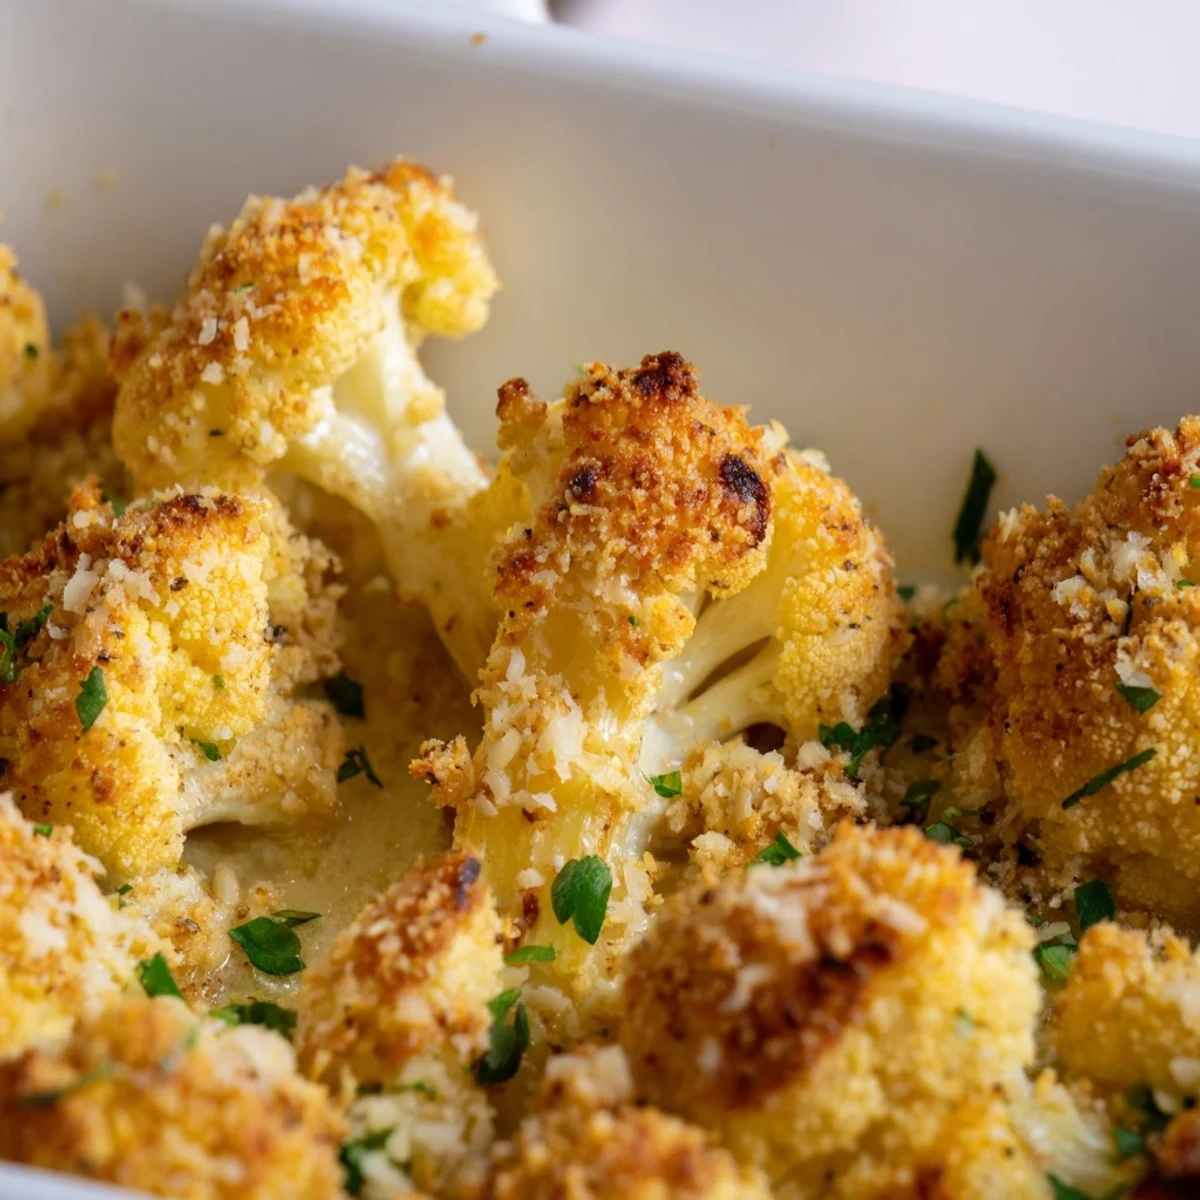
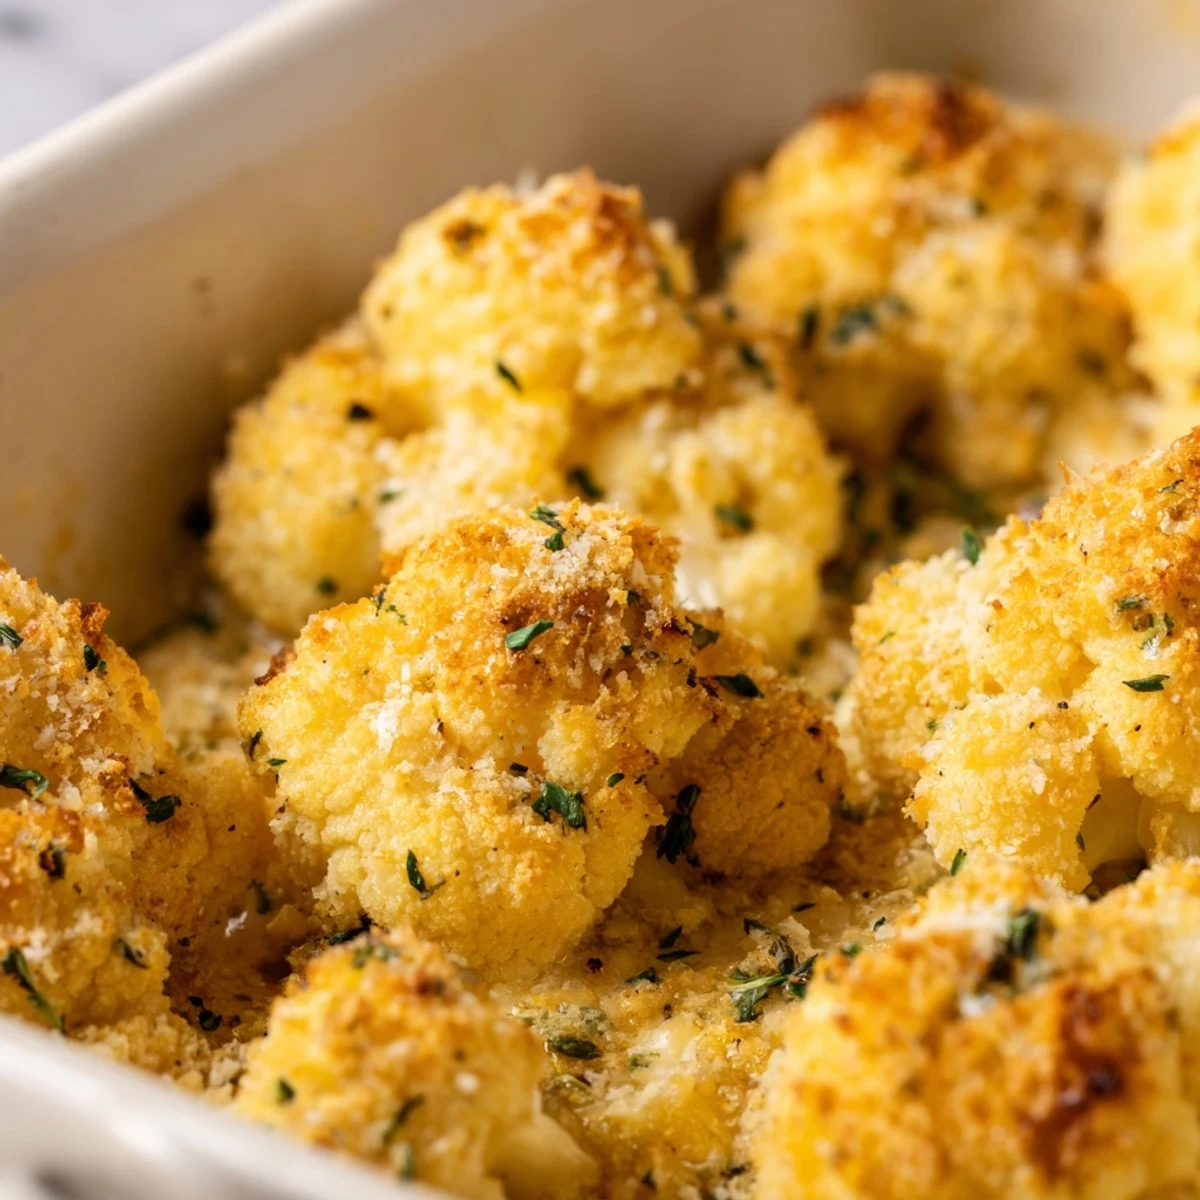
Save This creamy baked cauliflower features tender florets coated in a rich cheese sauce infused with garlic, parsley, chives, and thyme. A golden breadcrumb and Parmesan crust bakes until bubbling and crispy. Ready in 50 minutes, it serves four as a versatile side or vegetarian main.
The evening my neighbors first brought over their homemade cauliflower bake during a winter storm, I knew I needed the recipe. Steam rose from the dish as they uncovered it, filling my kitchen with the aroma of herbs and melted cheese. Something about that golden crust and creamy interior spoke directly to my soul on that cold night. I've tweaked it over the years, gradually perfecting the herb blend until it became this version.
Last autumn, I served this at a small dinner party when two friends announced their engagement. We were all gathered around my old oak table, candles flickering, wine flowing, when I brought out the bubbling dish straight from the oven. As everyone took their first bites, conversation paused momentarily, replaced by appreciative murmurs. In that comfortable silence, with the scent of herbs and cheese hanging in the air, our friends chose to share their news.
Ingredients
- Cauliflower: Look for compact heads with tight, creamy-white florets and no brown spots, as I learned fresh cauliflower creates a much better texture in the final dish.
- Cheese Blend: The combination of sharp cheddar and nutty Parmesan creates layers of flavor you just cant achieve with a single cheese, something I discovered after years of experimentation.
- Fresh Herbs: Dont substitute dried herbs if possible, as the brightness of fresh parsley, thyme and chives transforms this from ordinary to memorable.
- Whole Milk: The fat content creates a silkier sauce that clings to every crevice of the cauliflower, something I learned after a disastrous attempt with skim milk years ago.
Instructions
- Prep Your Base:
- Preheat your oven to 400°F and grease your baking dish with a light coating of olive oil, making sure to get the corners. The oil will help create those delicious caramelized edges we're after.
- Blanch With Care:
- When boiling your cauliflower, aim for that perfect point where it's just tender when pierced with a fork but still has some bite. Remember youll be baking it further, so slightly undercooking it now prevents mushiness later.
- Create Your Cheesy Magic:
- As you melt the butter and saute the garlic, that wonderful aroma filling your kitchen signals youre on the right track. Watch carefully as you add the milk, keeping it just below a simmer to prevent separation.
- Build Your Flavor Base:
- When incorporating the cheeses and herbs into your sauce, stir continuously in a figure-eight motion to ensure everything melts evenly. Youll know its ready when the sauce coats the back of a spoon smoothly.
- Marry The Elements:
- Pour your cheese sauce over the cauliflower like youre watering a precious plant, making sure every floret gets its fair share of goodness. Gently toss to ensure even coating without breaking up the florets too much.
- Create The Crown:
- The breadcrumb and Parmesan topping is your dishes crowning glory. Sprinkle it evenly using your fingers from about 6 inches above the dish to get that perfect distribution.
- Bake To Golden Perfection:
- As it bakes, the kitchen will fill with an aroma that draws people in from other rooms. Look for bubbling around the edges and that irresistible golden-brown top to know its ready.
 Save
Save On my birthday last year, instead of cake, my daughter surprised me by making this cauliflower bake, having secretly copied my recipe card. It wasnt as pretty as mine, with slightly burned edges and uneven browning, but the flavor was spot-on. Watching her pride as she served it to our family, I realized this dish had quietly become part of our family food language, passed down without my even noticing.
Make Ahead Magic
One December when holiday cooking overwhelmed me, I discovered this dish can be assembled completely the day before and refrigerated. Just bring it to room temperature for 30 minutes before baking and add an extra 5-7 minutes to the baking time. The flavor actually deepens overnight as the herbs infuse the sauce, making this my go-to strategy for dinner parties now.
Cheese Considerations
Ive found that grating your own cheese rather than using pre-shredded makes a remarkable difference in how smoothly the sauce comes together. The anti-caking agents in packaged shredded cheese can make the texture slightly grainy, while freshly grated melts into silk. When I splurge on a good aged cheddar, the flavor becomes noticeably more complex with nutty, almost caramel notes.
Serving Suggestions
While traditional as a side dish, Ive turned this into a complete vegetarian meal by adding roasted chickpeas for protein and serving it with a peppery arugula salad dressed simply with lemon and olive oil. The contrast between the hot, creamy cauliflower and the cool, bright salad creates a perfectly balanced plate.
- For an elegant dinner party, serve alongside herb-roasted chicken or a simple grilled steak.
- Pack leftovers for lunch with a slice of crusty bread for a comforting midday meal that reheats beautifully.
- Try adding a layer of sautéed mushrooms before the cheese sauce for an earthier, more substantial variation.
 Save
Save Every time I pull this golden, bubbling dish from the oven, Im reminded that comfort food doesnt have to be complicated to be extraordinary. Its become one of those reliable recipes that feels like an old friend, always ready to make any meal feel like a special occasion.
Recipe Questions & Answers
- → Can I prepare this dish ahead of time?
-
Yes, assemble the dish through step 6 and refrigerate, covered, for up to 24 hours. Bake directly from cold, adding 5-10 extra minutes to cooking time.
- → What cheese alternatives work well?
-
Gruyère adds a nutty depth, while mozzarella creates a stretchy texture. Fontina offers a mild, creamy flavor. Mix and match for your preferred taste.
- → How do I keep the top crispy?
-
Finish with a 2-3 minute broil after baking. Keep a close eye to prevent burning. The residual heat will continue crisping as it cools slightly.
- → Is this naturally gluten-free?
-
The base is naturally gluten-free. Simply use certified gluten-free breadcrumbs for the topping and verify all cheese and butter labels.
- → What's the best way to reheat leftovers?
-
Reheat covered in a 350°F oven for 15-20 minutes until warmed through. Cover loosely with foil to prevent excessive browning of the top.
- → Can I add vegetables to this dish?
-
Absolutely. Mix in sautéed mushrooms, broccoli, or leeks before baking. Adjust cooking time if using raw vegetables—precook slightly first.
