 Save
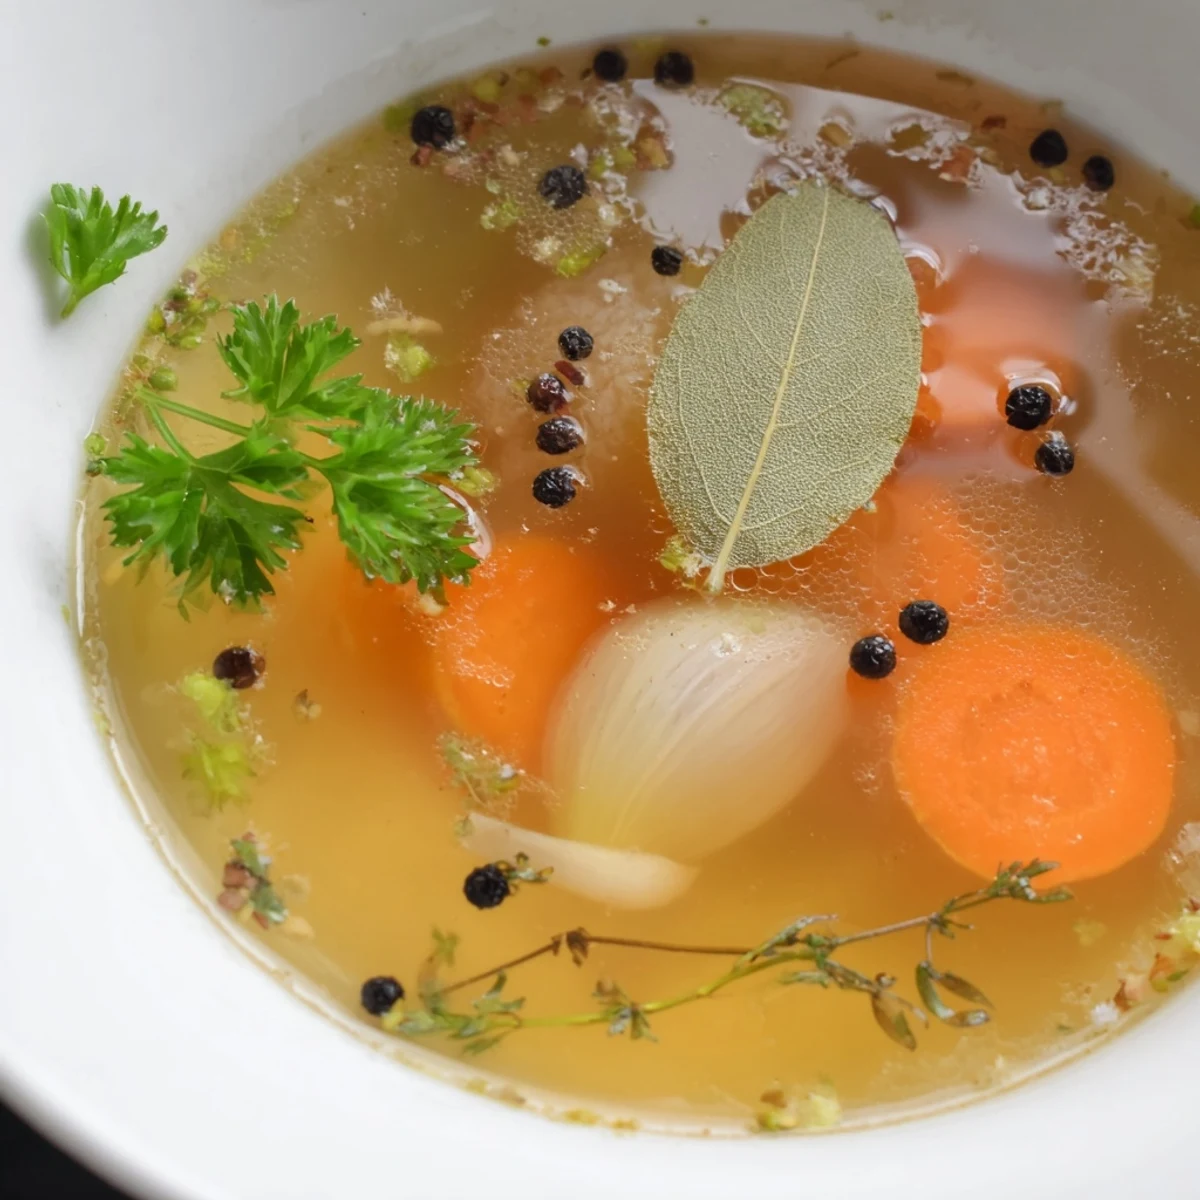
Save This flavorful broth uses assorted vegetable scraps combined with fresh herbs like parsley and thyme. Simmered gently for one hour, it develops a rich taste perfect for enhancing soups, risottos, or sauces. Optional ingredients like potato add body, while seasonings such as garlic, peppercorns, and a splash of vinegar brighten the flavor. This easy method maximizes kitchen scraps, producing a nutritious, low-fat, vegan base.
There's something almost magical about the moment you realize your kitchen scraps are treasure. One quiet Tuesday afternoon, while prepping vegetables for dinner, I stood with a pile of onion skins, carrot ends, and celery leaves—things I'd normally toss—and thought, why not? An hour later, my kitchen smelled like a French bistro, and I had two liters of the most golden, fragrant broth that somehow tasted better than anything I could have bought. Now I save every vegetable scrap like I'm collecting something precious.
I made this broth for my roommate when she was recovering from a cold, and she texted me a week later to say she'd been sipping it in small cups like medicine—but honestly, it tasted nothing like medicine. It tasted like someone cared enough to make her something from scratch, even if it started as scraps. She asked me to teach her how to make it, and now we joke that we're running a scrap-recycling operation out of our kitchen.
Ingredients
- Vegetable scraps (4 cups): Onion peels, carrot ends, celery leaves, leek greens, mushroom stems, and parsley stems are your foundation—save these from prep work and keep them in a freezer bag, adding to them over a few days if needed.
- Optional potato (1 small, chopped): Adds body and a subtle sweetness that rounds out the broth without making it taste potato-forward.
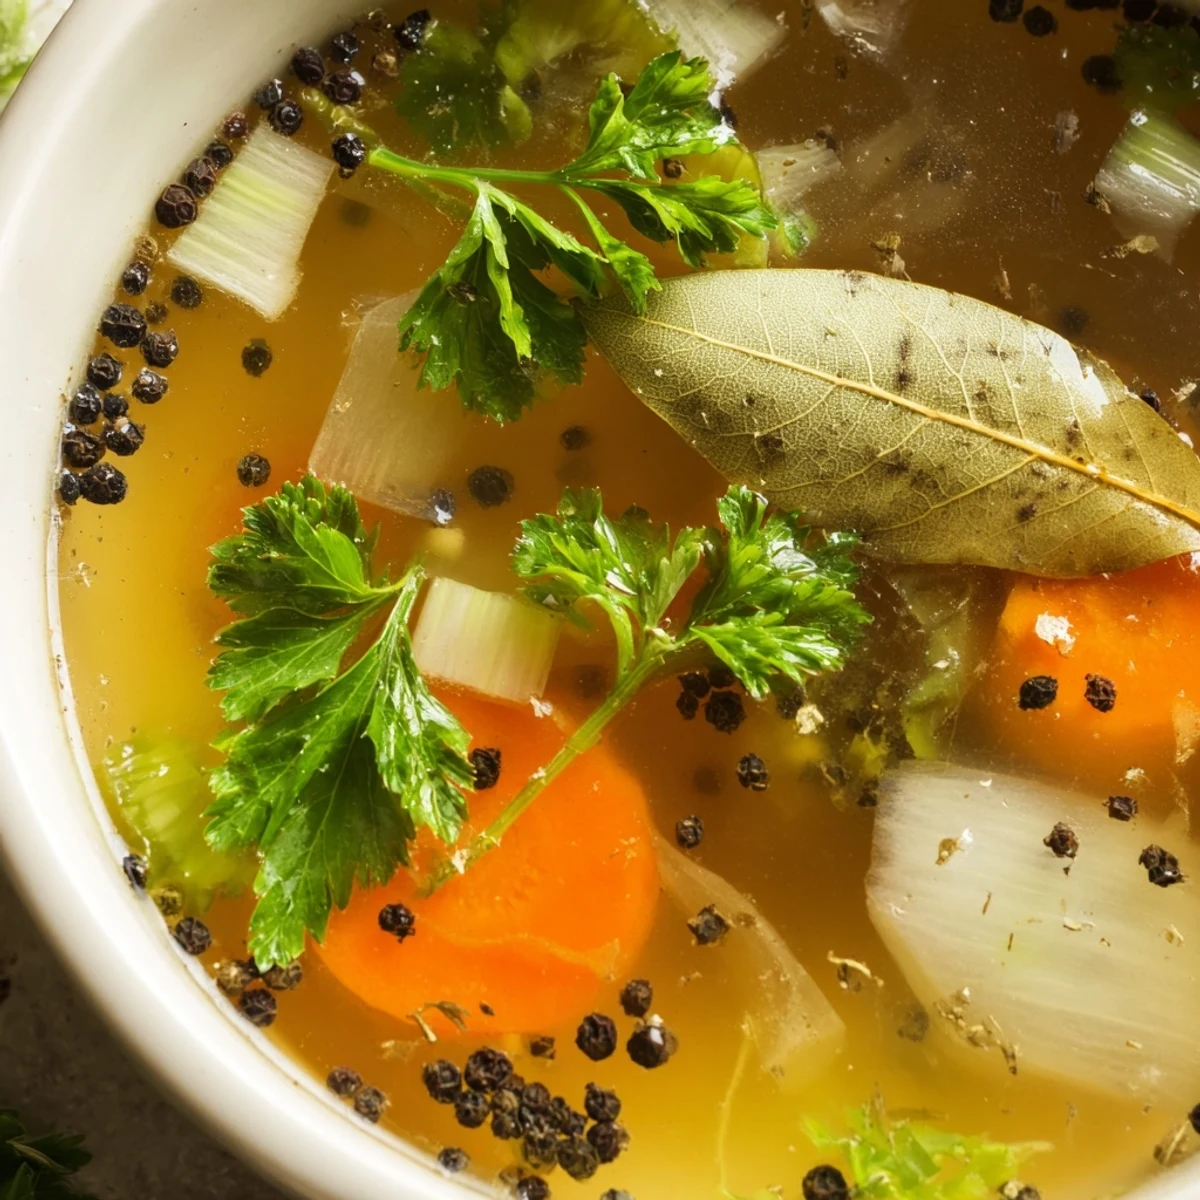
- Fresh vegetables (1 onion quartered, 2 carrots roughly chopped, 2 celery stalks chopped): These fill in if your scraps aren't quite enough and ensure you have a solid vegetable base.
- Bay leaves (2): These quiet background herbs give the broth a calm, balanced depth that's hard to pinpoint but impossible to live without.
- Fresh parsley (5 sprigs): Use the stems if you've got them—that's where the real flavor hides—and save the leaves for something fresh.
- Fresh thyme (3 sprigs) or dried thyme (1 tsp): Thyme brings an earthy note that ties everything together.
- Black peppercorns (1 tsp whole): Whole peppercorns give a gentler heat than ground pepper and taste cleaner in long-cooked broths.
- Garlic (2 cloves, smashed): Smash them gently with the flat of your knife—they'll flavor the broth evenly without breaking apart into bits.
- Salt (1 tsp, adjust to taste): Start conservatively; you can always add more, but you can't take it out.
- Apple cider vinegar or lemon juice (1 tsp optional): A tiny splash brightens the entire broth and helps draw out flavors from the vegetables.
- Cold water (2.5 liters or 10 cups): Start cold so vegetables release their flavor gradually and evenly as everything heats together.
Instructions
- Gather and load:
- Toss all your vegetable scraps and fresh vegetables into a large stockpot—don't worry about them being pretty or perfectly cut; rough and honest is exactly what you want here. If you're adding that optional potato for body, chop it into chunks and throw it in too.
- Layer in the aromatics:
- Scatter your bay leaves, parsley sprigs, thyme, garlic cloves, and peppercorns over the vegetables, then sprinkle salt and add the vinegar if you're using it. This isn't about perfect arrangement; you're creating flavor, not a salad.
- Cover with cold water:
- Pour in the cold water and give everything a gentle stir, making sure nothing is poking above the liquid line. Cold water matters because it lets the vegetables release their essence slowly and sweetly.
- Bring to life:
- Turn the heat to high and watch as the water gradually warms and begins to steam—you're looking for a rolling boil, which should take about 10 minutes. Once it boils, immediately turn the heat down to low so everything simmers gently; a violent boil will turn your broth cloudy.
- Skim and simmer:
- In the first 10 minutes, you'll see foam rising to the surface—this is fine proteins and impurities, and skimming them off with a spoon makes your final broth clearer and more refined. After that, let it simmer uncovered and undisturbed for a full hour, though stirring it once or twice won't hurt anything.
- Cool and strain:
- When the hour is up, remove the pot from heat and let it cool just enough to handle safely—you want it still warm, as warm broth strains better than cold. Pour everything through a fine-mesh sieve into a large bowl, letting the liquid drain naturally while solids stay behind; if you want crystal-clear broth, line the sieve with cheesecloth and let it drip slowly.
- Taste and adjust:
- Once strained, taste your broth while it's still warm—you might find it needs a pinch more salt or a squeeze of lemon to sing. Trust your palate; this is your broth to own.
- Store or serve:
- Use it immediately in a soup or recipe, or cool it completely and refrigerate for up to 5 days in a covered container, or freeze for up to 3 months in ice cube trays or freezer bags for easy portions.
 Save
Save My favorite moment with this broth happened on a Saturday morning when my neighbor smelled it simmering through the shared wall and knocked on my door asking what restaurant I was running. I let her in, gave her a mug of it plain and hot, and watched her face light up as she realized it came from scraps. We stood in my kitchen for twenty minutes talking about nothing and everything, and that simple broth turned into one of those ordinary afternoons that somehow stays with you.
Why Save Your Scraps
Saving vegetable scraps isn't just economical—it's a shift in how you think about cooking and waste. Once you taste homemade broth, store-bought versions feel thin and one-dimensional by comparison. The flavors that build over an hour of gentle simmering can't be rushed or faked, and somehow that patience makes you appreciate every bowl of soup more. I keep a freezer bag labeled just "Broth Scraps" on a shelf, and filling it has become as satisfying as using it.
Building Flavor From Nothing
This recipe teaches you something fundamental about cooking: that depth and richness don't require expensive ingredients, just time and attention. The herbs, salt, and vinegar are your tools for coaxing flavor out of vegetables that were headed for the trash. I've learned that the best cooking often happens when you're making something from what you have rather than hunting for what you don't, and this broth is proof of that philosophy. Every vegetable brings something different—sweet from carrots, mineral notes from celery, umami hints from mushrooms—and together they create something that tastes like it took all day, even though it took less than an hour and almost zero cost.
Using Your Broth Wisely
Once you have this golden liquid in your kitchen, it becomes the secret foundation for everything you make—soups become richer, risottos become more luxurious, and even simple grains absorb more flavor when they're cooked in broth instead of water. Some mornings I warm a mug of it straight, just for the comfort and the knowledge that I made something this good from scraps. It's the kind of homemade ingredient that makes people ask what you did differently, and you can smile knowing it was actually doing less.
- Freeze it in ice cube trays so you can grab a cube or two for sauces, grains, or quick pan-braising without thawing a whole container.
- If you want a richer broth for something fancy, roast your scraps and vegetables at 400°F for 20 minutes before adding them to water—this creates deeper, caramelized flavors.
- Dried mushrooms stirred in during the last 15 minutes of simmering will push the umami flavors even higher and give you something closer to restaurant-quality broth.
 Save
Save Making broth from scraps changed how I feel about my kitchen and cooking in general—less wasteful, more intentional, and somehow more connected to the food itself. This isn't fancy cooking, it's honest cooking, and it tastes like home.
Recipe Questions & Answers
- → What vegetable scraps work best for this broth?
-
Onion peels, carrot ends, celery leaves, leek greens, mushroom stems, parsley stems, and garlic skins provide an ideal flavor balance for the broth.
- → Can I add fresh vegetables if I don’t have enough scraps?
-
Yes, adding onions, carrots, and celery helps boost flavor and quantity when scraps are insufficient.
- → How do I enhance the broth's flavor?
-
Roasting scraps before simmering or adding dried mushrooms can deepen the broth’s umami and aroma.
- → How long should I simmer the broth?
-
Simmer gently for one hour, stirring occasionally, to extract maximum flavor without bitterness.
- → What is the best way to strain the broth?
-
Use a fine-mesh sieve or cheesecloth to remove solids, ensuring a clear, smooth liquid.
- → Can I store the broth for later use?
-
Yes, refrigerate up to five days or freeze for up to three months to preserve freshness.
