 Save
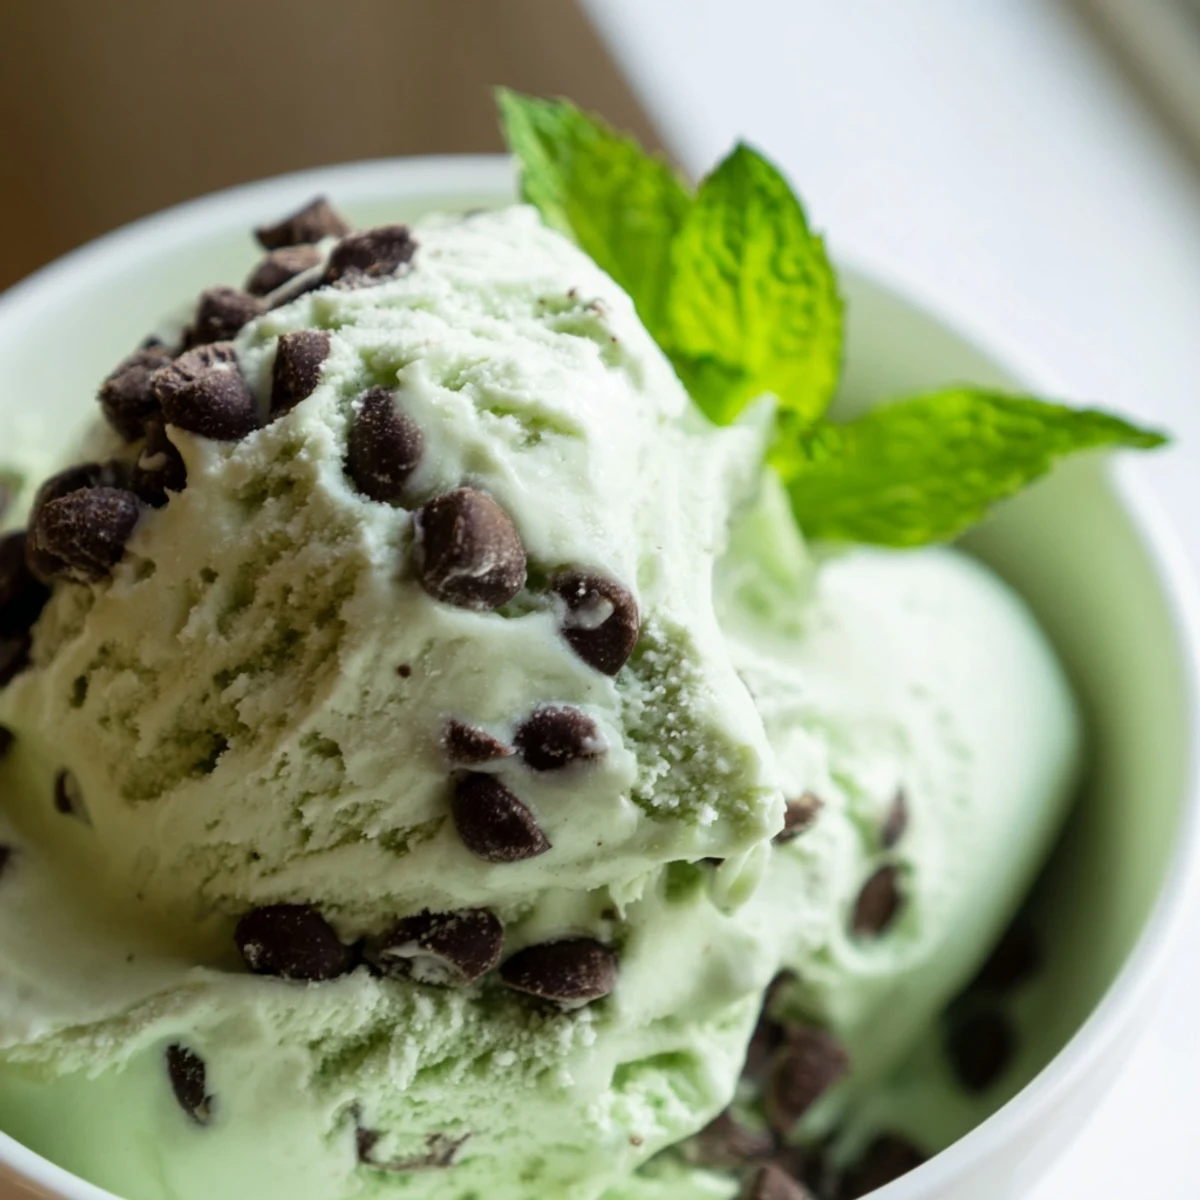
Save This creamy frozen delight blends cool peppermint and smooth vanilla into a rich custard base, enhanced with mini chocolate chips for texture and flavor. The custard is slowly cooked then chilled to develop a silky smoothness before churning to soften and incorporate air. Once the chocolate chips are folded in, it's frozen until firm, creating a refreshing and indulgent treat perfect for warm days or anytime a minty chill is desired.
There's something about making ice cream on a sweltering afternoon that feels like a small rebellion against the heat. I discovered peppermint ice cream by accident when my neighbor mentioned she'd been craving something cool and minty, and I realized I had all the ingredients sitting in my kitchen. What started as a casual experiment turned into the kind of dessert that makes people pause mid-conversation just to savor another spoonful.
I made this for a dinner party last summer when my friend Sarah showed up with a sudden craving for something cold. By the time we sat down for dessert, everyone had forgotten they were sweltering, and someone asked for the recipe before they'd even finished their bowl. That moment when people stop talking and just eat is when you know you've gotten something right.
Ingredients
- Heavy cream (2 cups) and whole milk (1 cup): This ratio is crucial—the heavy cream gives you that silky texture while the milk keeps it from feeling too dense and rich.
- Granulated sugar (3/4 cup): Measure carefully here; too much sugar prevents freezing properly, and too little leaves the ice cream grainy and hard.
- Egg yolks (4 large): They're what transforms this into a proper custard-based ice cream with that luxurious mouthfeel; don't skip the tempering step or you'll have scrambled eggs.
- Pure peppermint extract (1 1/2 teaspoons): Use pure extract, not imitation—the difference is the difference between crisp and medicinal.
- Pure vanilla extract (1 teaspoon): This deepens the peppermint flavor rather than competing with it, creating a more complex taste.
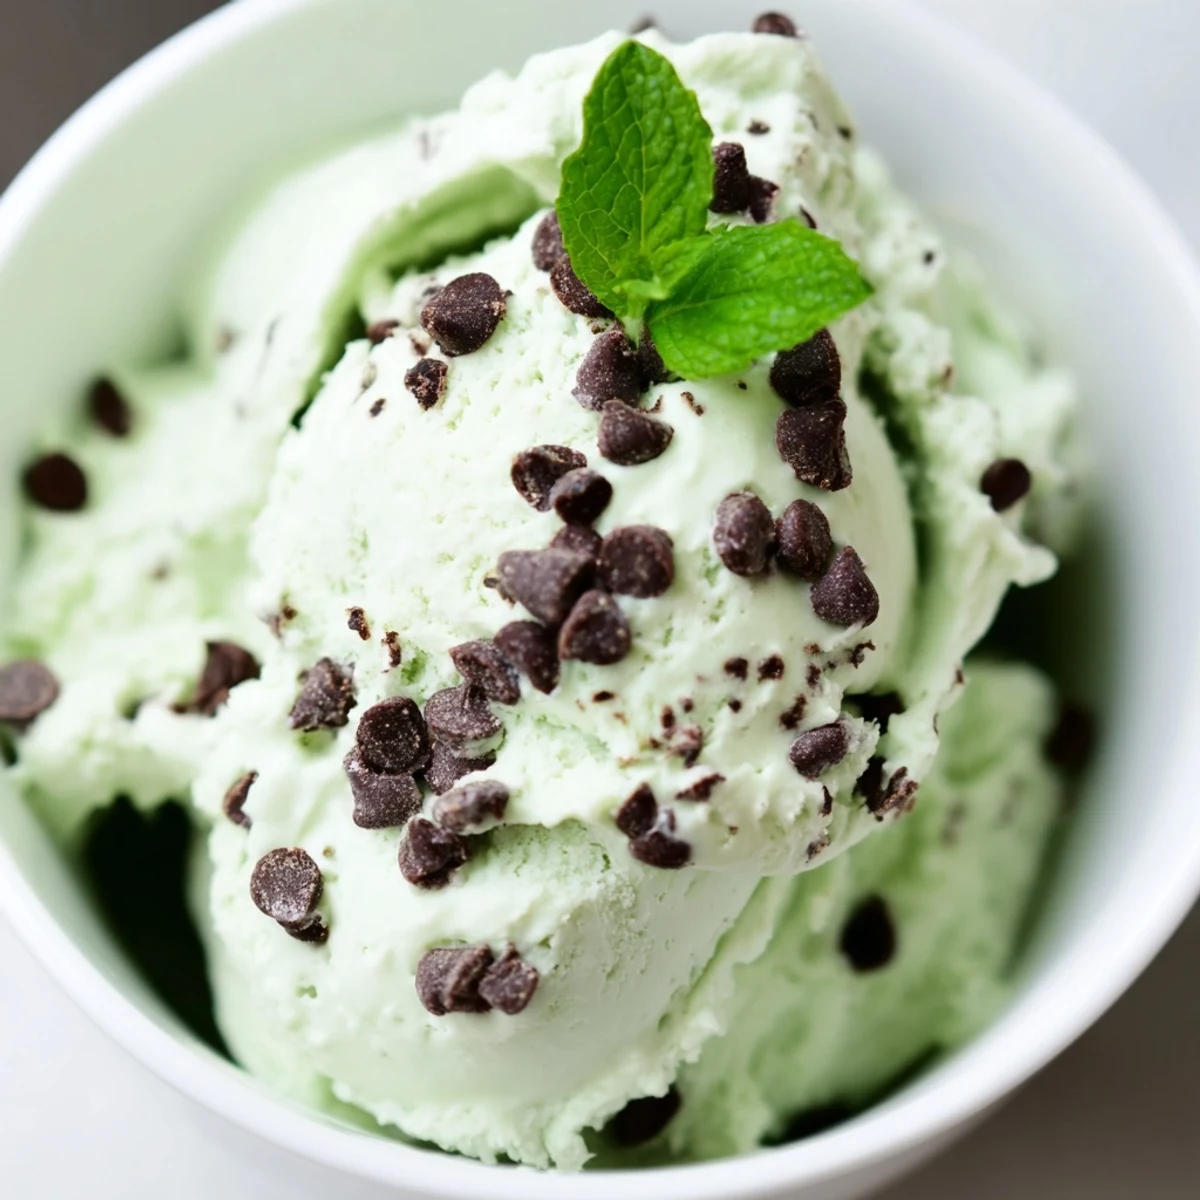
- Mini chocolate chips (3/4 cup): Mini chips distribute more evenly than large ones, and using good-quality chocolate actually matters—you taste every bite.
- Green food coloring (optional drops): Skip it if you prefer the natural cream color; the peppermint flavor stands on its own.
Instructions
- Heat your cream and milk:
- Pour the heavy cream and whole milk into a medium saucepan and warm it over medium heat until it's steaming—you'll see wisps of steam rising, but the surface shouldn't bubble. This should take about 5 minutes, and you're not looking for boiling, just a gentle heat that will cook your egg yolks safely.
- Whisk your yolks and sugar:
- In a separate bowl, whisk together the egg yolks and granulated sugar until the mixture is pale yellow and noticeably thicker, about 2 minutes of steady whisking. You're creating an emulsion that will help bind everything together smoothly.
- Temper the eggs:
- This step feels a bit fussy but it's what keeps you from scrambling the eggs—slowly pour about 1 cup of the hot cream mixture into the yolk bowl while whisking constantly. The whisking is the key; it heats the yolks gradually so they stay silky instead of turning into little bits of cooked egg.
- Combine and cook:
- Pour the warmed yolk mixture back into the saucepan with the remaining cream, then place it over low heat and stir constantly with a wooden spoon. Keep going until the mixture coats the back of the spoon in a thin layer and reaches about 170°F on a thermometer—this usually takes 10 to 15 minutes, and it's worth using the thermometer because guessing can lead to either undercooked custard or accidentally curdled eggs.
- Add flavor and color:
- Remove the saucepan from heat, then stir in the peppermint extract, vanilla extract, and a few drops of green food coloring if you want that classic mint appearance. The heat releases the flavors beautifully, and the color is entirely up to you.
- Strain and chill:
- Pour the custard through a fine-mesh sieve into a clean bowl to catch any bits of cooked egg or lumps, then let it cool to room temperature before covering and refrigerating for at least 3 hours. This chilling step is essential—a warm or even room-temperature custard will churn poorly and won't freeze smoothly.
- Churn:
- Follow your ice cream maker's instructions, which usually means pouring the cold custard into the machine and letting it spin for 20 to 30 minutes until it reaches a soft-serve consistency. When it's almost done, add the chocolate chips and let them mix in evenly.
- Freeze solid:
- Transfer the just-churned ice cream to a freezer-safe container and freeze for at least 2 to 3 hours until it's firm enough to scoop cleanly. The texture will deepen and set as it freezes, becoming creamier and more scoopable.
 Save
Save The moment I realized this ice cream had become special was when my partner scooped a bowl at 11 p.m. on a random Tuesday night and just smiled quietly while eating it straight from the container. That's when you know something you've made has crossed over from recipe to ritual.
Choosing Your Chocolate
The chocolate chips are where you can really elevate this recipe or let it slip into ordinary. I learned this the hard way after using whatever was on sale, only to taste a waxy flatness that undercut all my careful custard-making. Now I grab good dark chocolate—something around 60 to 70 percent cocoa—and either use quality chips or chop it myself into rough pieces. The chocolate should taste like chocolate, not like a vague memory of it.
Storing and Serving
Homemade ice cream melts faster than store-bought versions because it doesn't contain stabilizers and gums, so scoop it into bowls quickly and serve it immediately. If you're making this ahead for a party, let it sit on the counter for about 5 minutes before scooping so it's not too hard and shatters under your ice cream scoop. The texture is best within the first week of freezing, though it keeps perfectly well for up to a month in a sealed container if you press plastic wrap against the surface to prevent ice crystals from forming.
Variations and Tweaks
Once you understand how this recipe works, you can play with it endlessly. I've made it with crushed candy canes instead of chocolate chips, swirled in hot fudge before the final freeze, and even reduced the peppermint and added a whisper of coffee extract for something more complex. The base custard is forgiving as long as you respect the ratios and the tempering step.
- For a dairy-free version, swap coconut milk and coconut cream in equal volumes for the regular milk and cream.
- Add a pinch of sea salt to heighten the chocolate flavor and create contrast with the peppermint.
- Serve with fresh mint leaves, hot fudge, or whipped cream to add another layer of indulgence.
 Save
Save Making your own ice cream feels fancier than it is, and this peppermint version is the kind of recipe that makes you look like you've been in the kitchen all day when really you just understood the steps. Once you've made it once, you'll make it again.
Recipe Questions & Answers
- → How do I achieve a smooth and creamy texture?
-
Temper the egg yolks by gradually mixing them with warm cream, then cook gently until thickened without boiling. Chilling the custard thoroughly before churning ensures smoothness.
- → Can I substitute the dairy ingredients?
-
Yes, for a dairy-free version use coconut milk and coconut cream which provide richness while maintaining creamy consistency.
- → What is the best way to incorporate chocolate chips?
-
Add mini chocolate chips near the end of churning to evenly distribute without melting them, preserving their texture within the frozen dessert.
- → How can I adjust the mint flavor intensity?
-
Start by adding less peppermint extract and gradually increase according to your preference for a milder or stronger minty note.
- → Is food coloring necessary for the minty appearance?
-
Food coloring is optional and purely aesthetic; natural color is achieved through the ingredients but adding a few drops of green coloring gives the classic mint shade.
