 Save
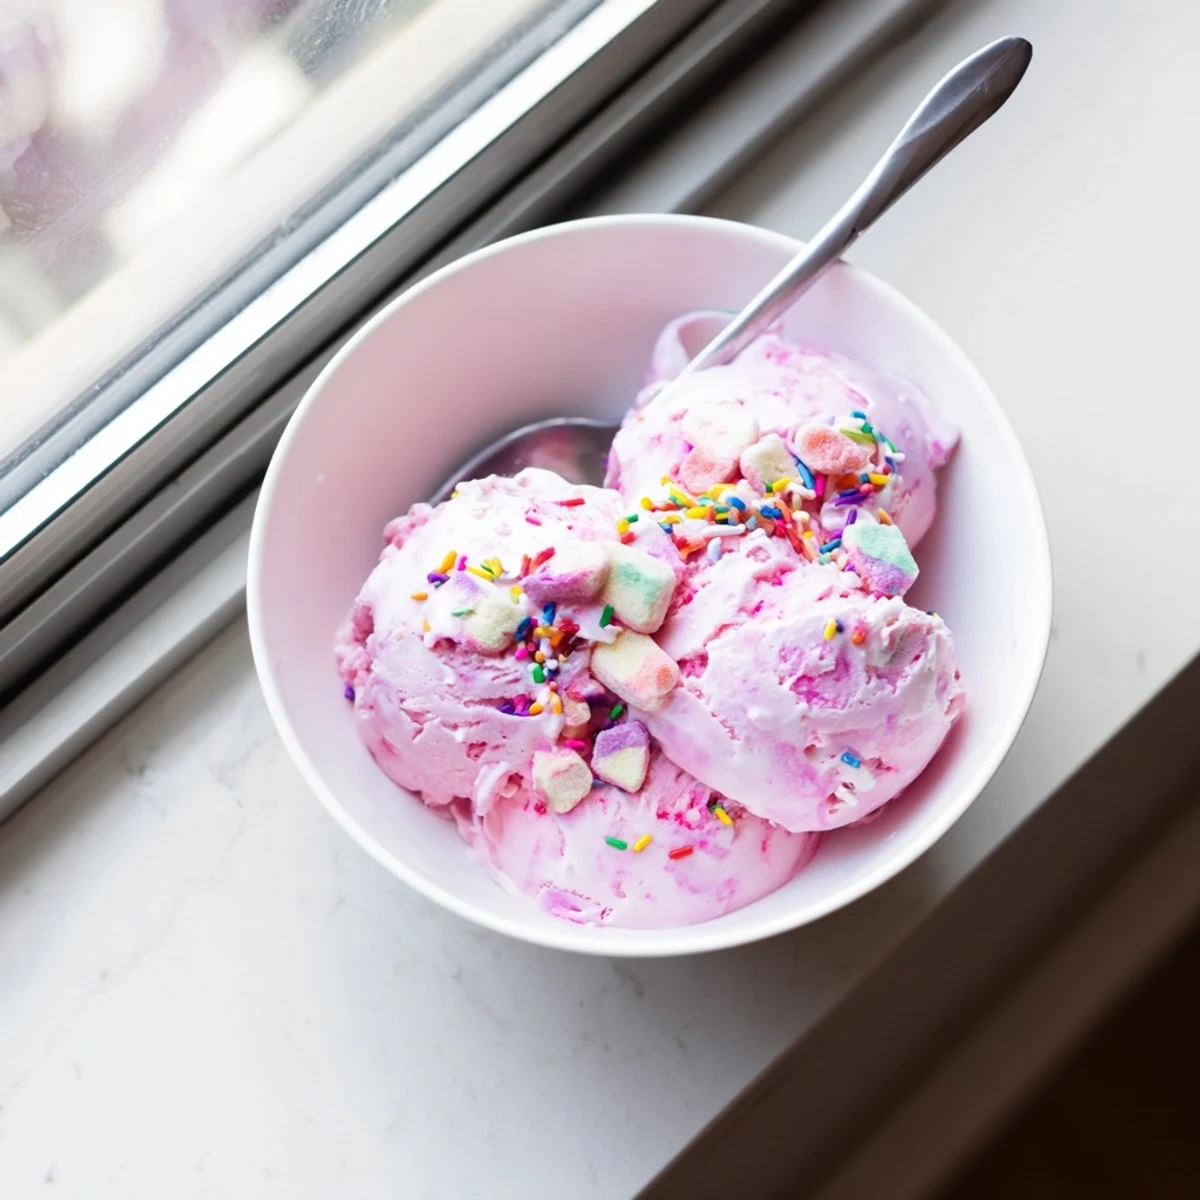
Save Create a fun and colorful frozen dessert that brings back childhood memories with this creamy bubblegum ice cream. The no-churn method means no ice cream maker is needed—simply whip cold heavy cream until stiff peaks form, then fold in sweetened condensed milk flavored with vanilla and bubblegum extract. Add pink or blue food coloring for that classic playful look, plus chopped bubblegum candies for extra bursts of sweet flavor. Freeze for six hours until firm, then scoop and enjoy this nostalgic treat that's perfect for birthday parties, summer gatherings, or anytime you need a fun dessert.
The pastel swirl of pink and blue in the freezer bowl caught my daughter's eye immediately. She'd been asking about bubblegum ice cream since seeing it at the county fair last summer, and I realized I could recreate that childhood magic right in our own kitchen. No fancy machine required, just a whisk and some patience for the freezing part.
Last July, I made three batches for a neighborhood block party. The kids went absolutely wild, but what surprised me was watching the adults line up for seconds, grinning like they were eight years old again. Something about that bubblegum flavor just unlocks pure joy.
Ingredients
- Heavy whipping cream: Cold cream whips up faster and holds those stiff peaks better, giving you that fluffy base
- Sweetened condensed milk: This magical ingredient eliminates ice crystals while providing the perfect sweetness level
- Bubblegum flavoring: A little goes a long way, so start small and taste as you go
- Gel food coloring: Liquid coloring can make the mixture too thin, so stick with gel for that vibrant carnival look
- Bubblegum candies: Chop them into small pieces so they distribute evenly throughout every scoop
Instructions
- Whip the cream:
- Pour that cold heavy cream into your largest mixing bowl and beat with an electric mixer until you see those beautiful stiff peaks form. Don't rush this part, those air pockets are what make the final texture so dreamy.
- Mix the flavor base:
- In a separate bowl, combine the sweetened condensed milk with vanilla extract and bubblegum flavoring. Add your gel food coloring now if you're going for that classic pink or blue look.
- Combine everything:
- Gently fold the whipped cream into the condensed milk mixture using a spatula. Take your time with those folding motions to keep all that air you just whipped into the cream.
- Add the candy:
- Fold in your chopped bubblegum pieces until they're evenly distributed. The anticipation at this point is almost too much.
- Freeze into magic:
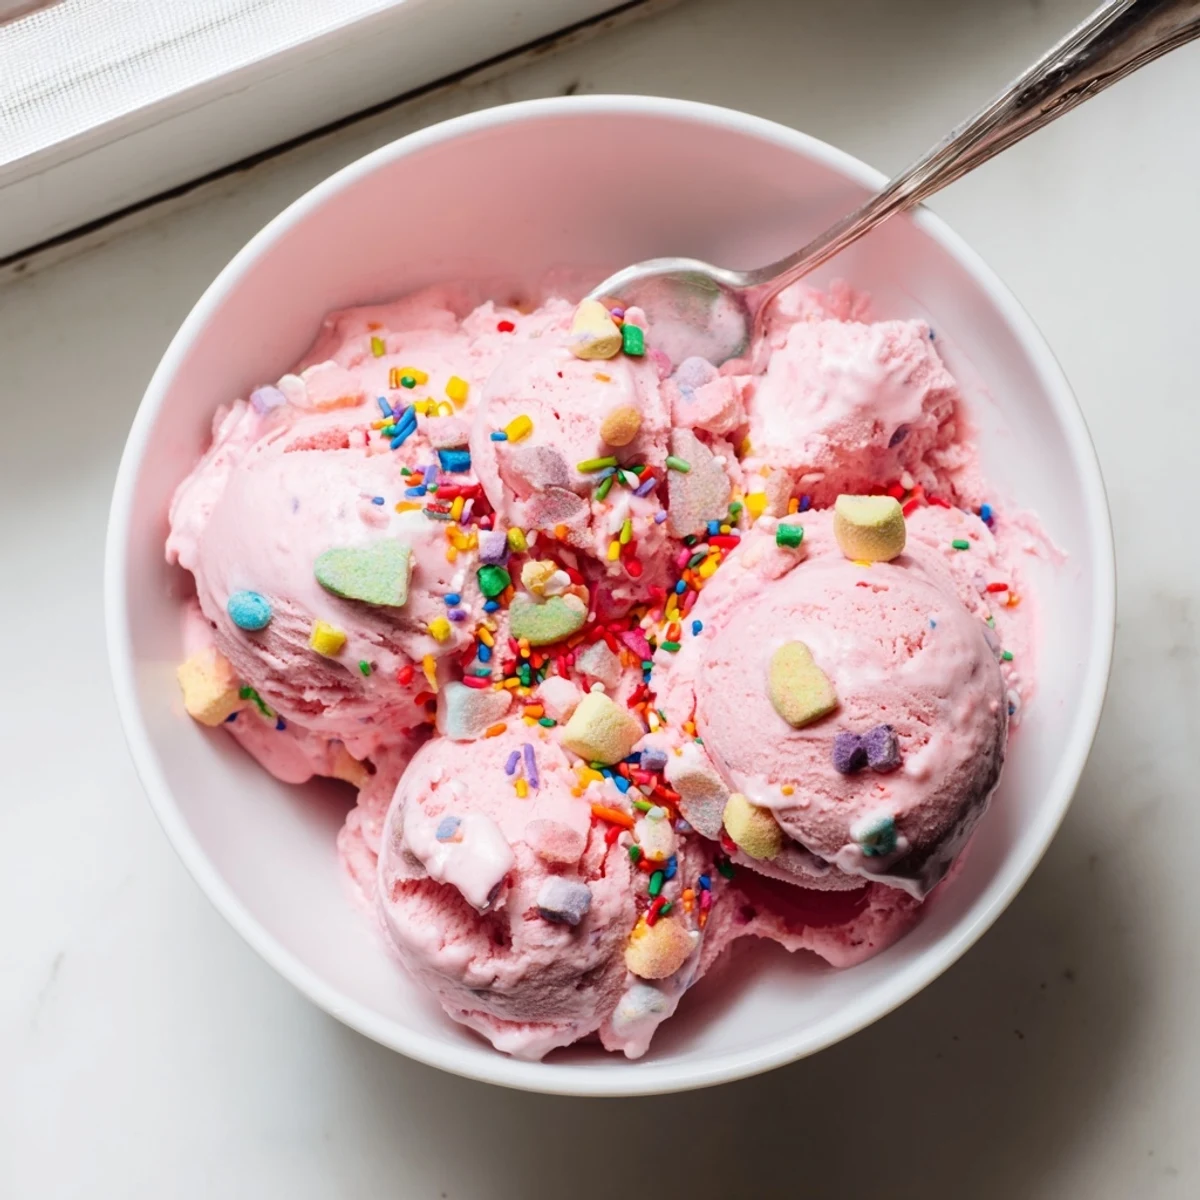
- Pour the mixture into a loaf pan, smooth the top, and scatter some extra candies and sprinkles on top. Cover tightly and let the freezer work its magic for at least six hours.
- Scoop and enjoy:
- Let the container sit on the counter for just a few minutes before scooping. This makes serving so much easier and gives you those perfect rounded scoops.
 Save
Save My niece burst out laughing when she took her first bite, saying it tasted like her favorite bubblegum from the corner store. That's the moment I knew this recipe wasn't just about ice cream, it was about recreating those little childhood memories.
Getting The Right Color
I've learned that a tiny dot of gel coloring goes incredibly far. Start with the barest amount on a toothpick, then add more if needed. You can always add more color, but you can't take it back once that vibrant pink or blue takes over.
Mix-In Magic
While bubblegum candies are classic, don't be afraid to experiment with other nostalgic add-ins. Mini marshmallows, colorful sprinkles, or even crushed waffle cones can add fun texture variations. Just keep the mix-ins to about half a cup total so they don't overwhelm the creamy base.
Storage And Serving
This ice cream keeps beautifully in the freezer for up to two weeks, though I've never had it last that long in our house. The high condensed milk content means it stays scoopable straight from the freezer, unlike some homemade versions that turn rock hard.
- Warm your ice cream scoop under hot water for perfect scoops every time
- Press a piece of parchment paper directly onto the surface before covering to prevent freezer burn
- Let guests choose their own sprinkles and toppings for an interactive dessert experience
 Save
Save There's something wonderfully silly about serving bubblegum ice cream to adults and watching their faces light up. Sometimes the most nostalgic flavors are the ones that bring the most happiness to the table.
Recipe Questions & Answers
- → Do I need an ice cream maker for this bubblegum ice cream?
-
No ice cream maker is required! This no-churn method relies on whipped heavy cream folded into sweetened condensed milk to create a creamy texture without any special equipment. Just a freezer and 6 hours of freezing time.
- → Where can I find bubblegum flavoring?
-
Bubblegum flavoring is available at baking supply stores, craft stores, or online retailers. You can also check the baking aisle of well-stocked grocery stores. Start with 1/2 teaspoon and adjust to your taste preference.
- → Can I make this ice cream ahead of time?
-
Absolutely! This frozen dessert keeps well in the freezer for up to 2 weeks when stored in an airtight container. Let it sit at room temperature for 5-10 minutes before scooping for the best texture.
- → What other mix-ins can I add to this ice cream?
-
Get creative with mix-ins like mini marshmallows, white chocolate chips, rainbow sprinkles, or crushed fruity candies. You can also swirl in different food coloring colors for a tie-dye effect that kids will love.
- → Why is my ice cream too hard to scoop?
-
If your frozen treat feels too firm, simply let it sit on the counter for 5-10 minutes before scooping. The high cream content ensures it softens quickly. Using a slightly warmed ice cream scoop also helps create perfect portions.
- → Can I use natural food coloring instead of gel?
-
You can use liquid food coloring, though gel coloring provides more vibrant hues with less liquid. Natural options like beet juice (pink) or butterfly pea flower (blue) work but may produce softer pastel shades.
