 Save
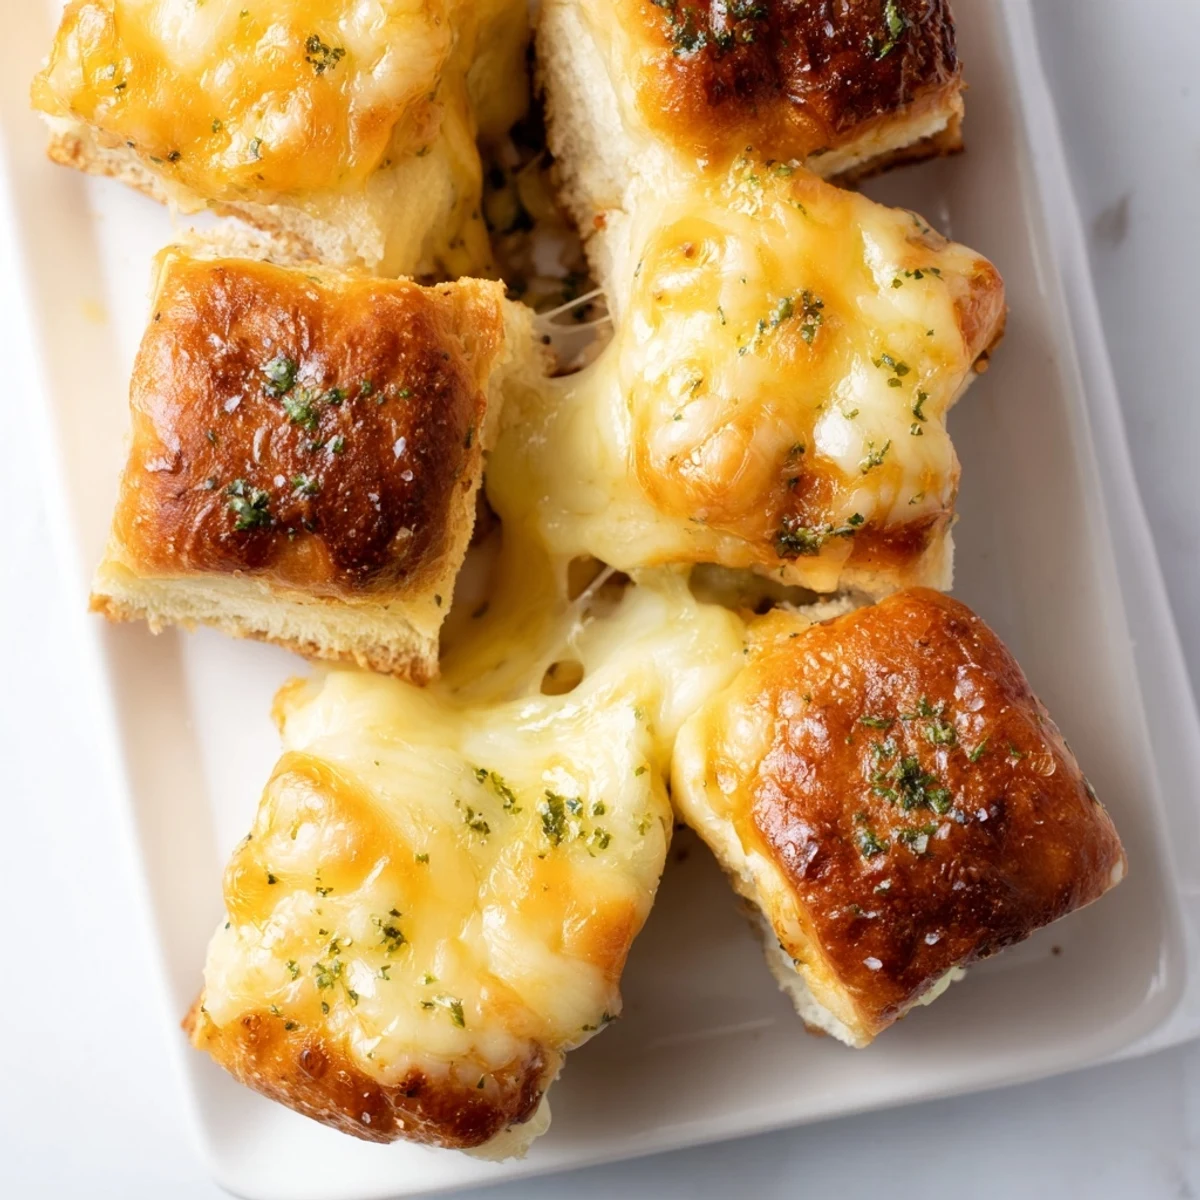
Save These irresistible sliders transform soft Hawaiian rolls into gooey, golden bites of comfort. The sweet bread pairs perfectly with sharp cheddar, while a garlic-parsley butter adds savory depth. Simply slice the connected rolls, layer cheese between the halves, brush with seasoned butter, and bake until the tops are toasted and cheese melts into every crevice.
Ready in 25 minutes with just 10 minutes of prep, these crowd-pleasers work beautifully for parties, game days, or quick weeknight dinners. The yield of 12 sandwiches makes them ideal for sharing, though they disappear quickly when served warm.
The first time I made these for a Super Bowl party, they disappeared in under four minutes. My friend Sarah actually guarded the platter like it contained gold bullion. Now I double the batch and still worry about running out.
Last Christmas Eve, my niece who claims to hate everything grilled ate seven of these. Her mom just stared at her in disbelief. Sometimes the simplest foods are the ones that bring everyone to the table.
Ingredients
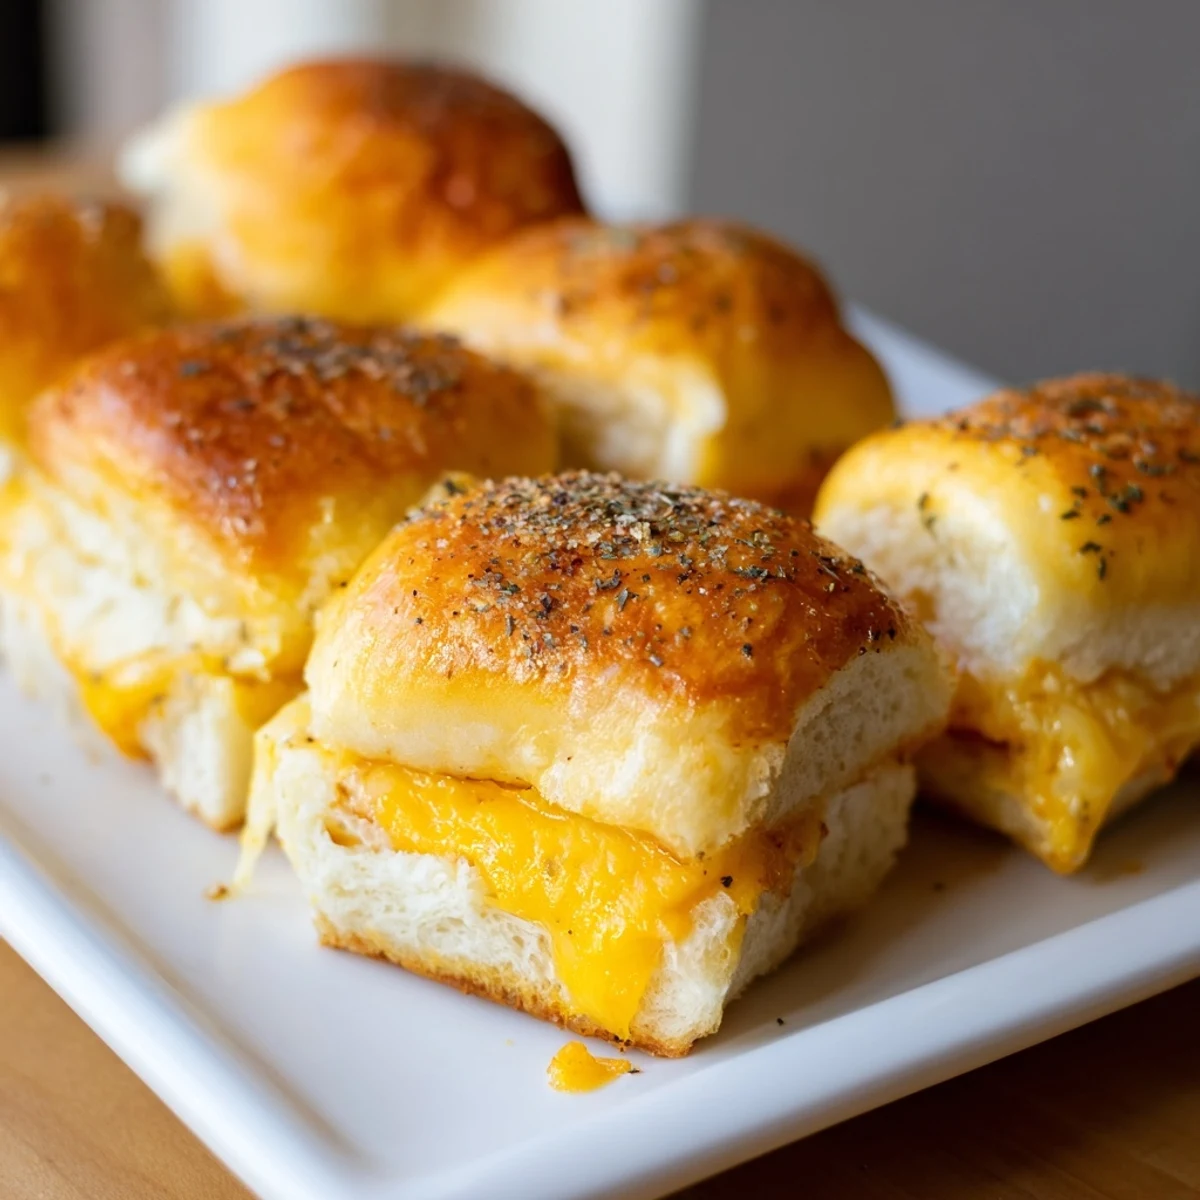
- 12 Hawaiian rolls: The sweetness in these rolls is non negotiable it creates the perfect counterpoint to salty cheese and prevents the sandwich from tasting too heavy
- 12 slices cheddar cheese: Sharp cheddar gives you that punchy flavor but anything that melts well works beautifully just avoid pre shredded cheese which has anti caking agents
- 4 tablespoons unsalted butter melted: Buttering the tops creates that gorgeous golden crust and helps the rolls stay soft inside
- 1 teaspoon garlic powder: This little addition makes people wonder what your secret ingredient is
- 1 teaspoon dried parsley: Mostly for visual appeal but adds a subtle fresh note that cuts through the richness
- 1/4 teaspoon salt: Enhances all the flavors without making these taste like salt bombs
Instructions
- Preheat your oven to 350°F
- While the oven heats up clear some counter space and grab your baking sheet everything moves pretty fast once you start assembling
- Slice the Hawaiian rolls horizontally
- Keep the rolls connected to each other like a giant sandwich this keeps them from drying out and makes assembly so much faster
- Place bottom halves in your baking dish
- A 9x13 pan works perfectly but any rimmed baking sheet will do the job just make sure everything fits in one layer
- Lay cheese slices on each roll bottom
- Let the cheese hang over the edges a bit it melts down and creates those crispy cheesy edges everyone fights over
- Replace the roll tops
- Line them up as closely as possible to how they started this helps them bake evenly
- Mix your butter mixture
- Whisk everything until well combined the garlic powder tends to clump so give it some extra attention
- Brush the tops generously
- Do not be shy with that butter mixture it is what creates the beautiful golden brown finish and keeps everything moist
- Bake for 12 to 15 minutes
- Start checking at 12 minutes you want the cheese completely melted and the tops a deep golden brown
- Cool slightly and serve
- Give them about 3 minutes to set up so the cheese does not ooze out everywhere when you cut them
 Save
Save My dad started requesting these for every family gathering after that first batch. Now they are just known as Grandpa sandwiches at our house. Some traditions start in the weirdest ways.
Make Ahead Magic
You can assemble these up to 8 hours before baking just wrap them tightly and store in the fridge. Add the butter mixture right before baking or the rolls get soggy. I have done this for morning brunches and it works beautifully.
Cheese Variations
While cheddar is classic try mixing cheeses for more complexity. Half sharp cheddar and half Gruyere creates this incredible nutty depth. Pepper jack adds a gentle kick that surprises people. Just stick to cheeses you know melt well.
Serving Suggestions
These shine alongside tomato soup but also work perfectly as party appetizers. I have served them with everything from chicken wings to salad and they always disappear first.
- Set out some extra hot sauce on the side for those who like heat
- A small bowl of pickles helps cut through the richness
- Napkins are non negotiable these get gloriously messy
 Save
Save Hope these bring as much joy to your table as they have to mine. Sometimes the simplest recipes are the ones people remember forever.
Recipe Questions & Answers
- → Can I make these sliders ahead of time?
-
Yes! Assemble the entire dish up to 24 hours in advance, cover tightly with foil, and refrigerate. Let sit at room temperature for 15 minutes before baking as directed.
- → What other cheeses work well?
-
While sharp cheddar provides classic flavor, try Gruyère for nuttiness, pepper jack for heat, or mozzarella for extra melt. Mixing two cheeses creates even more depth.
- → Can I add meat to make them heartier?
-
Absolutely. Thinly sliced ham, turkey, or cooked bacon pairs beautifully. Layer meat between the cheese and bread to prevent sogginess during baking.
- → How do I store leftovers?
-
Keep refrigerated in an airtight container for up to 3 days. Reheat in a 350°F oven for 5-8 minutes to restore crispness—the microwave makes them soggy.
- → Can I freeze these before baking?
-
Wrap assembled, unbaked sliders tightly in plastic and foil, then freeze for up to 1 month. Thaw overnight in the refrigerator before baking.
- → Why keep the rolls connected?
-
Baking them as one connected slab retains moisture better and ensures even heating. Cut into individual portions after baking for easiest serving.
