 Save
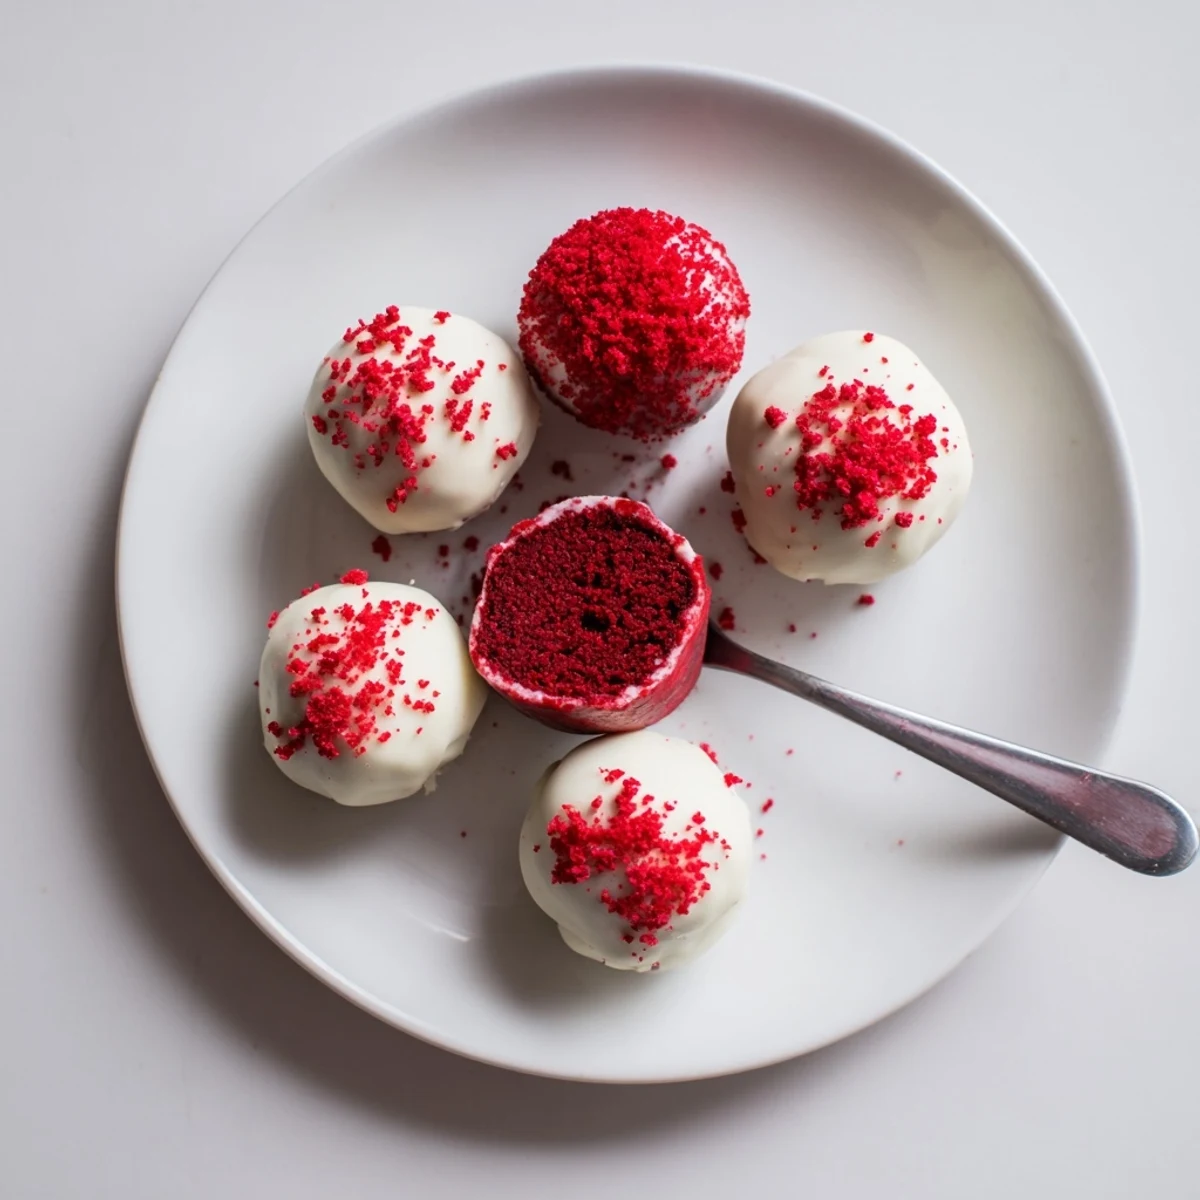
Save Combine finely crumbled red velvet cake with softened cream cheese, powdered sugar and vanilla until a soft, pliable mixture forms. Roll into tablespoon-sized balls and chill for at least 1 hour to firm. Melt chocolate and tint if desired, then dip chilled balls and tap off excess. Garnish with crumbs or sprinkles and let coating set. For variation, stir in nuts or coconut to the filling; store chilled up to 5 days.
My kitchen counter looked like a crime scene the first time I made these, red crumbs scattered everywhere and chocolate smeared on my elbow, but those little balls of heaven were so good that nobody cared about the mess.
I brought a plate of these to my neighbors holiday party last December and watched three people skip the entire dessert table just to stand near them.
Ingredients
- Red velvet cake (300 g): Use leftover cake or grab one from the store, just make sure it is fully cooled so the crumbs do not turn sticky.
- Cream cheese (200 g, softened): Leave it on the counter for an hour, cold cream cheese will leave ugly lumps in your filling.
- Powdered sugar (40 g): Sift it if yours is clumpy, smooth filling is the whole point here.
- Vanilla extract (1 tsp): Real vanilla makes a quiet but real difference in something this simple.
- White chocolate (250 g): Good quality melts smoother and tastes less waxy than the cheap baking bars.
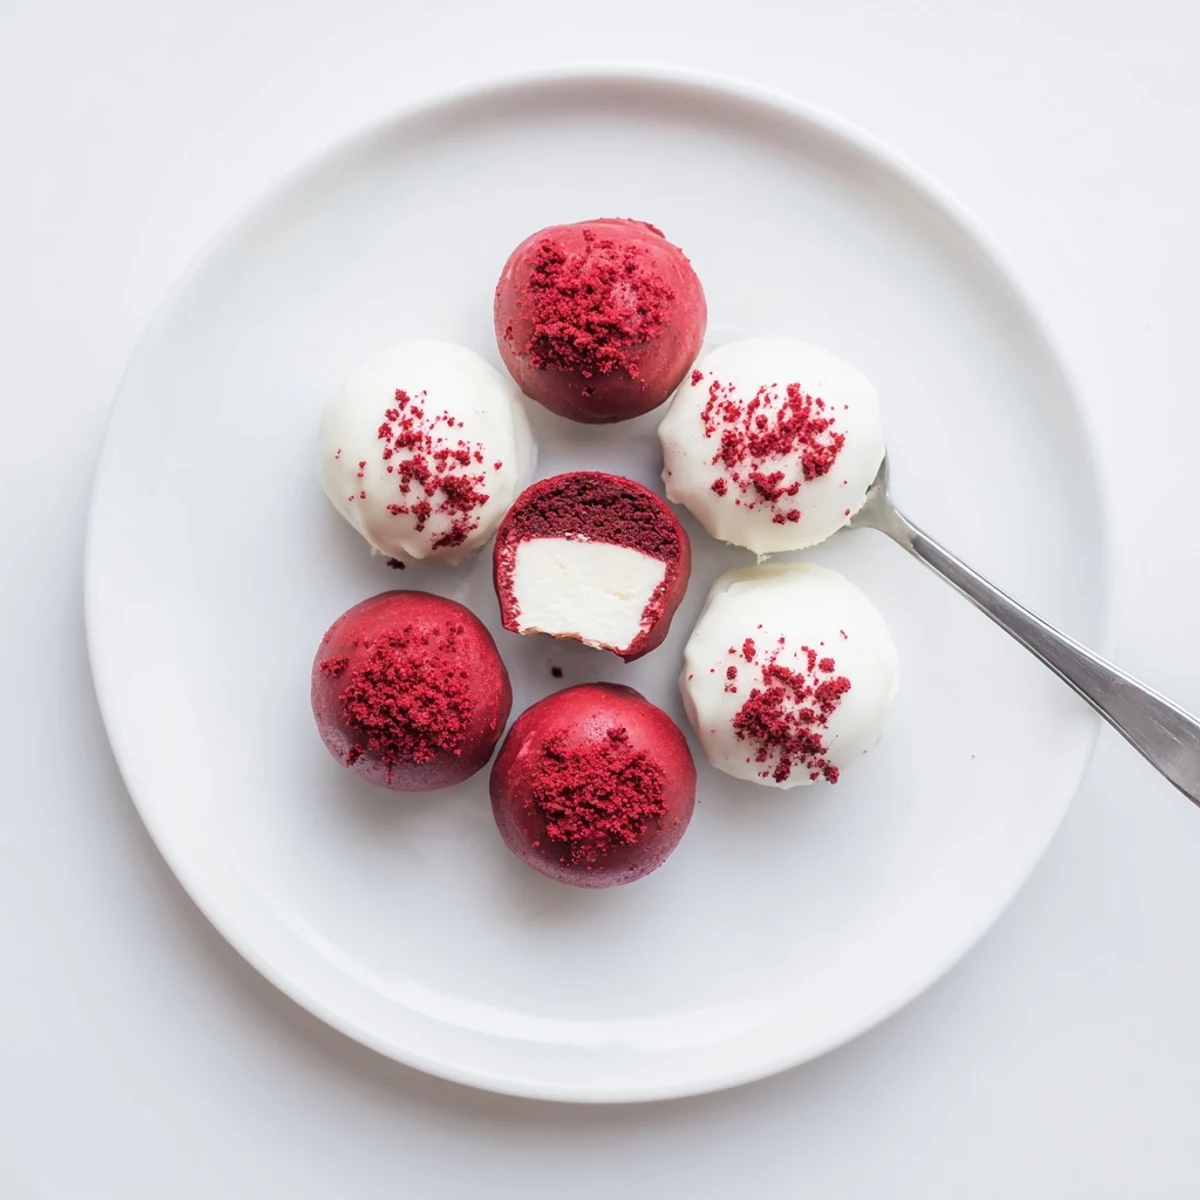
- Red food coloring (optional): A few drops in the coating give a gorgeous pinkish red finish.
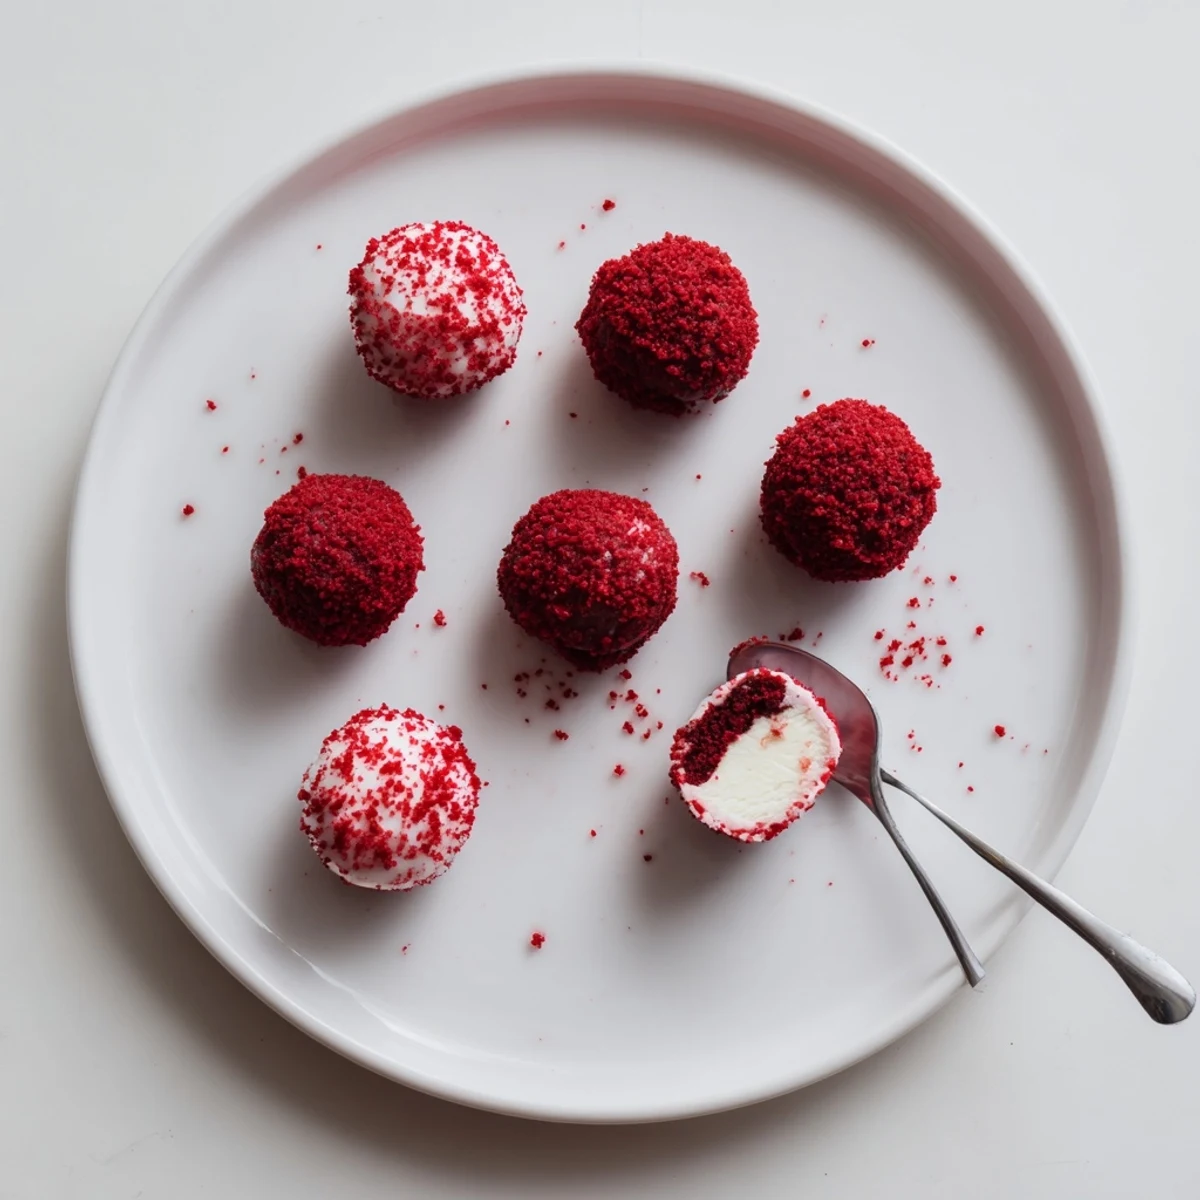
- Red velvet crumbs or sprinkles (optional): Save a handful of cake crumbs before mixing for a naturally pretty garnish.
Instructions
- Make the crumbs:
- Break the cake apart with your fingers and rub it into fine crumbs, this is oddly satisfying and a great stress reliever.
- Whip the filling:
- Beat the cream cheese, powdered sugar, and vanilla together until completely smooth with no streaks remaining.
- Marry them together:
- Pour the cream cheese mixture over the crumbs and mash everything with a fork until it forms a soft dough that holds together when squeezed.
- Roll them out:
- Scoop tablespoon sized portions and roll firmly between your palms, placing each ball on a parchment lined tray.
- Chill thoroughly:
- Refrigerate for at least one hour so they are cold and firm when you dip them, warm balls will melt right into your chocolate.
- Melt the chocolate:
- Use a microwave in short bursts or a double boiler, stirring gently until silky and warm, not hot.
- Dip and decorate:
- Drop each cold ball into the chocolate, roll it around with a fork, tap off the excess, and set it back on the parchment before sprinkling your toppings on while the coating is still wet.
- Let them set:
- Leave them undisturbed at cool room temperature or pop them back in the fridge until the shell hardens completely.
 Save
Save My sister called them fancy truffles and refused to believe they started as crumbled up cake and a block of cream cheese.
Storage That Actually Works
Keep them in an airtight container in the refrigerator and they stay perfect for five days, though they never last that long in my house.
Swapping the Chocolate
Dark or semisweet chocolate creates a deeper, slightly bitter shell that balances the sweet filling beautifully if white chocolate feels too sugary for your taste.
Mix Ins and Variations
Stir crushed pecans, toasted coconut, or even mini chocolate chips into the filling for a completely different personality.
- Toasted coconut adds a chewy texture that pairs surprisingly well with red velvet.
- A pinch of salt on top of each ball before the chocolate sets cuts the sweetness in the best way.
- Always taste your filling before rolling to make sure the sweetness level feels right to you.
 Save
Save These little treats turned a random Tuesday afternoon into something worth remembering, and I hope they do the same for you.
Recipe Questions & Answers
- → How do I keep the balls from falling apart when dipping?
-
Chill the formed balls for at least an hour so they firm up. Work with chilled portions and return any unused balls to the fridge while coating to maintain structure.
- → Can I use a different chocolate for coating?
-
Yes — dark, milk or white chocolate all work. Tempering yields a shinier finish, but simply melting and cooling works for a quick coating. Add a few drops of oil for a smoother melt if needed.
- → How can I vary the filling for extra texture?
-
Fold in 1–2 tablespoons of crushed nuts, shredded coconut or finely chopped dried fruit to the cream cheese-cake mixture to add crunch and contrast.
- → What causes a grainy filling and how to fix it?
-
Overmixing crumbly cake with too much pressure can create a dry texture. Use softened cream cheese and add it gradually until you reach a soft, cohesive consistency; a splash of cream can help if too dry.
- → How long can these be stored?
-
Keep the coated bites in an airtight container in the refrigerator for up to 5 days. Allow them to sit at room temperature a few minutes before serving for best flavor.
- → Are there allergen-free alternatives?
-
Swap dairy cream cheese for a firm non-dairy spread and use dairy-free chocolate to make them free of milk. Use a gluten-free cake base to avoid gluten exposure.
