 Save
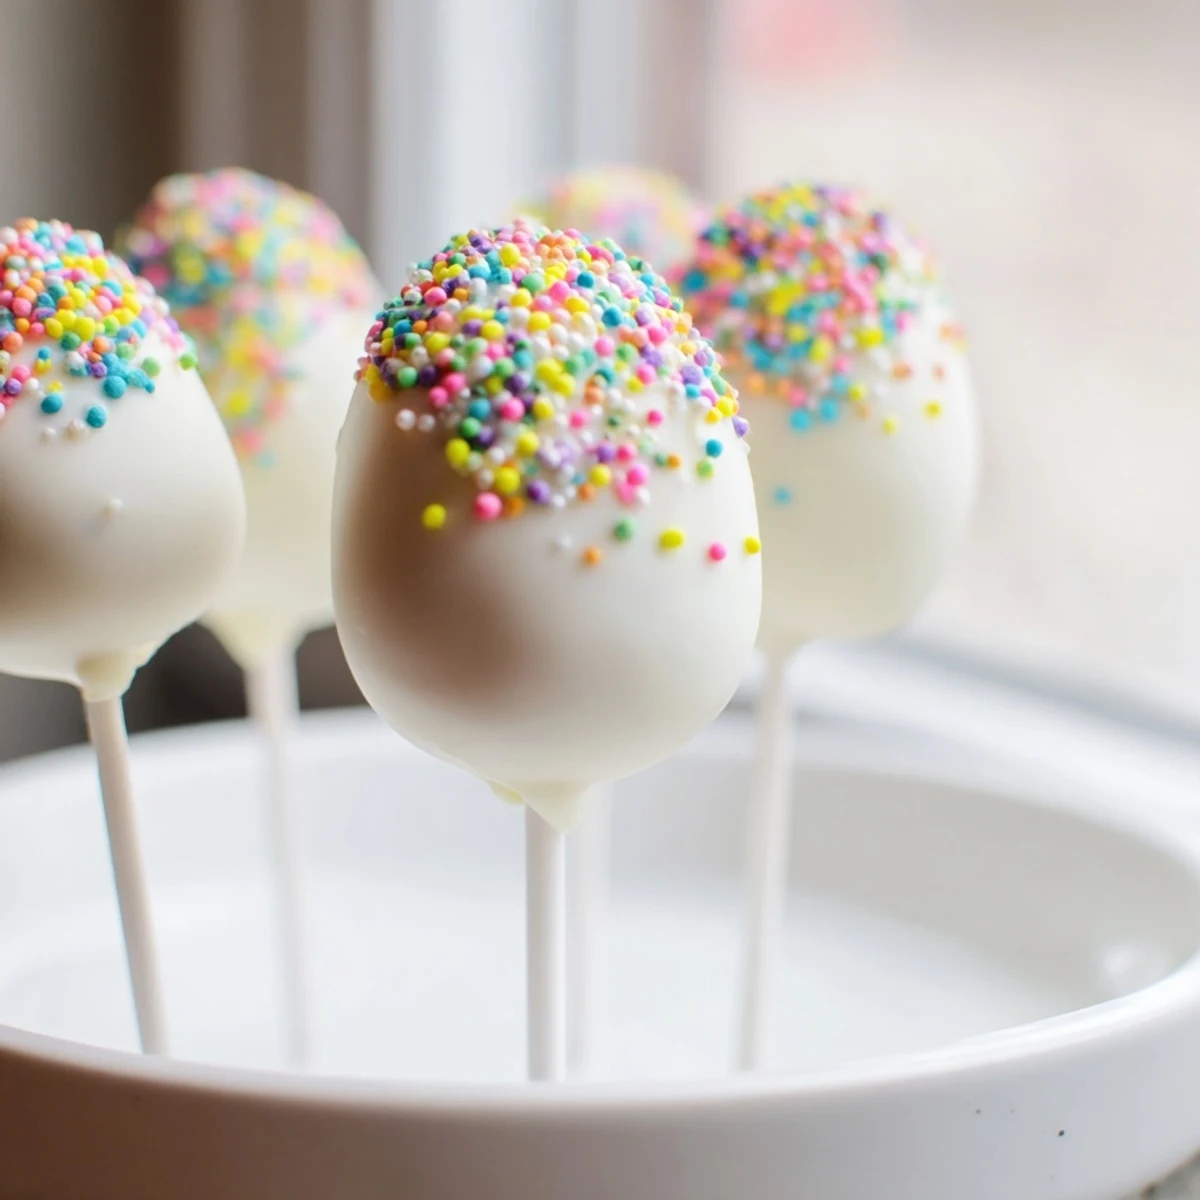
Save These festive egg-shaped cake pops bring fun and color to any spring celebration. Made with vanilla or funfetti cake crumbs combined with a creamy frosting, they are shaped into oval eggs and chilled for firmness. After dipping in melted candy coating, they’re decorated with bright sprinkles, creating a playful and delicious treat that’s easy to share and delight kids and adults alike. Ideal for parties and seasonal gatherings.
Last spring my daughter asked if we could make something special for her class party, and these egg-shaped cake pops were the result. The kitchen turned into a rainbow of sprinkles and melted chocolate, with tiny fingerprints everywhere. She was so proud handing them out to her classmates, each one decorated with different sprinkles she had chosen herself.
I made these for our neighborhood Easter egg hunt one year, and they disappeared faster than the actual hidden eggs. Parents were sneaking them when they thought no one was watching. Now it is not really spring until I have melted candy coating on my counter and sprinkles in places they do not belong.
Ingredients
- 1 box vanilla or funfetti cake mix: Using a mix saves time but homemade works just as well if you prefer the extra effort
- 100 g cream cheese: Room temperature is essential for smooth frosting that binds without making the mixture too soft
- 100 g unsalted butter: Softened cream cheese and butter together create the perfect amount of moisture
- 200 g powdered sugar: Sift this first to avoid any lumps in your frosting
- 1 tsp vanilla extract: Pure vanilla makes a noticeable difference in the final flavor
- 400 g candy melts: White or pastel colored work best but any color your heart desires works
- 2 tbsp vegetable oil: This thins the coating for smooth dipping without affecting the set
- 60 g assorted sprinkles: Have more than you think you need because sprinkles tend to multiply on the floor
- 24 cake pop sticks: Lollipop sticks work perfectly if you cannot find actual cake pop sticks
Instructions
- Bake and cool your cake completely:
- Follow the box directions or your favorite recipe, then let it cool until room temperature because warm cake creates pops that slide right off the sticks
- Crumble the cake into fine crumbs:
- Break it apart with your hands first, then work it into smaller pieces until you have consistent fine crumbs
- Make the frosting:
- Beat together cream cheese, butter, powdered sugar, and vanilla until completely smooth and fluffy
- Combine cake and frosting:
- Add frosting a little at a time, mixing gently after each addition until the mixture holds together when you press it in your palm
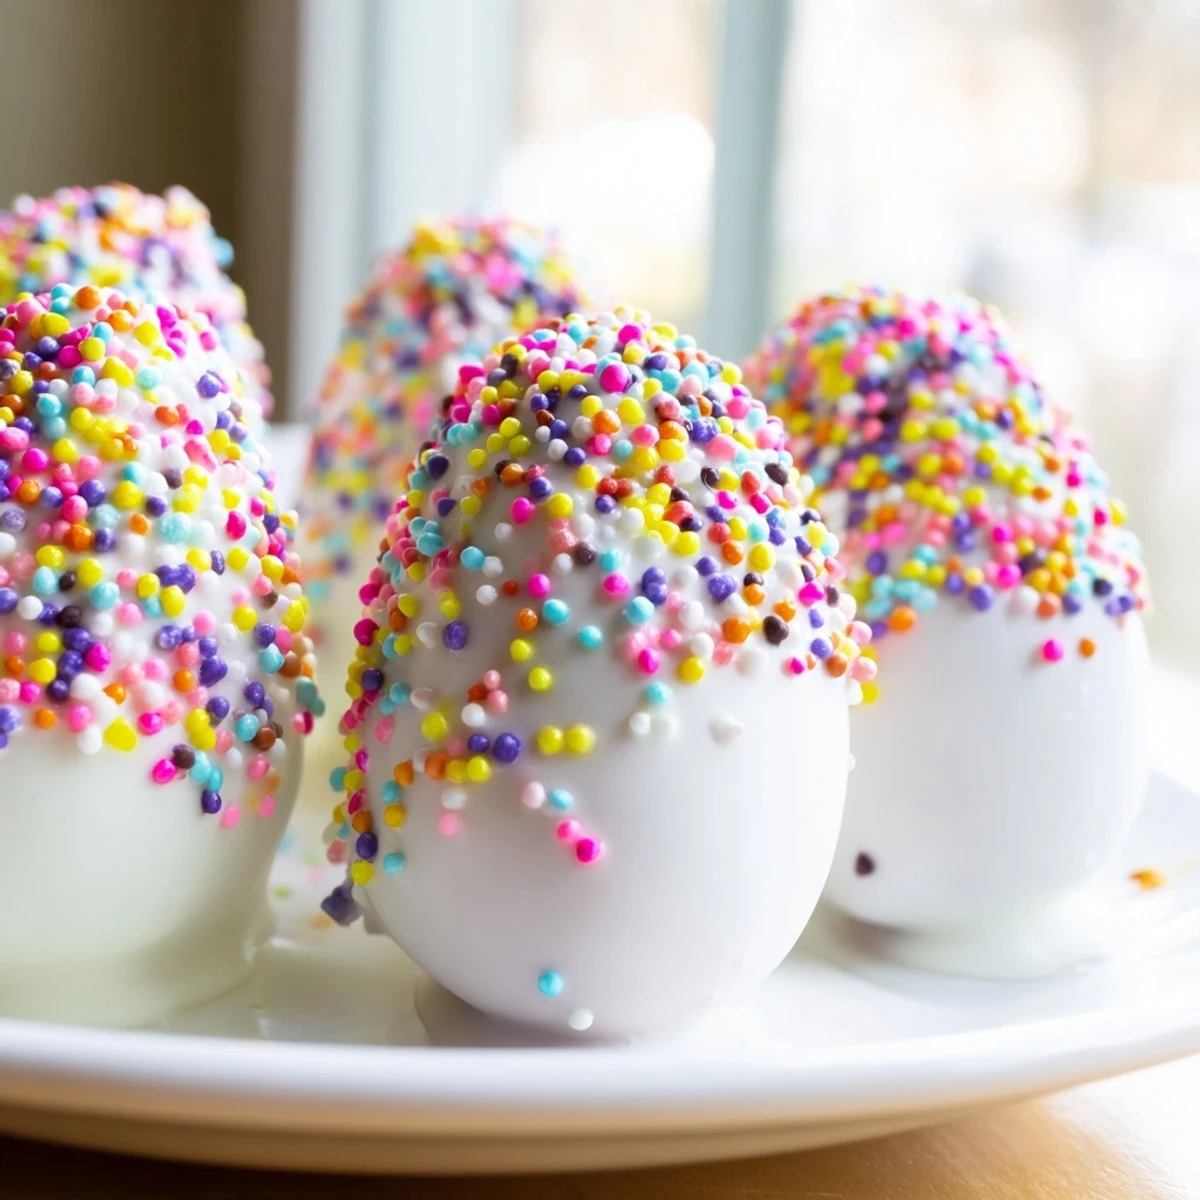
- Shape into egg forms:
- Scoop about one and a half tablespoons and gently roll into an oval shape, slightly pointed at one end like an egg
- Chill the shaped eggs:
- Freeze for thirty minutes on a parchment lined tray because firm shapes survive dipping much better
- Melt the candy coating:
- Heat according to package directions, stirring in vegetable oil until you have a smooth, pourable consistency
- Insert the sticks:
- Dip the tip of each stick into melted coating, then gently push halfway into each cake egg
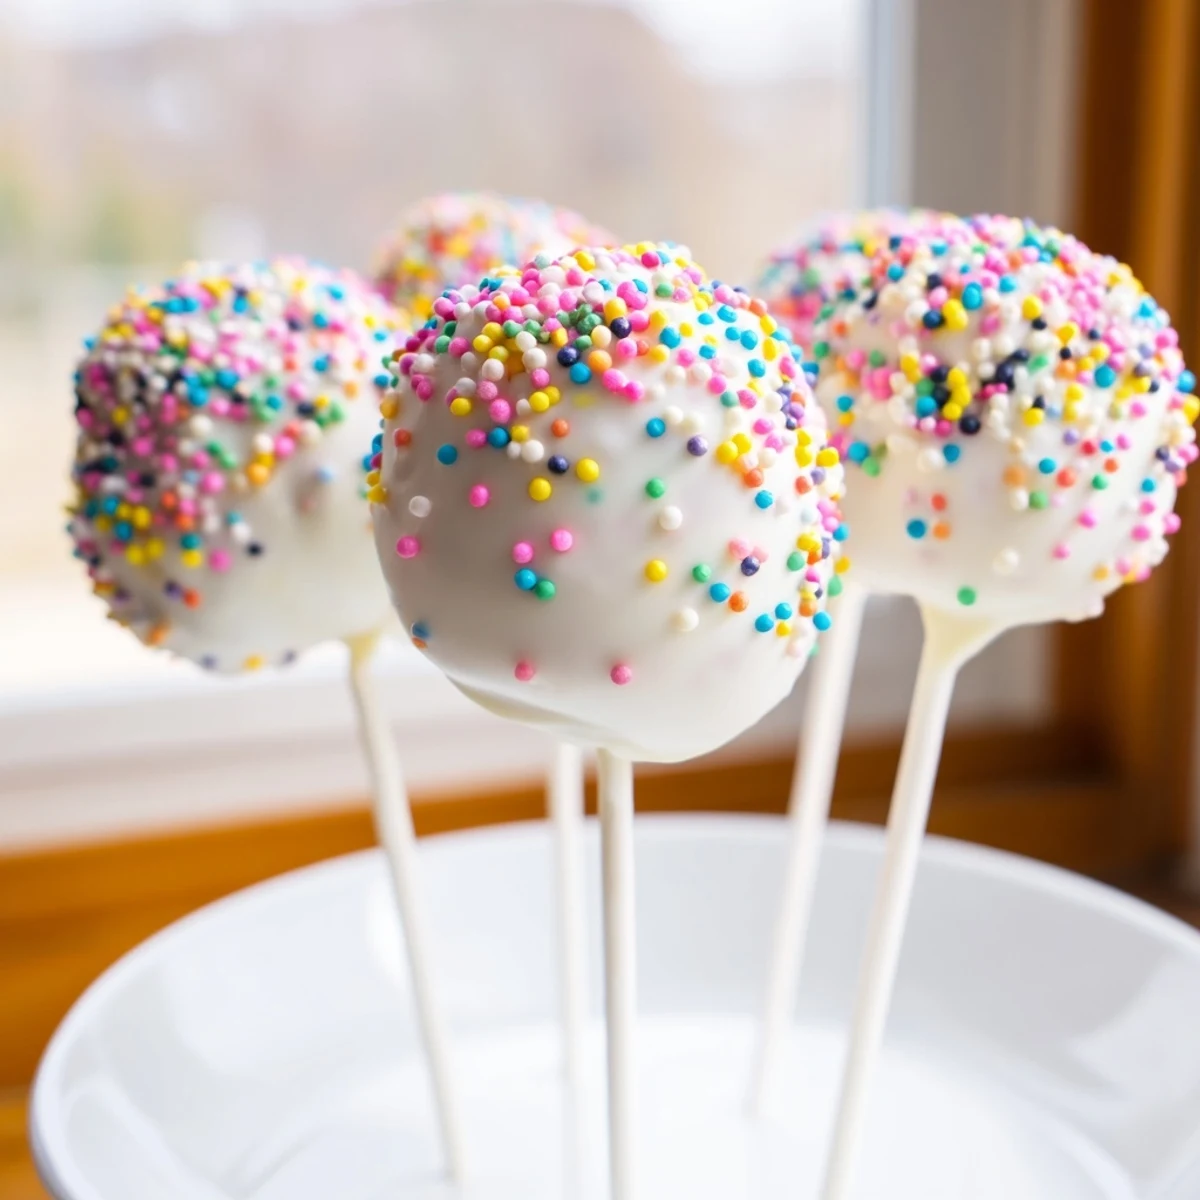
- Dip and decorate:
- Hold each pop by the stick and dip completely into the coating, letting excess drip off before adding sprinkles immediately
- Set completely:
- Stand the pops upright in a foam block or tall glass and let them harden fully before serving or storing
 Save
Save My niece helped me make these last year and she decided every single sprinkle color needed to be represented on each pop. They looked like confetti explosions and the kids went absolutely wild for them. Sometimes the messiest creations end up being the ones everyone remembers most fondly.
Getting the Shape Right
Rolling the egg shapes takes a little practice but the irregular ones often look more charming anyway. I have found that slightly warming the mixture in my hands for a few seconds before rolling helps create smoother shapes. If the mixture feels too sticky, chill it for five minutes and try again.
Coating Secrets
The depth of your bowl matters more than you might expect when melting the coating. A narrow, deep bowl lets you dip vertically without hitting the sides and losing your sprinkles. Keep the coating warm in the microwave between dips if it starts getting too thick to work with easily.
Storage and Serving
These pops keep beautifully in the refrigerator for up to five days if stored in an airtight container. Layer them between wax paper so they do not stick together or get scratched. Serve them at room temperature for the best texture experience.
- Wrap individually in clear bags for party favors or gifts
- Set up a decorating station and let guests add their own sprinkles
- Make a double batch because one disappears faster than expected
 Save
Save There is something about making these that feels like celebrating spring itself, no matter what the calendar says. Hope your kitchen ends up as covered in joy as mine always does.
Recipe Questions & Answers
- → How do I shape the cake pops into egg forms?
-
After mixing the cake crumbs with frosting, scoop about 1.5 tablespoons and gently roll the mixture into oval shapes resembling eggs. Chill them to firm up before coating.
- → What’s the best coating for smooth dipping?
-
Use white or pastel-colored candy melts, adding vegetable oil as needed to achieve a smooth, flowing consistency perfect for dipping.
- → Can I customize the colors of the coating?
-
Yes, gel food coloring can be added to white candy melts to create pastel shades that fit your festive theme.
- → How long should the pops chill before coating?
-
Chill the shaped cake eggs in the freezer for about 30 minutes or until firm enough to handle without losing shape during dipping.
- → What’s the best way to store the finished pops?
-
Keep cake pops in an airtight container in the refrigerator for up to five days to maintain freshness and coating integrity.
- → Are cake pop sticks necessary?
-
Yes, using sticks helps in dipping and holding the cake pops upright while the coating sets, ensuring a clean and fun presentation.
