 Save
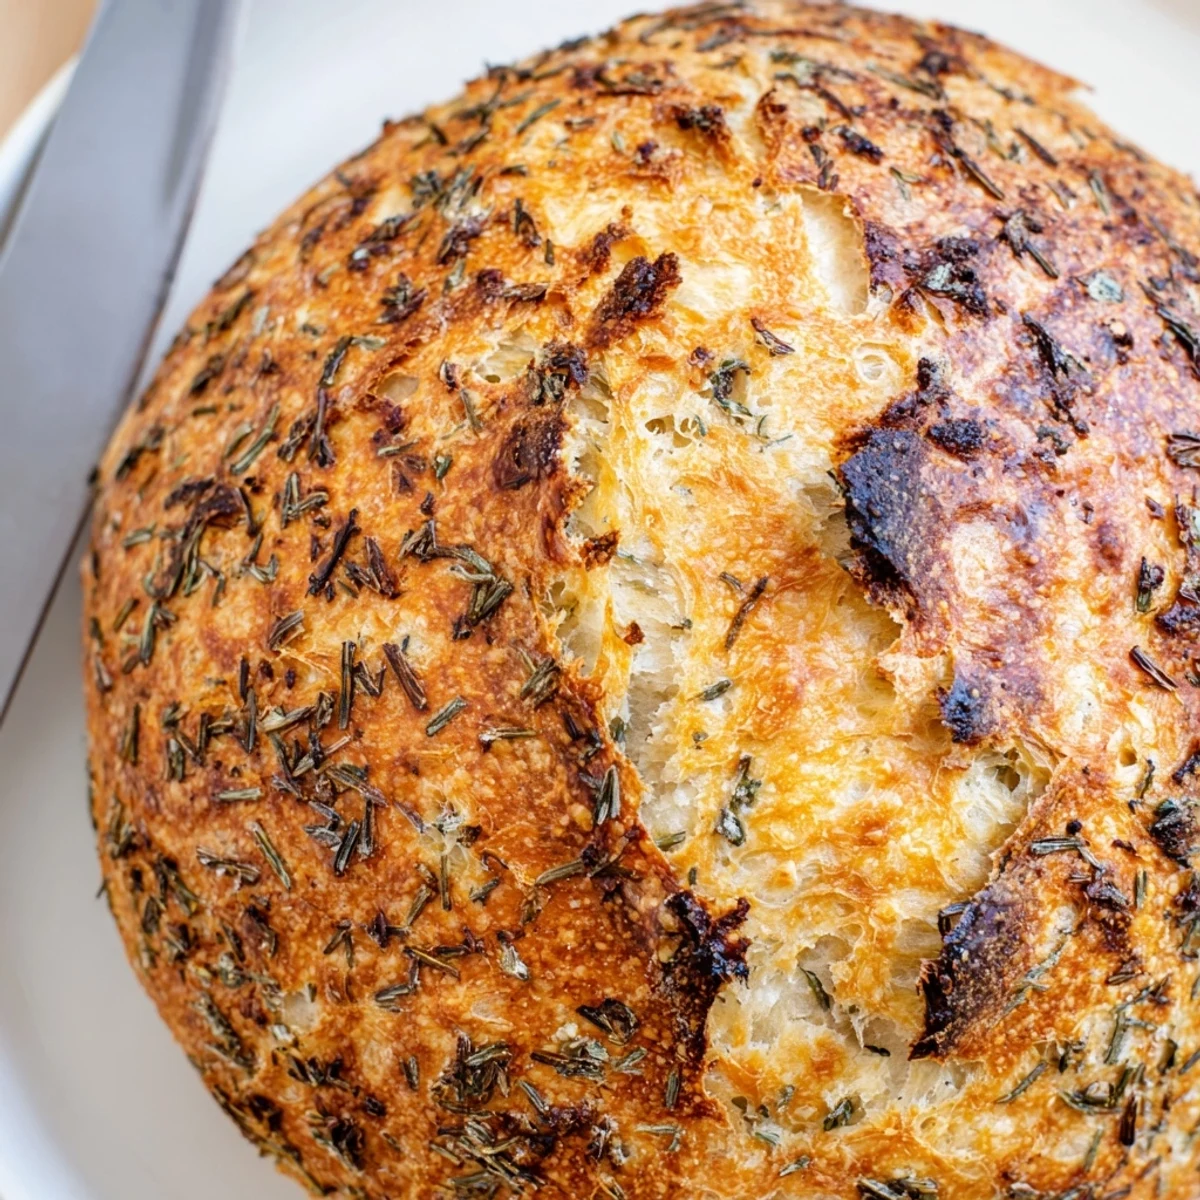
Save This artisan bread combines the aromatic brightness of fresh dill with rich, nutty Gouda cheese for a truly memorable loaf. The no-knead method develops deep flavor through an extended 12-18 hour fermentation, resulting in that coveted crackling crust and tender, hole-filled crumb structure. With just 15 minutes of active prep, this European-style bread becomes accessible for home bakers of any skill level. The high-heat Dutch oven technique creates professional bakery results with minimal effort—perfect alongside hearty soups, for sandwich construction, or simply sliced with generous butter.
The smell of dill hits you first, then the nutty warmth of Gouda baking into something golden and miraculous. I discovered this bread during a rainy weekend when I was too impatient to attempt proper kneading but desperate for something that felt like an accomplishment. The dough sat bubbling on my counter overnight, and by morning I had created something that looked like it came from a bakery, not my clumsy kitchen.
My neighbor actually knocked on my door the first time I baked this, convinced I had hidden bread baking skills I was keeping secret. I served it warm with a simple vegetable soup, and watching everyone tear through the crust to reach the cheesy interior made me feel like I had unlocked some secret language between flour and patience.
Ingredients
- Bread flour: The higher protein content creates that beautifully structured crumb while still staying tender inside
- Instant yeast: No proofing needed here, just stir it right in with the dry ingredients
- Gouda cheese: Grate it yourself rather than buying pre shredded for better melting and pockets of gooey goodness
- Fresh dill: The bright herbal flavor cuts through the richness of the cheese and permeates the entire loaf
- Lukewarm water: Think bathwater temperature, about 100°F, to activate the yeast without killing it
Instructions
- Mix the base:
- Combine your flour, salt, and yeast in a large bowl, then stir in the grated cheese, chopped dill, and pepper until everything looks evenly distributed
- Form the dough:
- Pour in the warm water and fold everything together with a spatula until you have a shaggy, sticky mass that looks like it needs more work but actually does not
- Let it work:
- Cover your bowl tightly and walk away for at least 12 hours, letting time transform that sticky mess into a bubbly, fragrant masterpiece
- Shape it gently:
- Flour your hands generously, scrape the dough onto a floured surface, and coax it into a rough round without trying to smooth it out too much
- Second rise:
- Place the dough on parchment paper, cover it loosely, and let it rest for 30 to 60 minutes while your oven and Dutch oven heat up
- Create steam:
- Heat your empty Dutch oven at 450°F for at least 30 minutes to create the steam environment that gives artisan bread its crispy crust
- Bake covered:
- Carefully transfer the dough into the scorching Dutch oven, score the top, and bake with the lid on for 30 minutes to trap that essential steam
- Finish golden:
- Remove the lid and let the bread bake another 15 to 20 minutes until it is deeply golden and sounds hollow when you tap the bottom
 Save
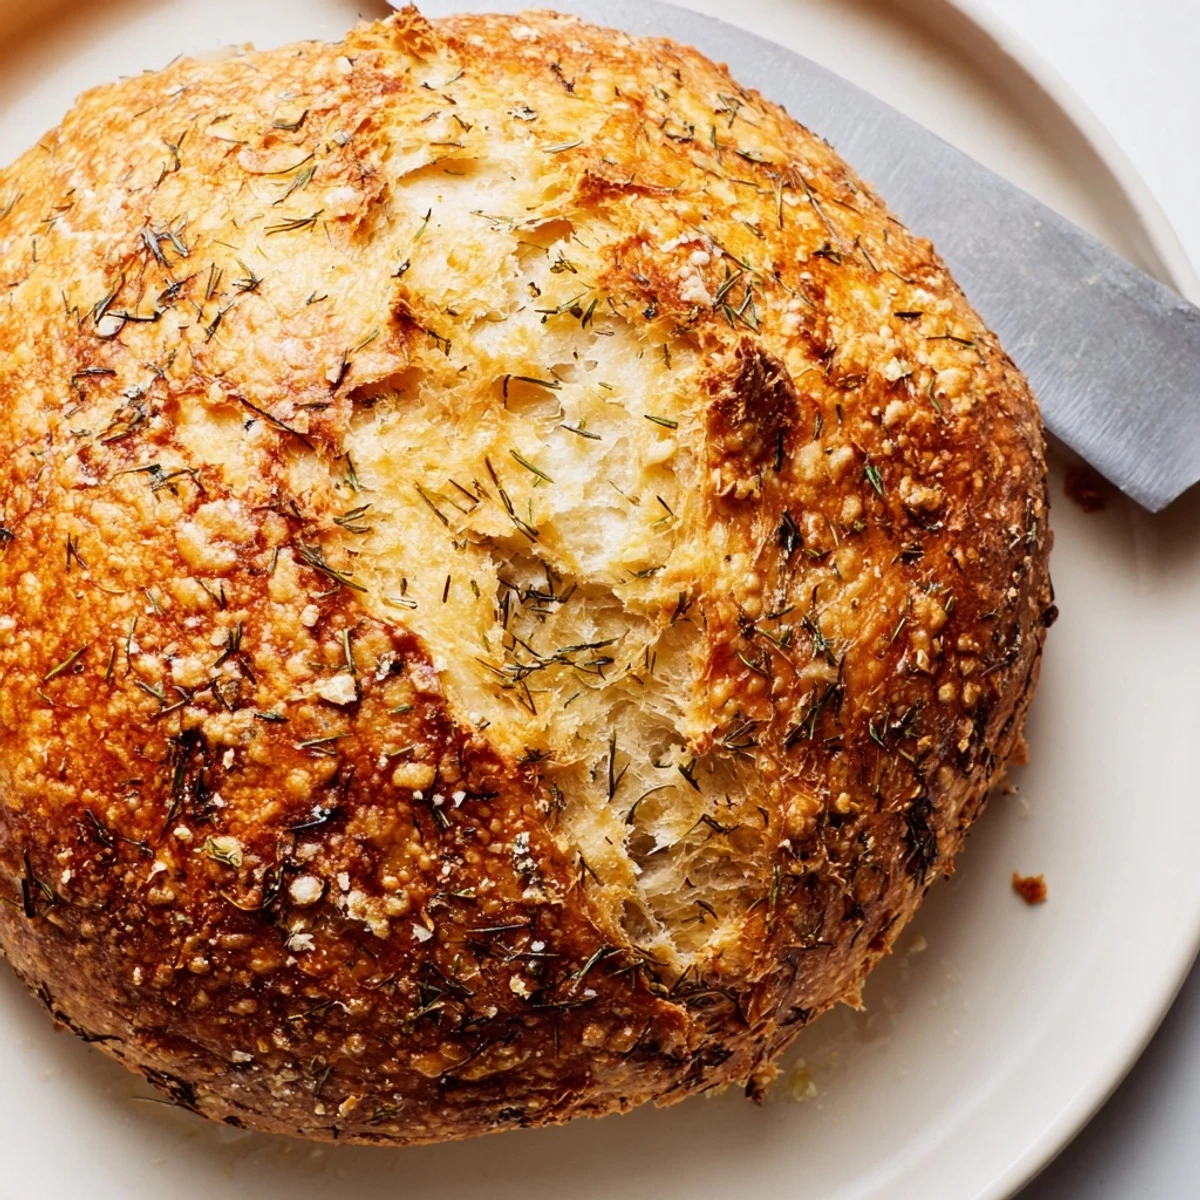
Save This bread has become my go to for dinner parties because it looks impressive but requires so little active time that I can focus on everything else. Last winter I made it weekly, and my family started asking what took so long, not realizing most of the work happened while I was sleeping.
Cheese Swaps That Work
While Gouda creates that perfect balance of nutty and creamy, I have had excellent results with sharp cheddar for more bite or Emmental for extra funk. Just avoid extremely moist cheeses that might make the dough too wet.
Timing Your Bake
The long rise means you need to plan ahead, but I love mixing this before bed and baking fresh bread for breakfast. Alternatively, start it in the morning for dinner, or time it so the second rise happens while you are preheating for supper.
Serving Ideas
This bread makes incredible grilled cheese sandwiches on its own, but it also shines alongside hearty soups and stews. The dill flavor pairs particularly well with tomato based soups or creamy potato leek.
- Try spreading it with herb butter while still warm for extra indulgence
- Leftovers make perfect toast for breakfast or lunch the next day
- Freeze slices wrapped individually for quick weekday treats
 Save
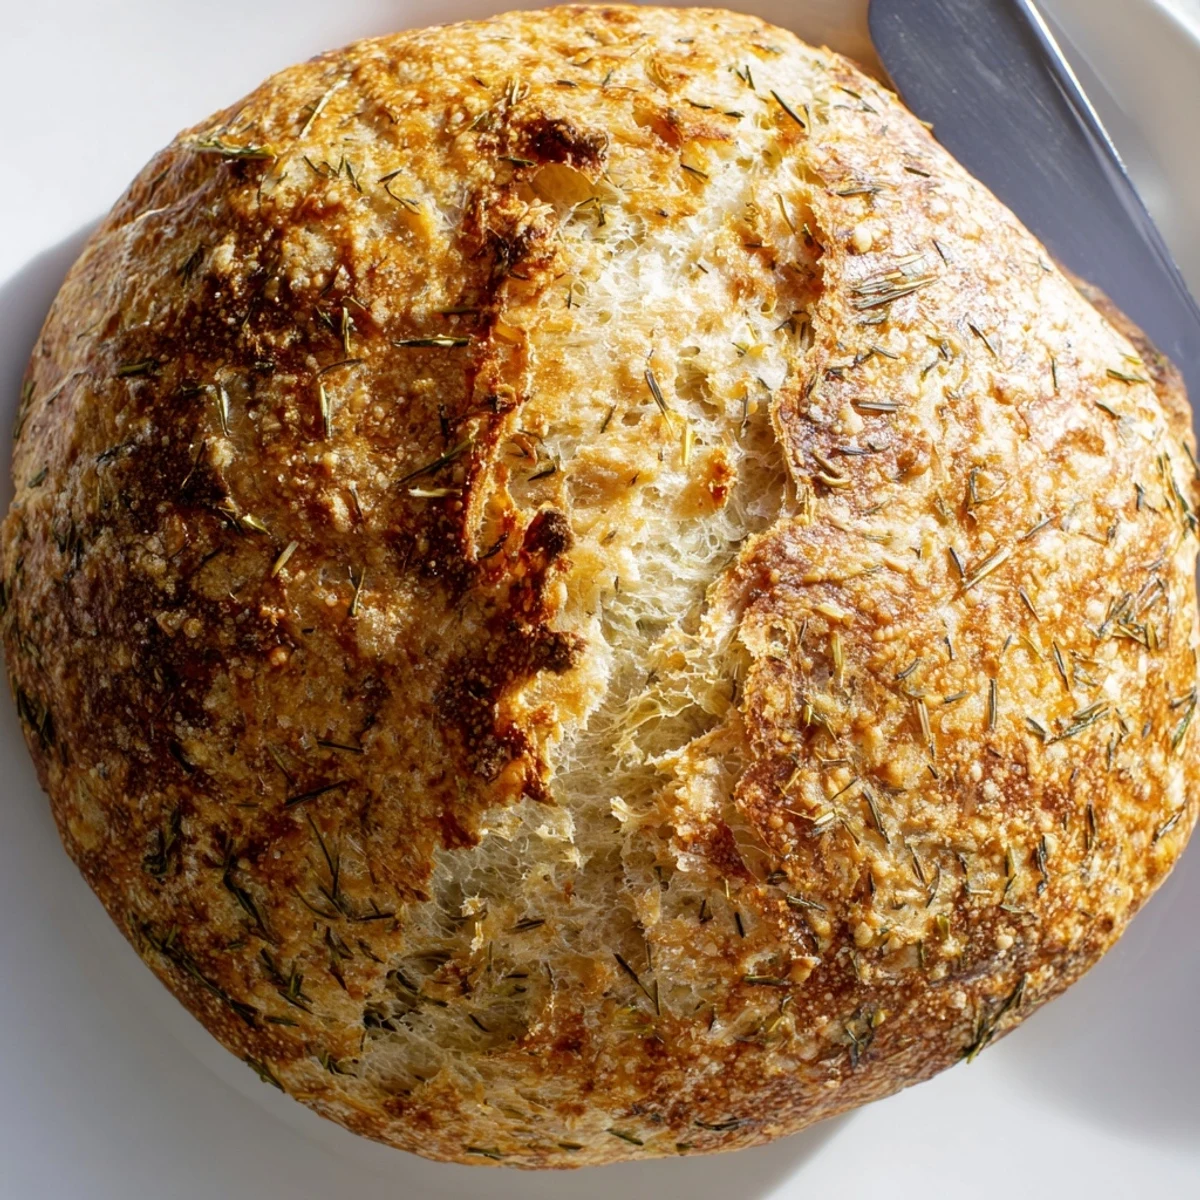
Save There is something deeply satisfying about pulling a steaming, golden loaf from your own oven, especially when it required so little fuss to achieve. This bread has turned many skeptic friends into believers in the power of patience.
Recipe Questions & Answers
- → Why does this bread require such a long rising time?
-
The extended 12-18 hour rise allows natural fermentation to develop complex flavors and strengthen the gluten structure without kneading. This slow process creates that distinctively tangy, deep taste and beautiful airy crumb typical of artisan European breads.
- → Can I use dried dill instead of fresh?
-
Absolutely. Use 1 tablespoon of dried dill in place of the 3 tablespoons fresh. The flavor will be slightly more concentrated, so you might reduce to 2 teaspoons if you prefer a subtler dill presence in the final loaf.
- → What makes a Dutch oven essential for this method?
-
The Dutch oven creates a sealed steam environment that mimics professional deck ovens. This trapped moisture allows the crust to expand fully before setting, producing that dramatic oven spring and incredibly crisp, golden exterior that defines artisan bread.
- → How should I store this bread to maintain freshness?
-
Wrap the cooled loaf in a cloth or paper bag and store at room temperature for up to 2 days. For longer storage, slice and freeze in an airtight container—individual slices toast beautifully from frozen. Avoid refrigeration, which accelerates staling.
- → Can I add other ingredients to customize the flavor?
-
This versatile base adapts well to variations. Try adding 2 teaspoons lemon zest for brightness, 1/4 cup chopped scallions for mild onion notes, or substitute aged cheddar, Emmental, or smoked Gouda to create different flavor profiles while maintaining the same easy method.
