 Save
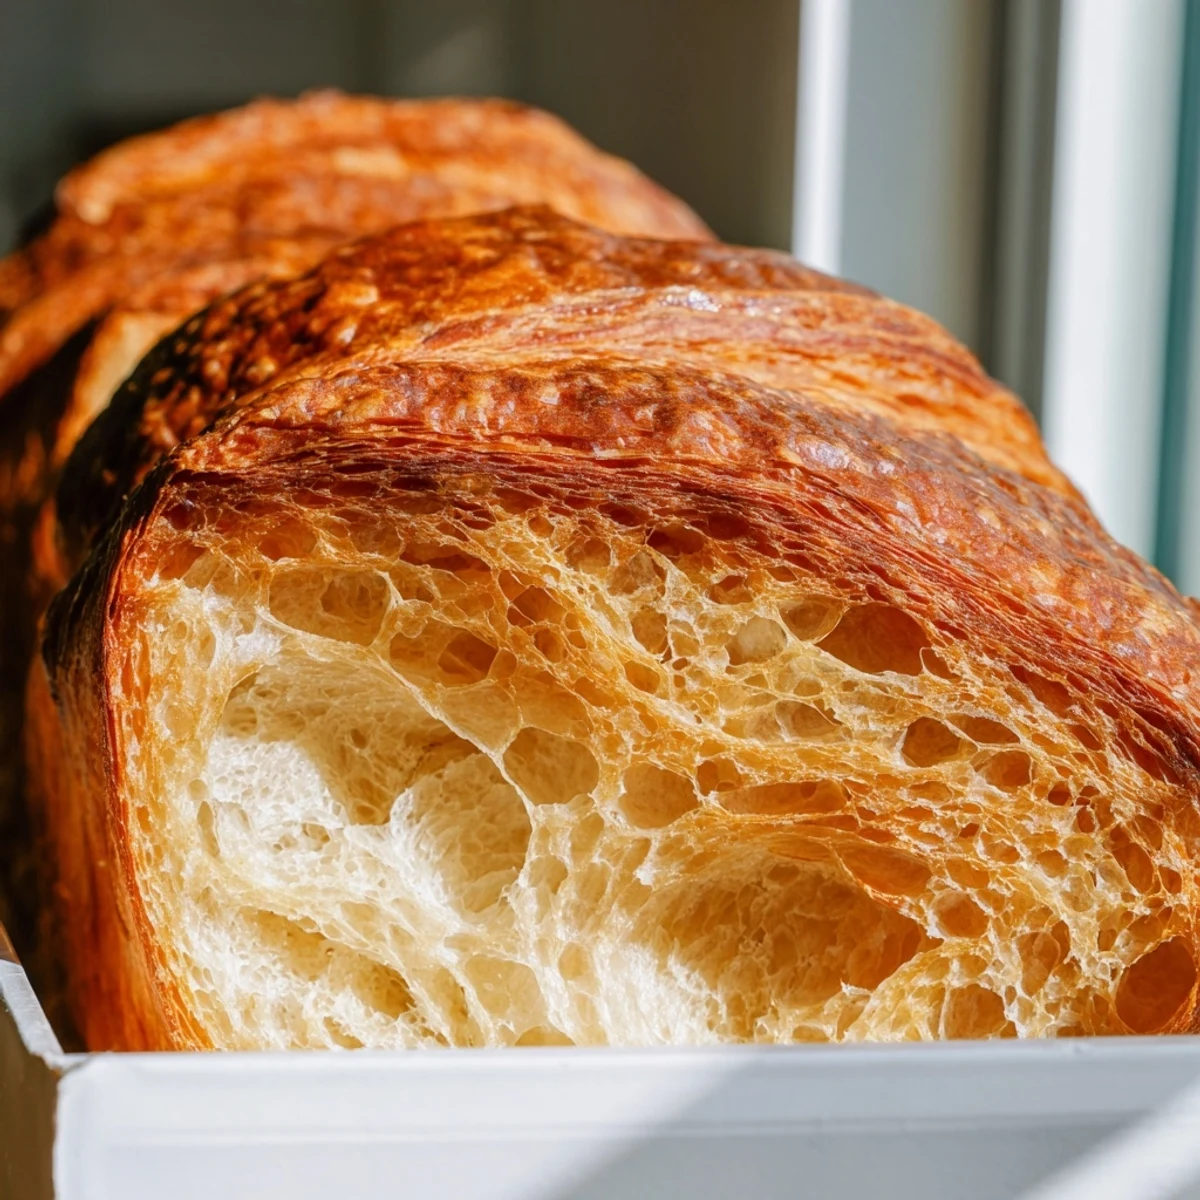
Save Create bakery-worthy laminated bread at home with this foolproof method. The process involves creating a butter-enriched dough, then folding and rolling cold butter layers through multiple turns to develop those signature flaky strands. While the technique requires patience with chilling periods, the result delivers an incredibly tender interior surrounded by golden, shatteringly crisp layers. This loaf bridges the gap between artisan pastry and everyday breakfast bread, offering all the luxury of fresh croissants with the convenience of a sliceable format.
My tiny apartment kitchen became an accidental bakery one rainy Sunday when I decided croissants were too intimidating but regular bread felt too ordinary. The butter hit the floor at least twice, and my roommate wandered in three times asking if everything was okay. By evening, the entire apartment smelled like a Parisian boulangerie, and we ate warm slices straight from the pan with melting butter pooling in every flaky valley.
I made this loaf during a particularly brutal winter when comfort food was the only thing getting anyone through the week. My friend Sarah showed up unexpectedly with her arms full of groceries, and we ended up spending the entire afternoon folding dough together. She still talks about how watching the layers form was better than therapy.
Ingredients
- 3 ½ cups all purpose flour: The foundation that holds all those buttery layers together without becoming tough
- 3 tbsp granulated sugar: Just enough to help the yeast work and create a beautiful golden crust
- 2 tsp instant yeast: Instant yeast gives consistent rise without needing activation first
- 1 ½ tsp salt: Essential for flavor but keep it away from direct yeast contact
- 1 cup whole milk lukewarm: Creates tender dough and promotes proper fermentation
- ¼ cup unsalted butter melted: Adds richness to the base dough for soft interior crumb
- 1 large egg: Provides structure and helps the dough achieve beautiful color
- 1 cup unsalted butter cold: The star of the show creating all those flaky layers we love
- 1 large egg plus 1 tbsp milk: For that gorgeous professional bakery shine on top
Instructions
- Mix the Foundation:
- Combine flour sugar salt and yeast in a large bowl keeping yeast away from salt. Add warm milk melted butter and egg mixing until you have a shaggy sticky dough that holds together.
- Knead Until Smooth:
- Work the dough for 7 to 10 minutes until it feels elastic and smooth like a baby's cheek. Cover and let it rise in a greased bowl until doubled which takes about an hour.
- First Chill:
- Punch down the dough gently then shape it into a rectangle. Wrap and refrigerate for 30 minutes because cold dough creates better layers.
- First Fold:
- Roll the chilled dough into a 12 by 16 inch rectangle on a floured surface. Layer cold butter slices over two thirds of the dough then fold like a letter bringing the unbuttered third over the butter and folding the remaining third on top.
- Second Chill and Fold:
- Spin the dough 90 degrees so the opening faces you then roll again to 12 by 16 inches. Fold into thirds again wrap and chill for another 30 minutes.
- Complete the Turns:
- Repeat rolling folding and chilling two more times for a total of three turns. Each turn creates more of those signature flaky layers that make this bread special.
- Shape the Loaf:
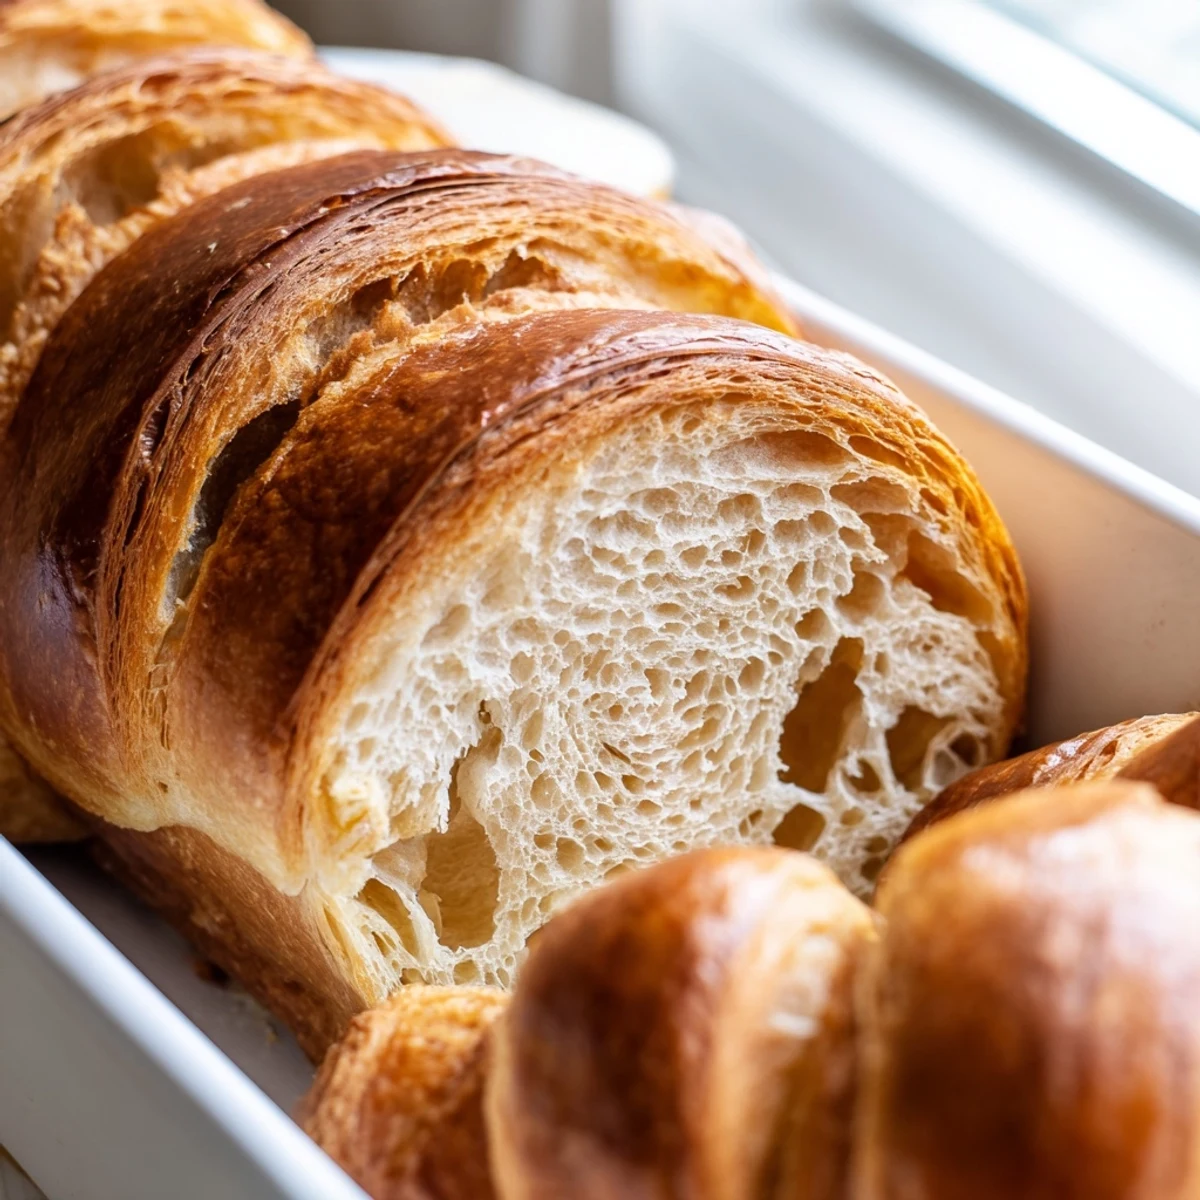
- After the final chill roll dough to about 8 by 16 inches. Roll it tightly from the short edge like a jelly roll creating a spiral that will become your beautiful layered loaf.
- Final Rise:
- Place the loaf seam side down in a greased 9 by 5 inch loaf pan. Cover loosely and let rise until doubled about one hour.
- Bake to Golden:
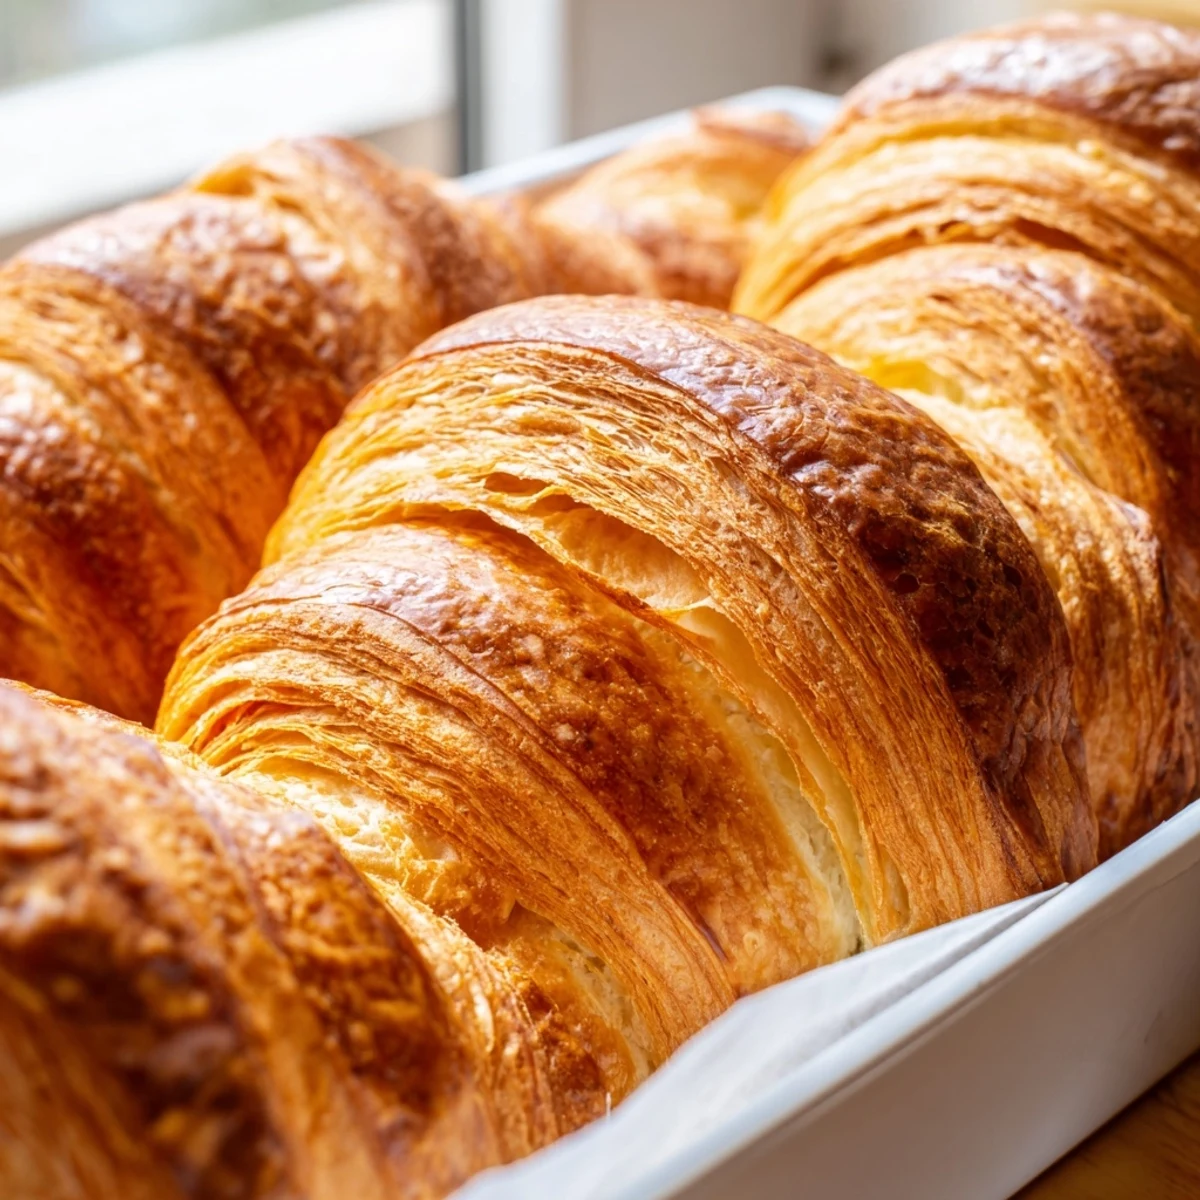
- Preheat oven to 375°F and whisk the egg with milk for a wash. Brush the loaf gently then bake 35 to 40 minutes until deeply golden and hollow sounding tenting with foil if browning too fast.
- Cool Completely:
- Let the bread rest in the pan for 10 minutes then transfer to a wire rack. Cool fully before slicing or the layers will compress and lose their ethereal texture.
 Save
Save This loaf became my go to for housewarming gifts after the first time I brought it to a dinner party and the host literally gasped when I sliced it open. Theres something about handing someone a homemade bread that feels like giving them a piece of your heart wrapped in buttery dough.
The Temperature Game
Baking is basically chemistry with feelings and temperature is your most powerful ingredient. Cold butter creates distinct layers while warm butter melts into the dough creating bread instead of pastry. I learned this the hard way one summer when my kitchen was too warm and I ended up with delicious but definitely not laminated bread.
Timing Your Turns
Those rest periods between folding are not suggestions they are mandatory. The gluten needs time to relax or it will fight back every time you try to roll making the process frustrating and the layers uneven. Think of it as giving your dough a little meditation break between workout sets.
Serving Suggestions
This bread demands to be celebrated and that means treating it like the star it is. Thick slices toasted until golden then topped with salted butter and strawberry jam will make you understand why French pastries are legendary. For dinner toast slices and top with brie and fig preserves for an appetizer that disappears in seconds.
- Try a slice with vanilla ice cream for the most decadent dessert
- Make the most incredible French toast you will ever eat
- Serve alongside a cheese board and watch it vanish first
 Save
Save Every time I pull this golden beauty from the oven I am reminded that some things are worth the extra effort. Your kitchen will smell amazing your people will be impressed and you will feel like a baking wizard.
Recipe Questions & Answers
- → What makes this different from regular bread?
-
The laminated butter technique creates distinct flaky layers throughout, similar to puff pastry or croissants. Unlike standard bread dough that relies on steam for lift, this method uses folding cold butter into the dough multiple times, creating hundreds of alternating butter and dough layers that separate during baking.
- → Can I skip the chilling steps?
-
The chilling periods are essential for success. Cold butter creates distinct layers, while warm butter would simply melt into the dough. Each 30-minute chill firms the butter, allowing clean folds without breaking through the dough surface.
- → How do I know when it's fully baked?
-
The loaf should be deep golden brown and sound hollow when tapped on the bottom. An instant thermometer inserted into the center should read at least 190°F (88°C). If the top browns too quickly, tent with foil after 25 minutes.
- → Why did my layers disappear?
-
This typically happens when butter gets too warm during rolling, causing it to seep into the dough rather than remain as separate layers. Work quickly, keep your surface cool, and return to the refrigerator if the butter feels soft or greasy.
- → Can I add fillings like chocolate or cheese?
-
Absolutely. After the final roll-out, sprinkle with grated cheese, herbs, or chocolate before rolling into a loaf shape. Sweet additions like cinnamon sugar work beautifully layered into the dough during the final shaping step.
- → How should I store this bread?
-
Wrap tightly in plastic and store at room temperature for up to 2 days. For longer storage, freeze slices in a freezer bag and reheat in a 350°F oven for 5-7 minutes. Refresh day-old slices by toasting to restore crispness.
