 Save
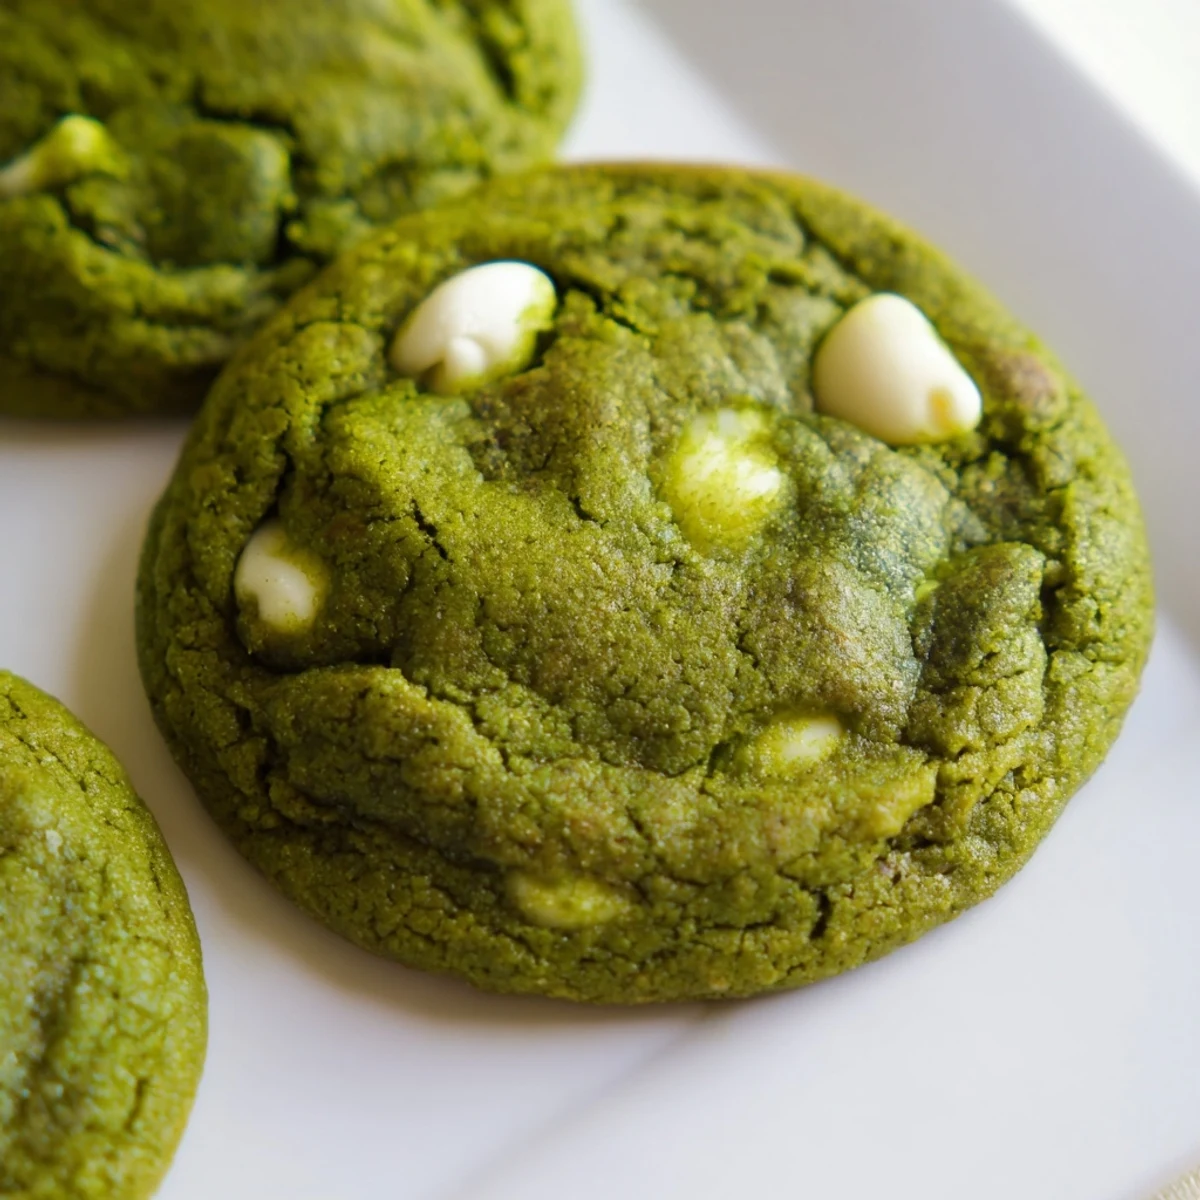
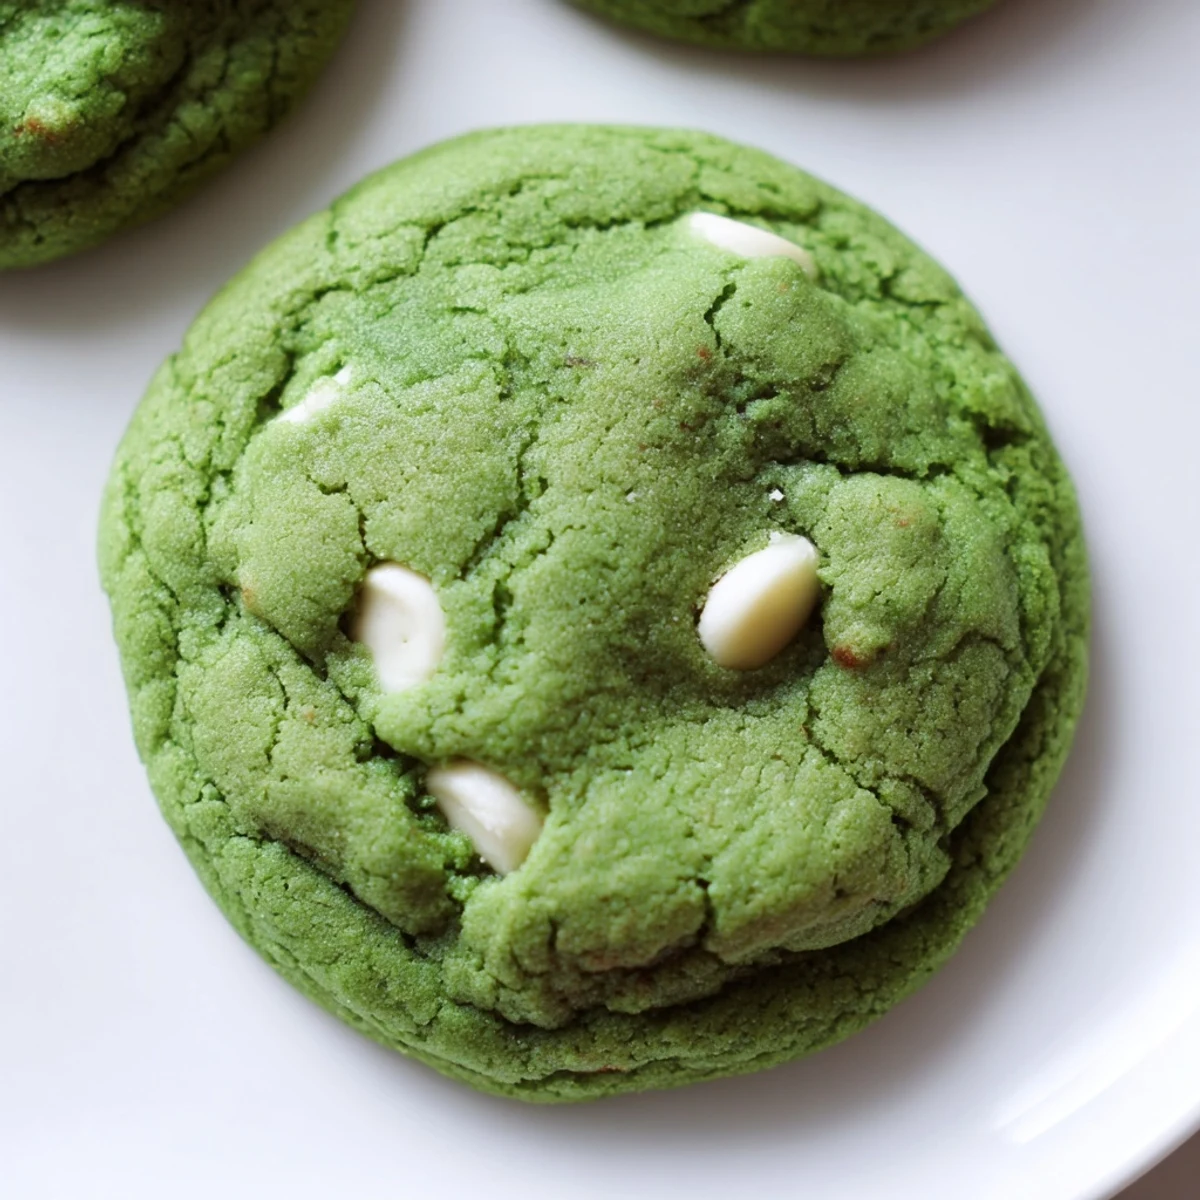
Save These vibrant green velvet cookies combine the soft, chewy texture you love with a subtle hint of cocoa and creamy white chocolate chips throughout. The striking color makes them perfect for St. Patrick's Day, Christmas, or any festive gathering, though they're just as delightful for an everyday treat.
The dough comes together quickly with basic pantry staples, requiring just 20 minutes of prep before hitting the oven. A touch of white vinegar reacts with the baking soda to create that signature velvety crumb, while gel food coloring gives the cookies their brilliant emerald hue without affecting the flavor.
Bake until the edges are set but centers remain slightly soft for the perfect chewy texture. Let them cool on the baking sheet for a few minutes to set before transferring to a wire rack. These cookies store beautifully in an airtight container for up to a week, though they rarely last that long!
The first time I made these green velvet cookies was during a particularly gray February week when my kitchen desperately needed color. My daughter had been begging me to bake something fun after school, and I figured why not turn our classic chocolate chip cookie recipe into something whimsical. When they came out of the oven with that stunning emerald hue and the white chocolate chips started melting into little pools, her eyes lit up like it was Christmas morning. Now they are our go to cure for any dull day.
Last St. Patricks Day I brought a batch to work and watched my coworkers circle the break room three times before finally trying one. The best part was seeing the skeptics turn into believers after that first bite. Someone actually asked if I had bought them from a bakery which I took as the highest compliment.
Ingredients
- All purpose flour: The foundation that gives these cookies their perfect chewy texture
- Unsweetened cocoa powder: Just enough to add depth without overpowering the delicate green color
- Baking soda: Essential for that lovely spread and soft center we love
- Salt: Balances the sweetness and makes all flavors pop
- Unsalted butter: Softened to room temperature for effortless creaming
- Granulated sugar: Creates crisp edges while keeping centers tender
- Brown sugar: The secret to extra chewiness and subtle caramel notes
- Eggs: Room temperature eggs incorporate better for uniform dough
- Milk: Just a splash helps achieve the perfect consistency
- Vanilla extract: Pure vanilla makes all the difference here
- White vinegar: Reacts with baking soda for extra softness and helps the green color stay vibrant
- Green food coloring: Gel coloring gives the richest color without affecting dough texture
- White chocolate chips: The creamy counterpart that makes these cookies irresistible
Instructions
- Preheat and prepare:
- Get your oven to 350 degrees and line two baking sheets with parchment paper so you are ready to go
- Whisk the dry ingredients:
- Combine flour cocoa powder baking soda and salt in a medium bowl until everything is evenly distributed
- Cream the butter and sugars:
- Beat the softened butter with both sugars until the mixture turns pale and fluffy about 3 minutes
- Add the wet ingredients:
- Mix in the eggs one at a time then add the milk vanilla vinegar and food coloring until you have a vibrant green dough
- Combine everything:
- Gradually fold in the dry ingredients mixing just until the flour disappears
- Fold in the chocolate:
- Gently stir in the white chocolate chips until they are evenly distributed throughout
- Scoop and space:
- Drop tablespoon sized dough balls onto your prepared sheets leaving about 2 inches between each
- Bake to perfection:
- Bake for 10 to 12 minutes until edges are set but centers still look slightly soft
- Cool and enjoy:
- Let them rest on the baking sheet for 5 minutes then transfer to a wire rack to cool completely
 Save
Save My grandmother always said the best recipes are the ones that make people smile before they even take a bite. These green velvet cookies have become that recipe in our house bringing joy whether we are celebrating a holiday or just need a Tuesday afternoon pick me up.
Getting The Perfect Green
I have learned that gel food coloring is worth every penny because liquid coloring can throw off your dough consistency. Start with one tablespoon and add more if needed remembering that the color will deepen slightly during baking.
Storage Secrets
These cookies stay remarkably soft in an airtight container for up to five days. I actually think they taste better on day two when the flavors have had time to meld together and the texture becomes even more tender.
Make It Your Own
While white chocolate chips are classic you can experiment with different mix ins based on what you have on hand. The dough base is incredibly forgiving and adaptable.
- Try adding chopped pecans for a nutty crunch
- Swap white chips for mint chips during winter holidays
- Press a few extra chips on top before baking for that bakery look
 Save
Save Whether you are baking for a special occasion or just want to brighten someones day these cookies never fail to bring a little magic to the kitchen.
Recipe Questions & Answers
- → Why do these cookies have a green color?
-
The vibrant green hue comes from food coloring, preferably gel type for the most intense color. The coloring doesn't affect the flavor at all—it simply creates that stunning emerald shade that makes these cookies so visually striking for holidays and celebrations.
- → Can I use liquid food coloring instead of gel?
-
Yes, you can use liquid food coloring, though you'll need to add more drops to achieve the same vibrant color. Gel coloring is more concentrated and won't add excess liquid to your dough, which can affect the texture. If using liquid, start with a few drops and add more until you reach your desired shade.
- → What does the cocoa powder add to the flavor?
-
The cocoa powder provides a subtle chocolate undertone that complements the sweetness without making these taste like traditional chocolate cookies. It's just enough depth to balance the vanilla and white chocolate, creating a more complex flavor profile than standard sugar cookies.
- → Why is there vinegar in the dough?
-
The white vinegar reacts with the baking soda to create a slight chemical reaction that helps produce that signature soft, velvety texture. It's a similar principle to red velvet cakes and won't leave a tangy taste in the finished cookies.
- → Can I make the dough ahead of time?
-
Absolutely! You can refrigerate the dough for up to 3 days before baking, which actually intensifies the flavors. For longer storage, scoop the dough balls and freeze them on a baking sheet before transferring to a freezer bag. They'll keep for up to 3 months—just add 1-2 extra minutes to the baking time when baking from frozen.
- → How do I know when the cookies are done baking?
-
The cookies are ready when the edges are set and slightly firm but the centers still look slightly soft and underbaked. They'll continue cooking on the hot baking sheet during those 5 minutes of cooling time, resulting in perfectly chewy centers. If you wait until the centers look completely set in the oven, they'll be too firm once cooled.
