 Save
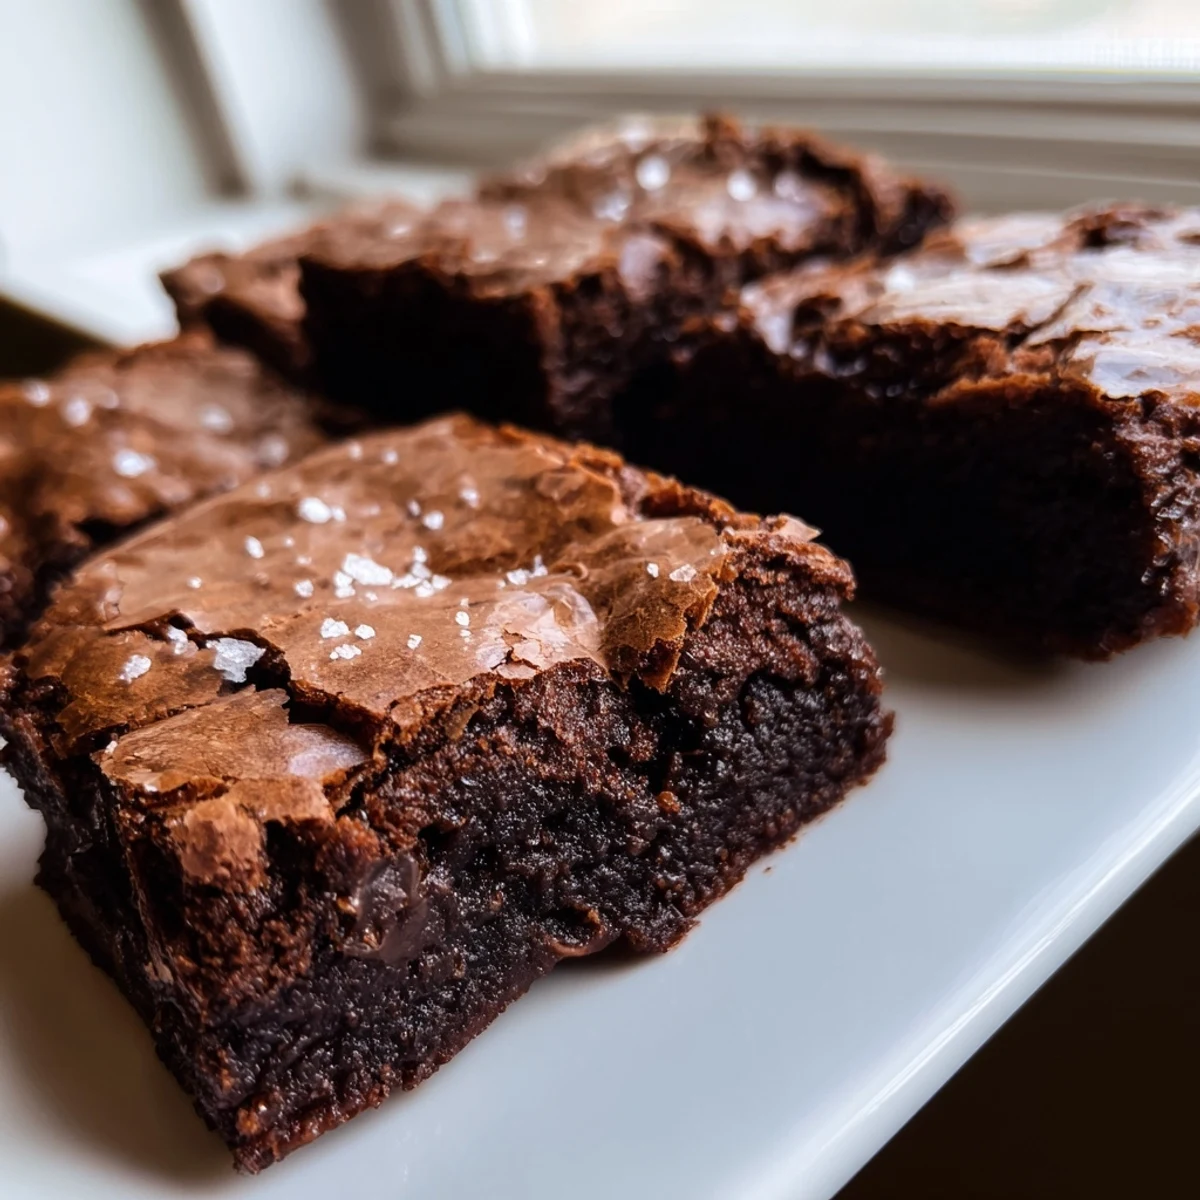
Save These rich chocolate squares deliver an irresistible fusion of textures—fudgy centers with a pleasantly chewy mochi-like exterior. The brown butter adds a nutty depth that perfectly balances the bittersweet chocolate, while sweet rice flour creates the signature chewy consistency naturally gluten-free.
The technique involves browning butter until golden and fragrant, then melting chocolate directly into the warm mixture. Eggs and sugars create structure, while a combination of milk and heavy cream ensures the tender crumb. The result is a cross between traditional American brownies and Japanese mochi, offering the best of both worlds.
Baking takes just 45 minutes, yielding 16 squares that stay fresh for days. The tops develop a delicate crackle, while interiors remain moist and dense. For the gooiest results, pull them from the oven when a toothpick shows moist crumbs rather than clean.
It was raining that Sunday when I decided to experiment with mochiko flour, mostly because I'd bought a bag on impulse and couldn't bear to see it sit neglected in the pantry. The smell of browning butter filled my tiny apartment, that toasty caramel scent that makes everything feel cozy, and I found myself leaning over the saucepan just breathing it in. These brownies came out of that rainy afternoon experimentation, and I've been making them ever since whenever I need something that feels like a hug in dessert form.
I brought a batch to my friend's potluck last summer, and her dad who's usually skeptical of anything gluten-free took three squares before asking what made them so special. Watching people's eyes light up at that first chewy bite has become one of my favorite things about making these brownies. They're conversation starters, these little squares that bridge two dessert traditions in the most delicious way possible.
Ingredients
- Sweet rice flour (mochiko): This is the magic ingredient that gives these brownies their signature chewy texture, and I've found that different brands can absorb moisture differently, so you might need to add a splash more milk if your batter seems too thick
- Unsweetened cocoa powder: I use a high-quality Dutch-processed cocoa because it really makes a difference in the deep chocolate flavor without adding bitterness
- Baking powder: Just a touch helps these rise slightly so they're not dense, creating that perfect balance between fudgy and cakey
- Kosher salt: Salt is absolutely crucial here, it makes all the flavors pop and balances the sweetness beautifully
- Unsalted butter: Browning the butter first adds those incredible nutty caramel notes that take these from good to unforgettable
- Granulated and brown sugar: The combination gives you crunch from the white sugar and chew from the brown, plus that deep molasses flavor
- Eggs: Room temperature eggs incorporate better and create that nice crinkly top on the brownies as they bake
- Vanilla extract: Never skip the vanilla, it's the aromatic bridge that connects all the other flavors
- Whole milk and heavy cream: The mixture of milk and cream creates the perfect moisture level for that mochi-like texture without making the brownies soggy
- Bittersweet chocolate: I chop a good quality bar instead of using chips because the irregular pieces melt into lovely puddles of intense chocolate throughout
Instructions
- Get your oven and pan ready:
- Preheat your oven to 350°F (175°C) and line an 8x8-inch baking pan with parchment paper, letting some hang over the sides because that overhang will be your best friend when it's time to lift the brownies out later
- Brown the butter like your life depends on it:
- Melt the butter in a small saucepan over medium heat, then keep cooking it past the melted stage until it foams up and turns a gorgeous golden brown, smelling intensely nutty and toasted, which takes about 4-6 minutes of careful watching and occasional pan swirling
- Melt the chocolate into the hot butter:
- Pour that beautiful brown butter into a large mixing bowl immediately so it stops cooking, then add your chopped chocolate and stir until it melts into the warm butter, creating this glossy, luscious chocolate mixture
- Whisk in the sugars:
- Add both the granulated and brown sugar to the warm chocolate mixture, whisking until everything is completely combined and the mixture looks smooth and slightly glossy
- Add the eggs and vanilla:
- Whisk in the eggs one at a time, making sure each egg is fully incorporated before adding the next, then stir in the vanilla extract until the mixture looks silky and beautiful
- Whisk together the dry ingredients:
- In a separate bowl, combine the sweet rice flour, cocoa powder, baking powder, and salt, whisking them together thoroughly so you don't end up with pockets of baking powder in your finished brownies
- Combine wet and dry:
- Add half of your dry ingredients to the wet mixture, stirring until just combined, then pour in the milk and heavy cream and mix until smooth before adding the remaining dry ingredients and folding everything together gently until no streaks remain
- Bake until perfectly set:
- Pour the batter into your prepared pan and smooth the top with a spatula, then bake for 40-45 minutes until the top is set and a toothpick inserted in the center comes out with just a few moist crumbs attached
- Cool completely before slicing:
- Let the brownies cool completely in the pan because they need this time to set their texture, then use the parchment paper overhang to lift them out and slice into perfect squares
 Save
Save My sister requested these for her birthday instead of cake, and watching her face light up with that first bite, that moment of pure chocolate joy, reminded me why baking feels like the most personal form of love.
The Secret to Perfect Texture
I've learned that sweet rice flour behaves differently than wheat flour, and it needs that extra hydration time to fully absorb the liquid ingredients. Letting your batter rest for even 10 minutes before baking can make a difference in the final texture, giving the flour time to fully hydrate and creating that perfectly chewy mochi consistency we're after. The batter might seem thinner than regular brownie batter, and that's completely normal, so don't be tempted to add more flour.
Customization Ideas
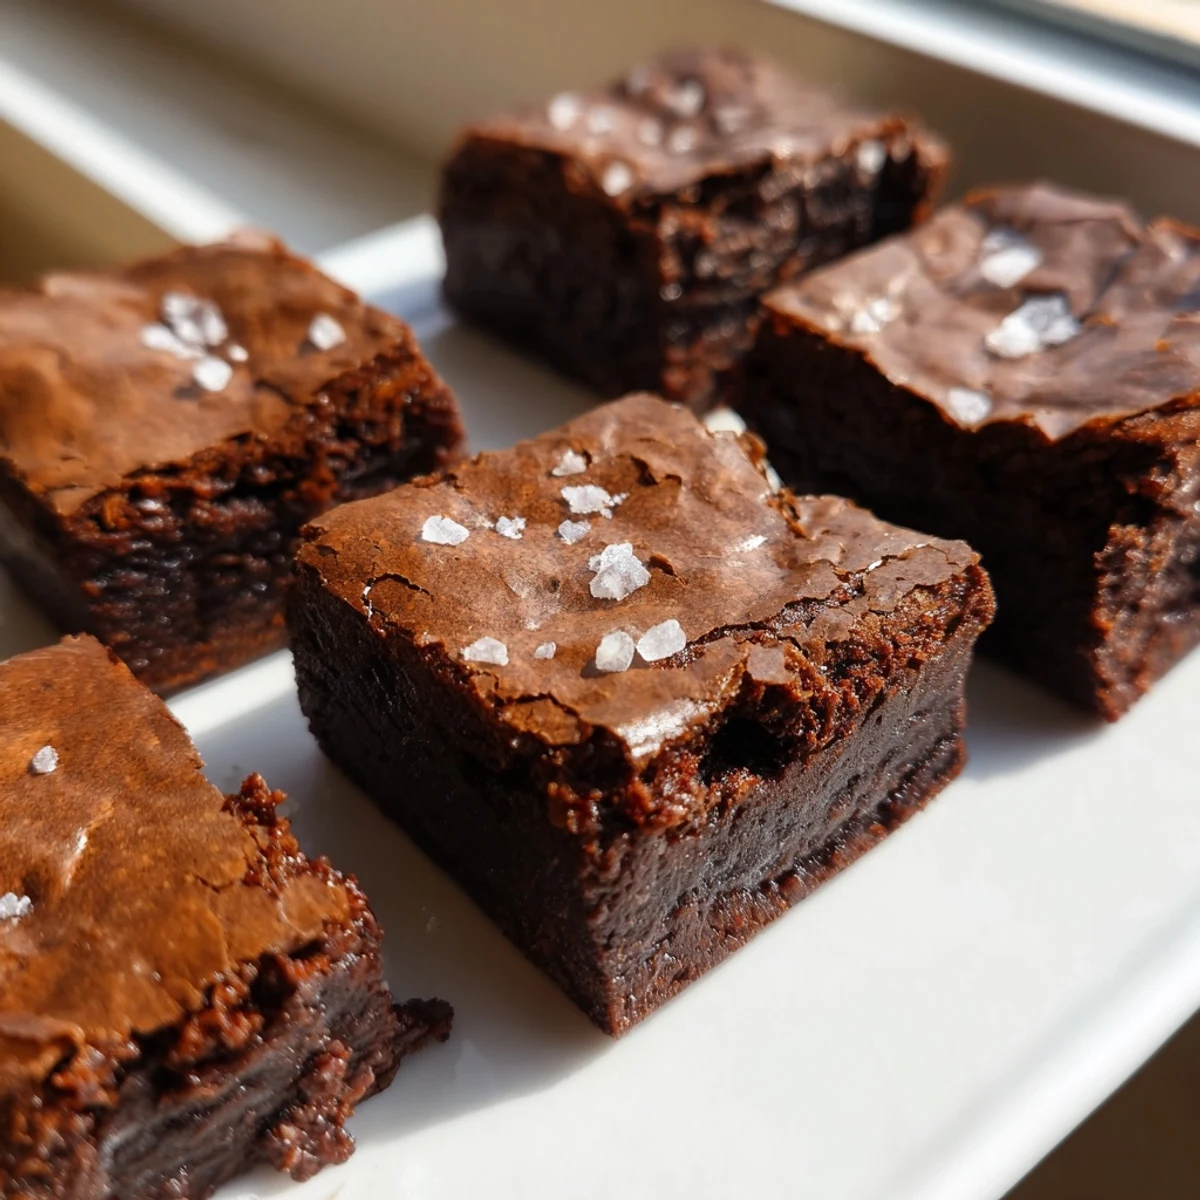
Sometimes I fold in chopped toasted walnuts or pecans right at the end for that extra crunch, and I've also been known to swirl in some peanut butter before baking. A sprinkle of flaky sea salt on top before they go into the oven creates this gorgeous sweet-salty contrast that makes these feel extra special. During the holidays, I'll add a pinch of cinnamon or espresso powder to the dry ingredients for a warm, spiced variation that feels festive and cozy.
Storage and Serving Suggestions
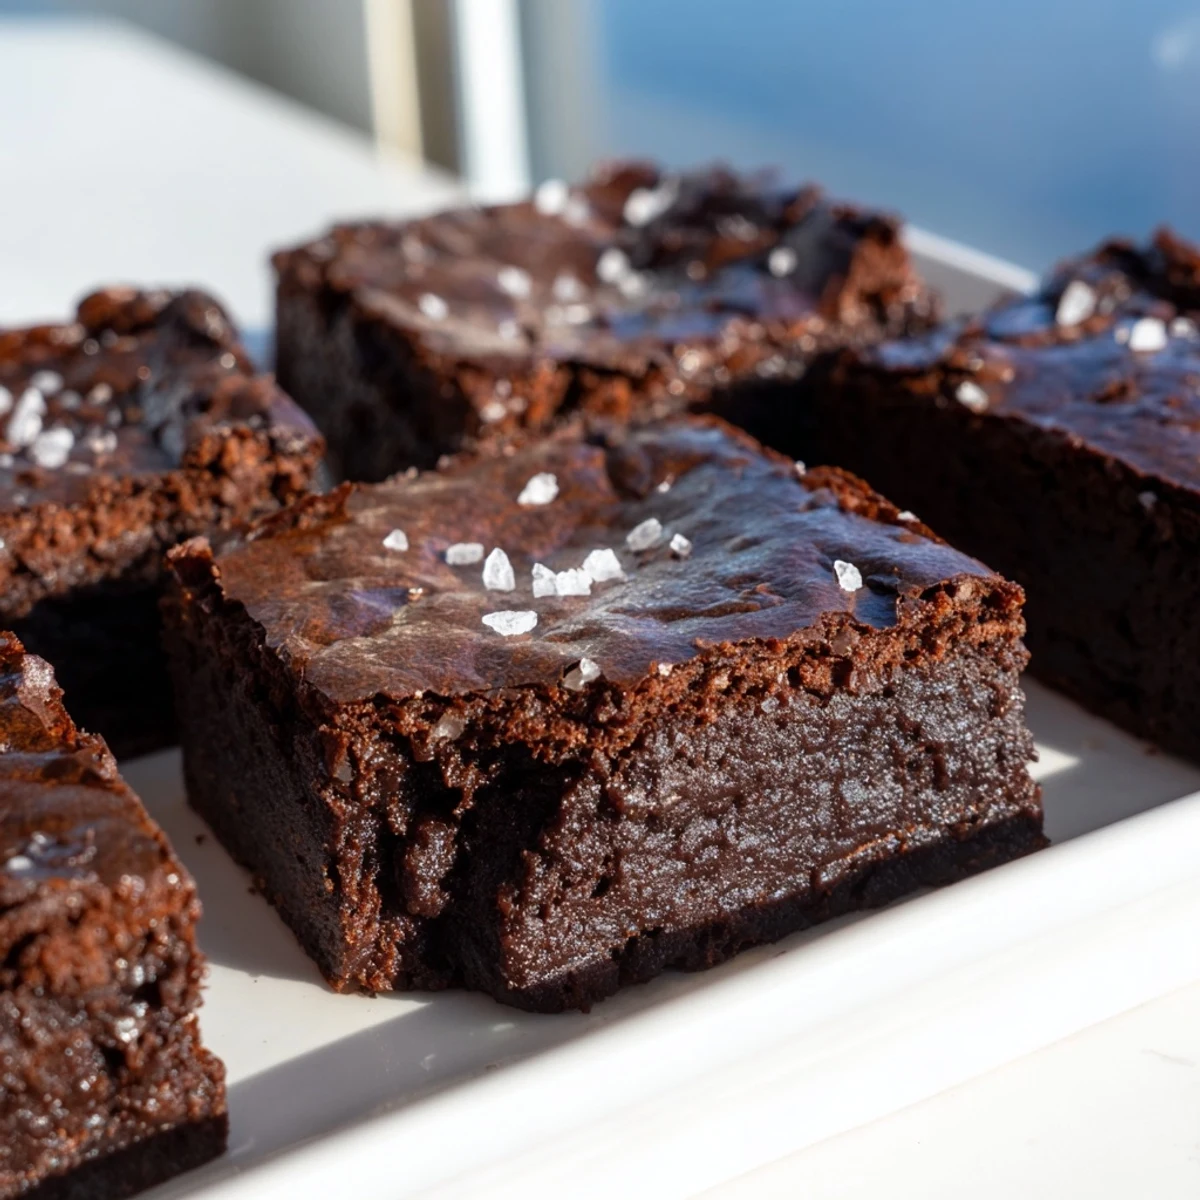
These brownies actually develop better flavor on day two, if you can manage to save them that long, as the mochi texture becomes even more pronounced and chewy. Store them in an airtight container at room temperature for up to three days, though honestly, they've never lasted longer than two days in my house.
- Warm a brownie in the microwave for 15 seconds before serving, it transforms the texture and makes the chocolate pockets melty and irresistible
- These freeze beautifully wrapped individually in plastic wrap and then placed in a freezer bag for up to two months
- Serve them slightly warmed with a scoop of vanilla ice cream, and suddenly you've got a dessert that feels restaurant-quality fancy
 Save
Save There's something so wonderful about a dessert that brings together two different culinary traditions, and every time I serve these, I think about how food can be the best kind of cultural conversation starter.
Recipe Questions & Answers
- → What makes these brownies chewy?
-
Sweet rice flour (mochiko) creates the signature chewy texture. Unlike wheat flour, it develops a pleasantly elastic consistency when baked, similar to traditional Japanese mochi while still maintaining a fudgy brownie-like center.
- → Can I use regular butter instead of brown butter?
-
Yes, melted unsalted butter works as a substitute. However, you'll lose the nutty, caramel notes that brown butter contributes to the overall flavor profile. The brown butter adds depth that complements the bittersweet chocolate beautifully.
- → Are these completely gluten-free?
-
Yes, sweet rice flour is naturally gluten-free. However, always verify that your specific brand of mochiko and chocolate are processed in gluten-free facilities if you have celiac disease or severe gluten sensitivity, as cross-contamination can occur during manufacturing.
- → How should I store these?
-
Keep in an airtight container at room temperature for up to 3 days. The texture remains pleasantly chewy, and the flavors continue to develop. For longer storage, refrigerate for up to a week, though bringing them to room temperature before serving enhances the fudgy texture.
- → Why is there both milk and heavy cream?
-
The combination provides the ideal moisture balance. Whole milk adds liquid without overwhelming the batter, while heavy cream contributes richness and helps create the tender, fudgy crumb. Using both prevents the squares from becoming dry or cakey.
- → Can I substitute the chocolate type?
-
Semisweet chocolate works for a sweeter result, while dark chocolate (70% or higher) creates a more intense flavor. Avoid milk chocolate as it lacks the cocoa depth needed to stand up to the brown butter and chewy texture.
