 Save
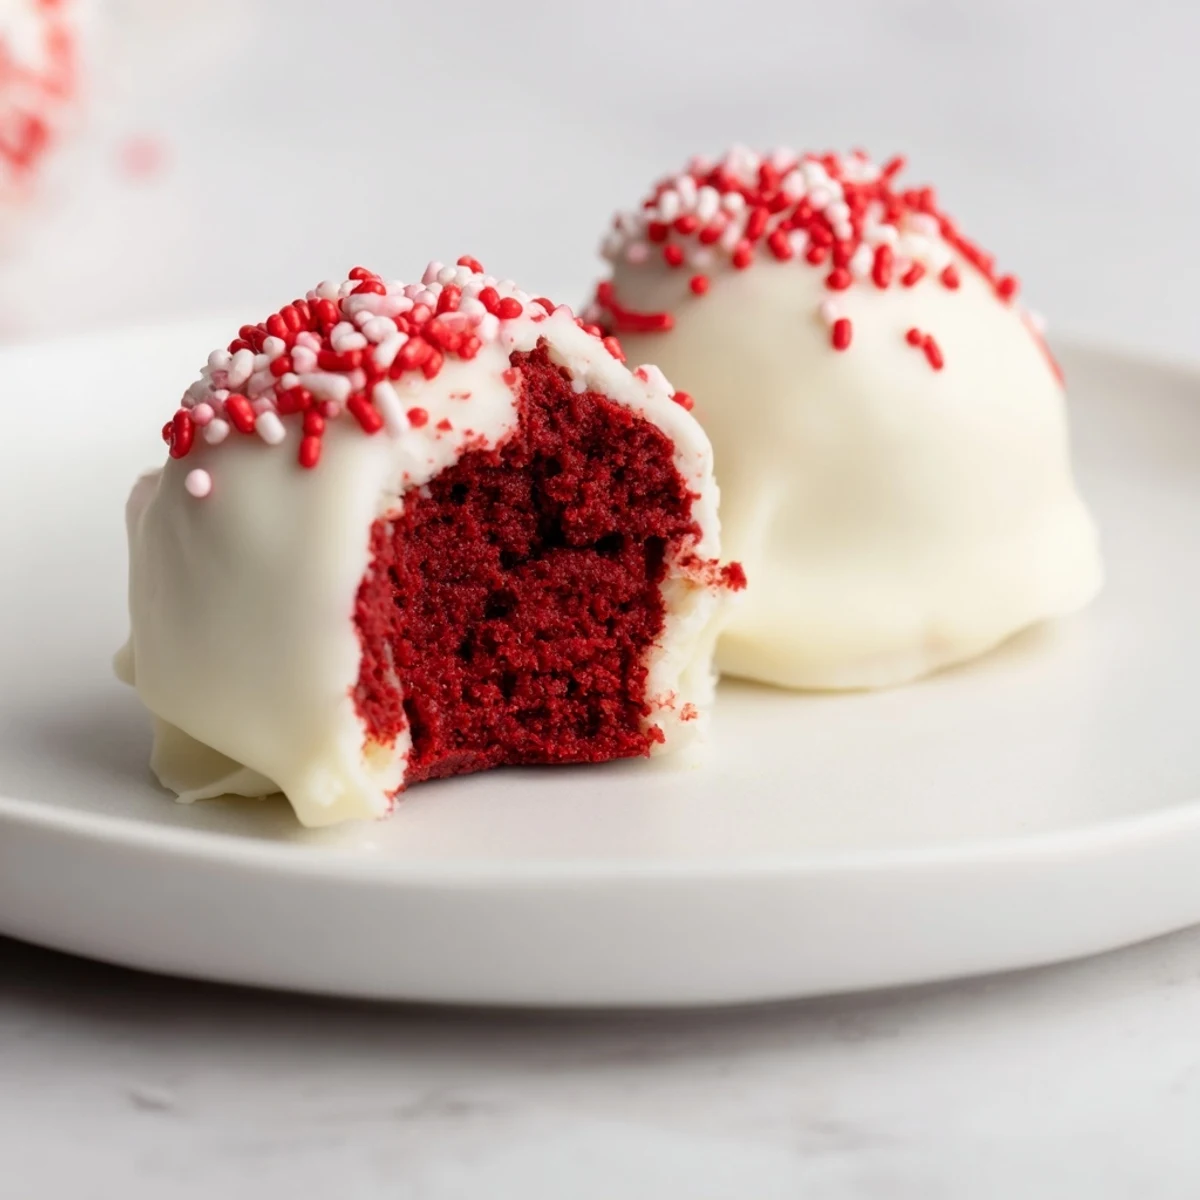
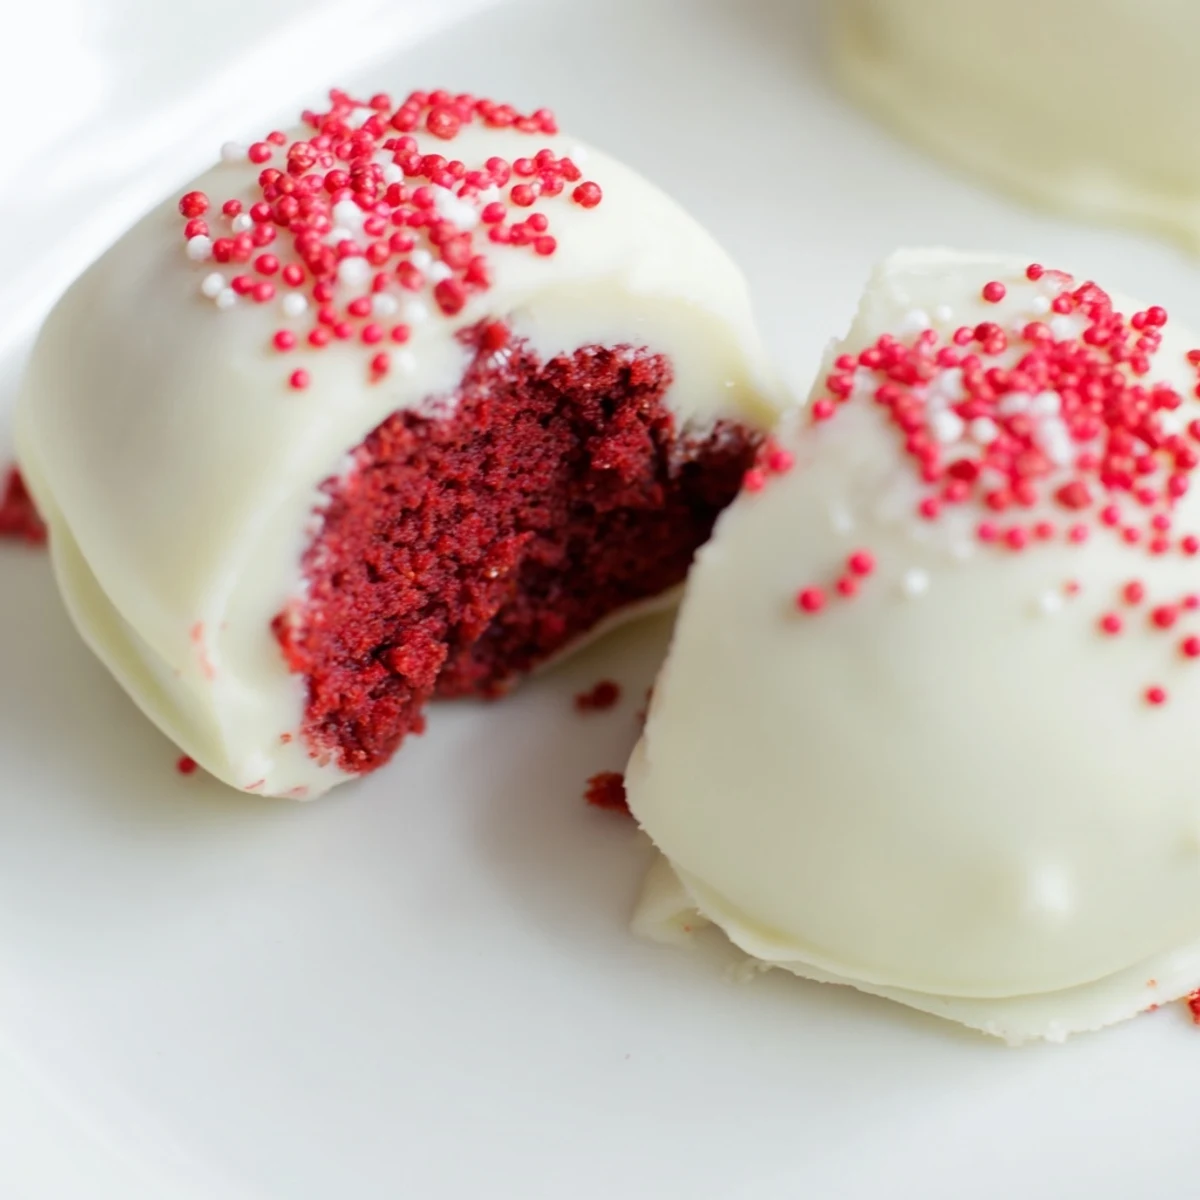
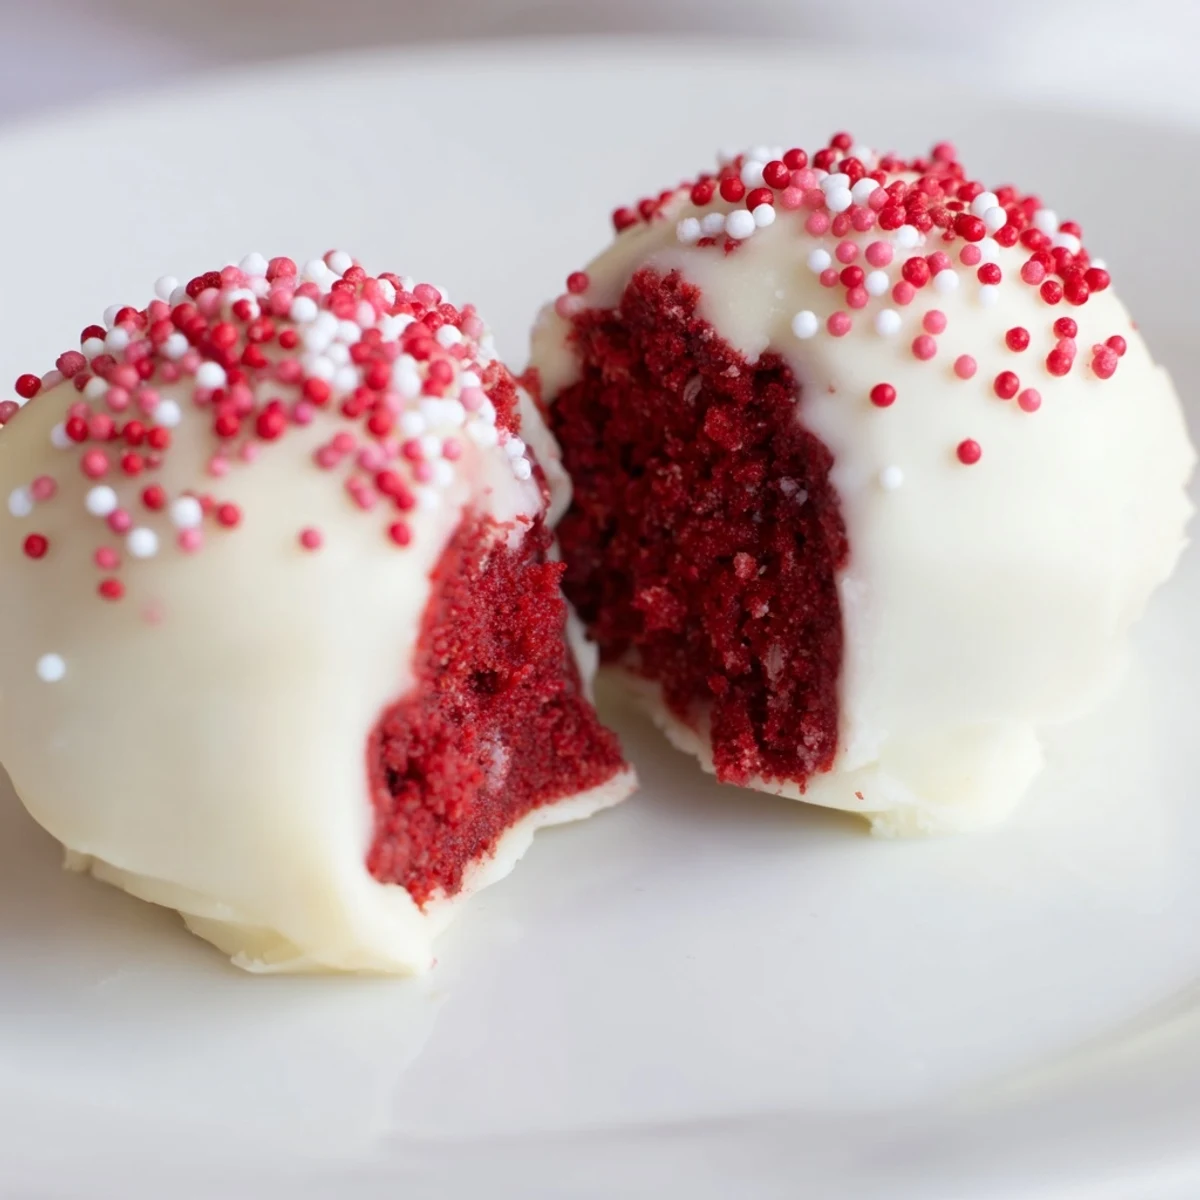
Save Transform red velvet cake into luxurious bite-sized truffles by combining crumbled cake with creamy cream cheese, then dipping in melted white chocolate. These no-fuss treats deliver all the classic red velvet flavor in a fun, poppable format that's ideal for celebrations, dessert platters, or homemade gifts.
The process starts with baking (or using leftover) red velvet cake, which gets crumbled and mixed with softened cream cheese to form a dough-like consistency. After chilling into firm balls, each piece gets coated in velvety white chocolate for that signature finish. Customize with dark or milk chocolate coating, add sprinkles for festive occasions, or experiment with different cake flavors.
Store these truffles in the refrigerator for up to 5 days, making them excellent for advance preparation. With only 30 minutes of active prep time and simple ingredients, these truffles deliver impressive results with minimal effort.
Last Christmas, my sister dared me to turn leftover red velvet cake into something portable. I spent three hours covered in red crumbs and white chocolate streaks, completely certain I had made a terrible mess until that first perfect truffle rolled across the counter. Now they are the first thing requested for every gathering, birthday, or random Tuesday when someone needs a little pick-me-up.
I brought a batch to my book club and watched my friend Sarah literally close her eyes after the first bite. She asked if I had spent all day making them, and I just smiled and said sometimes the best recipes are born from happy accidents in the kitchen.
Ingredients
- Red velvet cake mix: Using a box mix keeps this approachable while still delivering that classic flavor everyone loves
- Cream cheese: This is what binds everything together into that fudgy, truffle consistency
- White chocolate: White chocolate pairs perfectly with red velvet, creating that stunning color contrast
- Coconut oil: Adding this to your coating makes it smoother and easier to work with
Instructions
- Bake your cake base:
- Preheat oven to 350°F and grease a 9x13-inch pan. Mix the cake mix, eggs, oil, and water until smooth, then bake for 25 to 30 minutes until a toothpick comes out clean. Let it cool completely.
- Create the truffle mixture:
- Crumble the cooled cake into fine crumbs. Beat softened cream cheese until smooth and fold it into the cake crumbs. Mix until everything comes together in a dough that holds its shape.
- Shape and chill:
- Scoop tablespoon portions and roll them into balls. Place on a parchment-lined baking sheet and freeze for 20 to 30 minutes until firm.
- Coat in chocolate:
- Melt the white chocolate with coconut oil in 20-second intervals. Dip each ball using a fork, let excess drip off, then place back on parchment.
- Add finishing touches:
- Sprinkle immediately with red or pink sprinkles before the chocolate sets. Chill for at least 30 minutes until the coating is firm.
 Save
Save These became my go-to hostess gift after I showed up with a box at a dinner party and the host actually squealed. There is something about handing someone a beautiful box of homemade truffles that feels like giving them a tiny celebration.
Making Them Look Professional
The difference between homemade truffles and bakery-quality ones is all in the coating. I learned to tap the fork gently against the bowl edge to remove excess chocolate, which creates that smooth, even finish without drips and pools. It takes practice, but even imperfect ones taste incredible.
Flavor Variations
Sometimes I add a teaspoon of vanilla extract to the cream cheese mixture for extra depth. You can also swap the white chocolate for dark or milk chocolate, though the color contrast will not be as dramatic. A pinch of sea salt on top transforms them completely.
Storage And Make-Ahead Tips
These truffles actually taste better after chilling for a day, as the flavors have time to meld. Store them in an airtight container in the refrigerator for up to five days. You can also freeze the uncoated cake balls for up to a month and coat them when you are ready.
- Let refrigerated truffles sit at room temperature for 10 minutes before serving
- Use a cookie scoop for uniform sizing that looks professional
- Keep the chocolate warm while dipping by placing the bowl over a pan of warm water
 Save
Save There is something deeply satisfying about turning a simple cake mix into something that feels like a confection from a fancy chocolatier. These truffles have a way of making ordinary moments feel like a celebration.
Recipe Questions & Answers
- → Can I use leftover cake instead of baking a fresh one?
-
Absolutely! Leftover red velvet cake works perfectly for this method. Simply crumble any cooled red velvet cake (homemade or store-bought) and proceed with the cream cheese mixture. This is actually a great way to repurpose cake that's slightly dry or past its prime.
- → Why do my truffles crack after coating?
-
Cracking typically occurs when the filling is too cold when dipped, causing the coating to contract rapidly. Let your chilled balls sit at room temperature for 5-10 minutes before dipping. Also, ensure your white chocolate isn't too hot—around 90°F (32°C) is ideal for smooth coating.
- → What's the best way to melt white chocolate?
-
Melt white chocolate in the microwave in 20-second intervals, stirring between each session. This prevents overheating and seizing. Adding coconut oil or vegetable shortening helps achieve a smoother, more dippable consistency that sets beautifully.
- → Can I make these truffles gluten-free?
-
Yes! Simply use a gluten-free red velvet cake mix in place of regular cake mix. Verify that all other ingredients, including the white chocolate chips, are certified gluten-free. The texture and taste remain virtually identical.
- → How long do these truffles last?
-
Store your truffles in an airtight container in the refrigerator for up to 5 days. The cream cheese filling requires refrigeration for food safety. For longer storage, freeze uncoated cake balls for up to 3 months, then thaw and coat when ready to serve.
- → Can I substitute dark or milk chocolate for the white chocolate coating?
-
Definitely! Dark or milk chocolate creates a beautiful contrast against the red velvet interior and adds a richer flavor profile. The melting and dipping process remains the same regardless of chocolate type.
