 Save
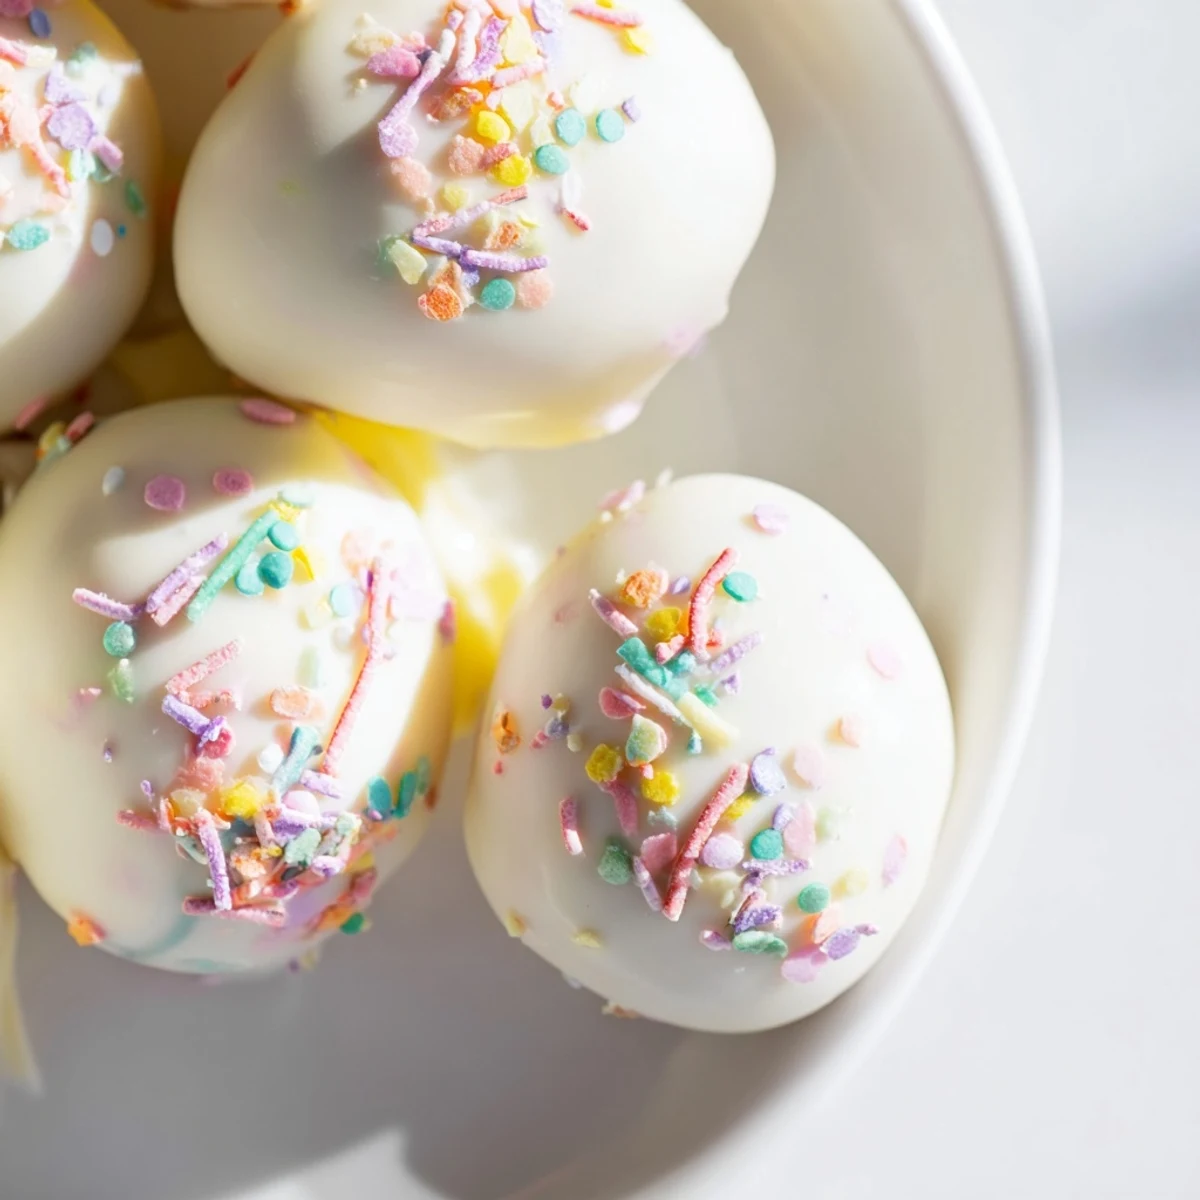
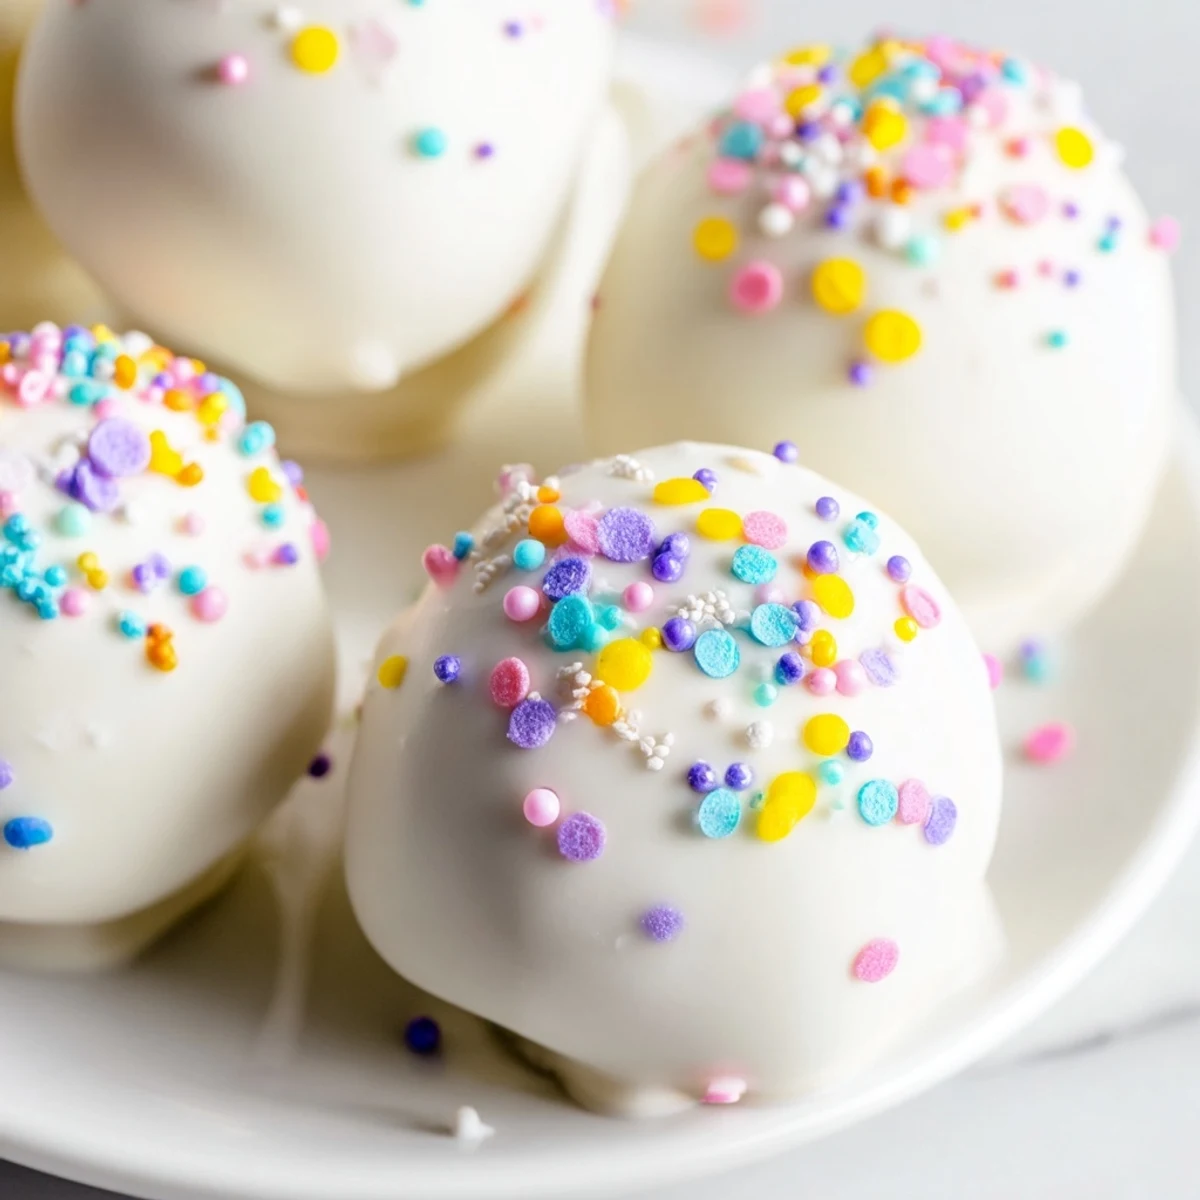
Save These Easter egg cake pops are delightful bite-sized treats shaped into festive eggs, perfect for spring celebrations. Using a moist cake crumb base blended with creamy frosting, the mixture is shaped into oval forms and chilled for firmness. Coated in pastel-colored white chocolate or candy melts, each pop is decorated with sprinkles or edible glitter for a playful finish. Ideal for fun baking with kids or seasonal gatherings, they combine colorful presentation with rich, sweet flavors.
My kitchen counter looked like a pastel explosion had gone off, and I had frosting in my hair that I would not discover until hours later. That was the spring my niece decided we needed to make something 'Instagram worthy' for her school's Easter bake sale, and somehow I agreed to cake pops. The first batch looked more like lumpy potatoes than eggs, but by the third tray we had a system, and the kitchen was filled with that particular quiet concentration that happens when kids are actually focused.
I remember my neighbor walking in right as we were dipping the last few, her eyes widening at the rows of tiny eggs standing at attention in their styrofoam block. She stayed for coffee and ended up rolling sprinkles between her fingers, finding the whole process weirdly meditative, and left with three stuck to her sleeve without noticing.
Ingredients
- Vanilla or funfetti cake mix: The foundation that saves you from measuring flour at 8am when small humans are already asking when we start.
- Eggs oil water: Whatever your box demands, though I have learned room temperature eggs blend smoother than cold ones yanked straight from the fridge.
- Unsalted butter: Softened means you can press a finger into it and leave a dent, not melted into a puddle.
- Powdered sugar: Sifted if you want frosting without tiny sugar lumps that refuse to dissolve.
- Milk and vanilla extract: The vanilla is non-negotiable for that bakery aroma, and milk lets you control the frosting texture.
- White chocolate or candy melts: Candy melts are more forgiving than real chocolate, they do not seize up when you look at them wrong.
- Sprinkles and edible glitter: The tiny joys that make children gasp and adults sneak extra handfuls.
- Lollipop sticks: Sturdy ones, because nothing sours the mood like a cake pop sliding down its stick.
Instructions
- Bake and cool completely:
- Follow your box instructions and then walk away. I mean it. Warm cake becomes gummy mush when you try to crumble it.
- Crumble to fine crumbs:
- Use your fingers, breaking it down until it looks like sand. This is excellent stress relief and children love destroying things on purpose.
- Whip up the frosting:
- Beat that butter until it looks like pale yellow clouds, then add sugar slowly or you will wear it.
- Mix frosting into crumbs:
- Start with less than you think, you can always add more but you cannot take it back. The dough should hold together when squeezed.
- Shape your eggs:
- Roll gently between your palms, do not compress too hard or they get dense. Imperfect ovals look more like real eggs anyway.
- Chill until firm:
- The freezer is your friend here, twenty minutes beats an hour of waiting when small decorators are losing patience.
- Melt your coating:
- Short bursts in the microwave, stirring between, until it flows like heavy cream.
- Secure the sticks:
- Dip just the tip in coating, insert halfway, let set for a minute. This anchor prevents heartbreak later.
- Dip and tap:
- Submerge completely, then tap the stick gently against the bowl edge. Excess coating pools into puddles if you skip this.
- Decorate immediately:
- Coating sets fast, so sprinkle as you go. I work in batches of three.
- Stand to set:
- Styrofoam works, but an upside down colander or cardboard box with holes poked through also saves the day.
 Save
Save The batch we made that Saturday disappeared faster than the Easter candy itself, and my niece still talks about the one she decorated with seventeen sprinkles and a tiny sugar flower. Food becomes memory when you let it get messy.
Making These With Kids
Assign age-appropriate jobs to prevent chaos. Older kids can handle the dipping with supervision, younger ones are genuinely excellent at sprinkling and quality control tasting. The egg shaping is where tiny hands shine, they do not overthink symmetry the way adults do.
Coloring Your Coating
Gel food coloring is the only way to go, water-based drops make chocolate seize into a grainy disaster. Add color to melted white coating a tiny drop at a time, stirring thoroughly, until you hit that perfect pale spring shade.
Storage and Gifting
These keep beautifully in a single layer, though stacking them requires parchment between rows. For gifting, clear bags tied with ribbon make them look professional, and they travel well if the car is not too warm.
- Room temperature is better than refrigerated for texture.
- Add a tiny marshmallow to the bottom of gift bags to prevent sticking.
- Write the date on the container, four days passes faster than you think.
 Save
Save However your eggs turn out, lopsided or perfect, they carry the particular magic of something made with your own hands. That is the real treat.
Recipe Questions & Answers
- → How do I achieve the perfect shape for cake pops?
-
After mixing cake crumbs with frosting, form the mixture into oval egg shapes using your hands or a scoop. Chilling them before coating helps maintain their shape.
- → What coating works best for vibrant pastel colors?
-
White chocolate or candy melts can be tinted with gel food coloring to create smooth, vibrant pastel coatings that set firmly on the cake pops.
- → Can I prepare these cake pops in advance?
-
Yes, cake pops can be refrigerated up to 4 days in an airtight container, making them convenient for ahead-of-time preparation.
- → How do I insert the sticks securely into the cake pops?
-
Dip the tip of each lollipop stick in melted coating before inserting it halfway into the shaped cake pop; this acts as glue to hold the pop in place.
- → Are there alternatives to the vanilla cake base?
-
You can substitute vanilla cake with chocolate or lemon flavors to add variety without altering the process.
