 Save
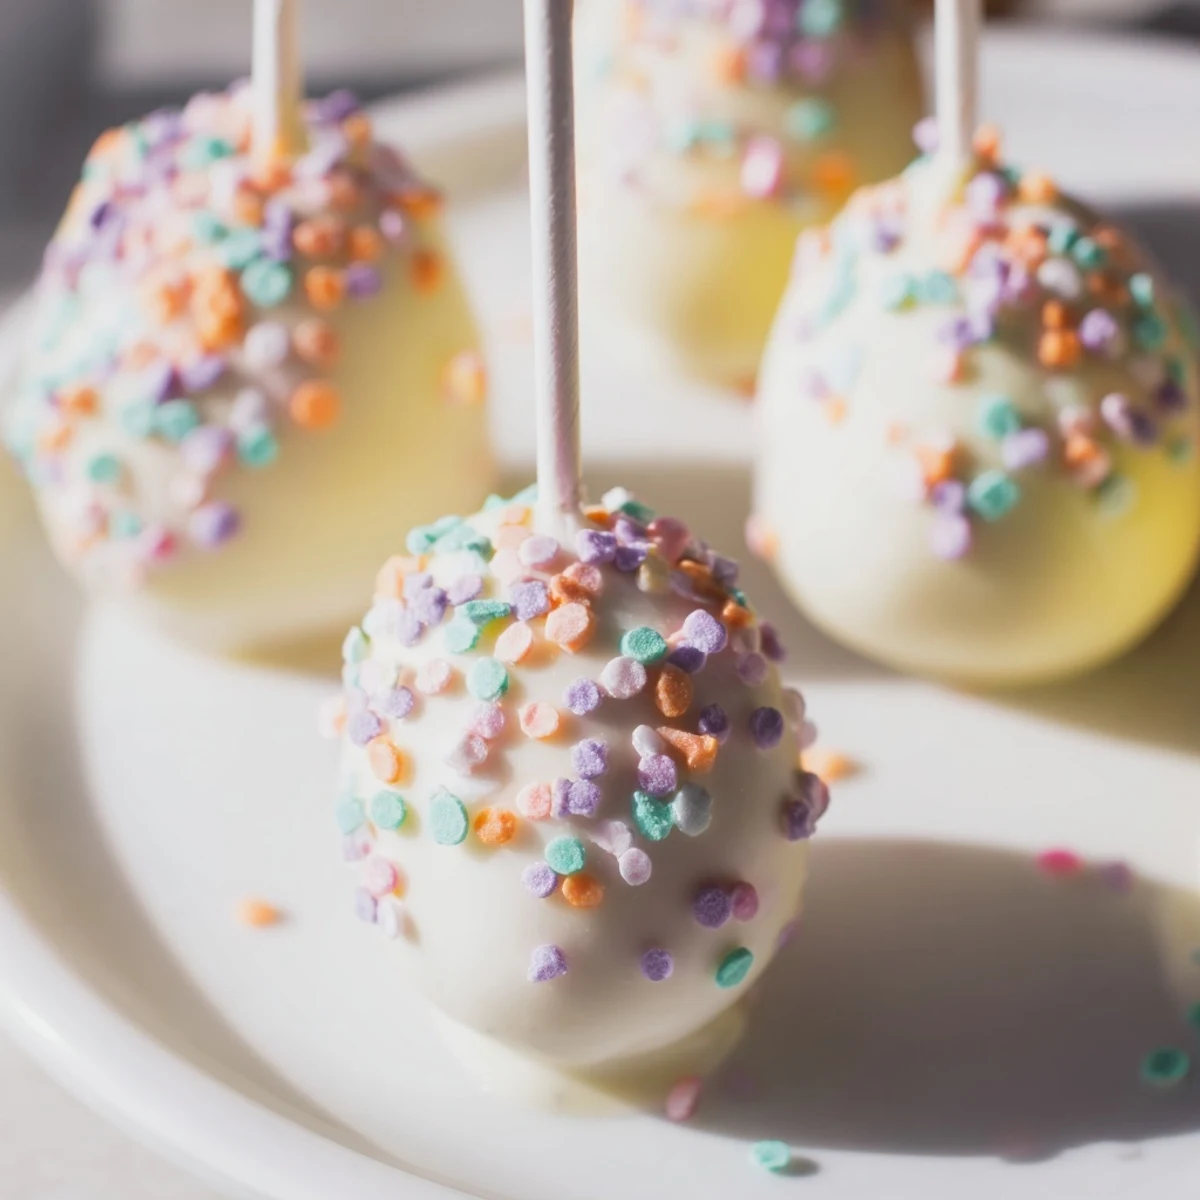
Save These festive Easter egg-shaped cake pops offer a fun and colorful treat perfect for spring gatherings. Moist crumbs of vanilla or chocolate cake are blended with creamy frosting, shaped into smooth ovals, and chilled until firm. Each pop is then dipped in melted candy melts and adorned with pastel sprinkles for a cheerful finish. The pops are easy to handle on sticks and set upright to dry before serving. Perfect for sharing with family or adding a seasonal touch to dessert tables.
Last spring my daughter asked if we could make something special for her class Easter party. I had never attempted cake pops before, but the idea of bite-sized egg-shaped treats seemed like the perfect way to bring some joy to twenty second graders. The kitchen counter ended up covered in sprinkles and chocolate fingerprints, but seeing her face light up when the first pastel pop came together made all the mess worthwhile.
My first batch had several casualties that slid right off the sticks during the chocolate dipping phase. Through trial and error, I discovered that getting the consistency just right and chilling the shaped eggs makes all the difference between success and cake pop tragedy. Now I make them every spring, and the requests from family keep coming.
Ingredients
- Vanilla or chocolate cake mix: Starting with a boxed mix keeps things simple, but feel free to bake your favorite homemade cake recipe and let it cool completely
- Unsalted butter: Room temperature butter creates the smoothest frosting that binds everything together without making the mixture too wet
- Powdered sugar: This sweetens the frosting while giving it structure to hold the cake crumbs together perfectly
- Milk: Just enough to bring the frosting to spreadable consistency, though you can add more if needed
- Vanilla extract: Pure vanilla adds that warm, comforting flavor that makes everything taste homemade
- White or colored candy melts: These melt smoothly and create that beautiful hard shell while white coating lets the sprinkles really pop
- Vegetable oil: A tablespoon helps thin the candy melts for easier dipping and smoother coating
- Assorted pastel sprinkles: Spring sprinkles in pink, yellow, blue, and lavender make these feel like little edible Easter eggs
- Lollipop sticks: Essential for turning cake balls into proper pops, and they make serving so much easier
Instructions
- Bake and cool the cake:
- Prepare the cake according to package instructions and let it cool completely, because even slightly warm cake will turn your frosting into a gooey mess
- Make the frosting:
- Beat the softened butter until creamy, then gradually add powdered sugar, milk, and vanilla extract until you have a smooth, spreadable consistency
- Crumble and combine:
- Break the cooled cake into fine crumbs using your hands or a food processor, then mix in just enough frosting until the mixture holds together when squeezed
- Shape into eggs:
- Roll tablespoon portions into ovals, gently tapering the ends to create that classic egg shape, and place them on a parchment-lined tray
- Chill thoroughly:
- Freeze the shaped eggs for 30 minutes until firm but not rock hard, which helps them stay on the sticks during dipping
- Prepare the coating:
- Melt the candy melts in the microwave in 30 second intervals, stirring between each, and add vegetable oil if the mixture seems too thick for easy dipping
- Insert the sticks:
- Dip about half an inch of each lollipop stick into the melted chocolate, then push it halfway into each cake egg and let them set for a few minutes
- Dip and decorate:
- Holding the stick, dip each cake pop into the chocolate, gently tap off excess, and immediately sprinkle with decorations before the coating hardens
- Set completely:
- Stand the finished pops upright in a foam block or tall glass to set, which takes about 15 to 20 minutes at room temperature
 Save
Save These cake pops have become our signature spring contribution to family gatherings. My niece now requests them specifically for her birthday every year, even though it is in April. They have become more than dessert, they have become a tradition.
Making Them Ahead
You can shape and chill the cake eggs up to two days before decorating, storing them in an airtight container in the refrigerator. This actually helps them firm up nicely and makes the dipping day much less stressful. Just let them come to room temperature for about 15 minutes before inserting sticks and dipping.
Customizing Colors
While pastel candy melts work beautifully for Easter, you can color white coating with oil-based food coloring for any occasion. I have done deep red for Valentine and vibrant orange for Halloween. The key is using specifically oil-based colors since water-based ones will seize the chocolate instantly.
Serving Suggestions
These cake pops make stunning centerpieces when arranged in a decorative foam block inside a basket or Easter bucket. They also work wonderfully as party favors when wrapped individually in clear treat bags tied with pastel ribbon. Consider setting up a cake pop decorating station at your next gathering.
- Wrap finished pops in small cellophane bags tied with ribbon for easy gifting
- Stick them into a half sphere of floral foam inside a decorative container for a beautiful display
- Set out bowls of different sprinkle combinations and let guests customize their own
 Save
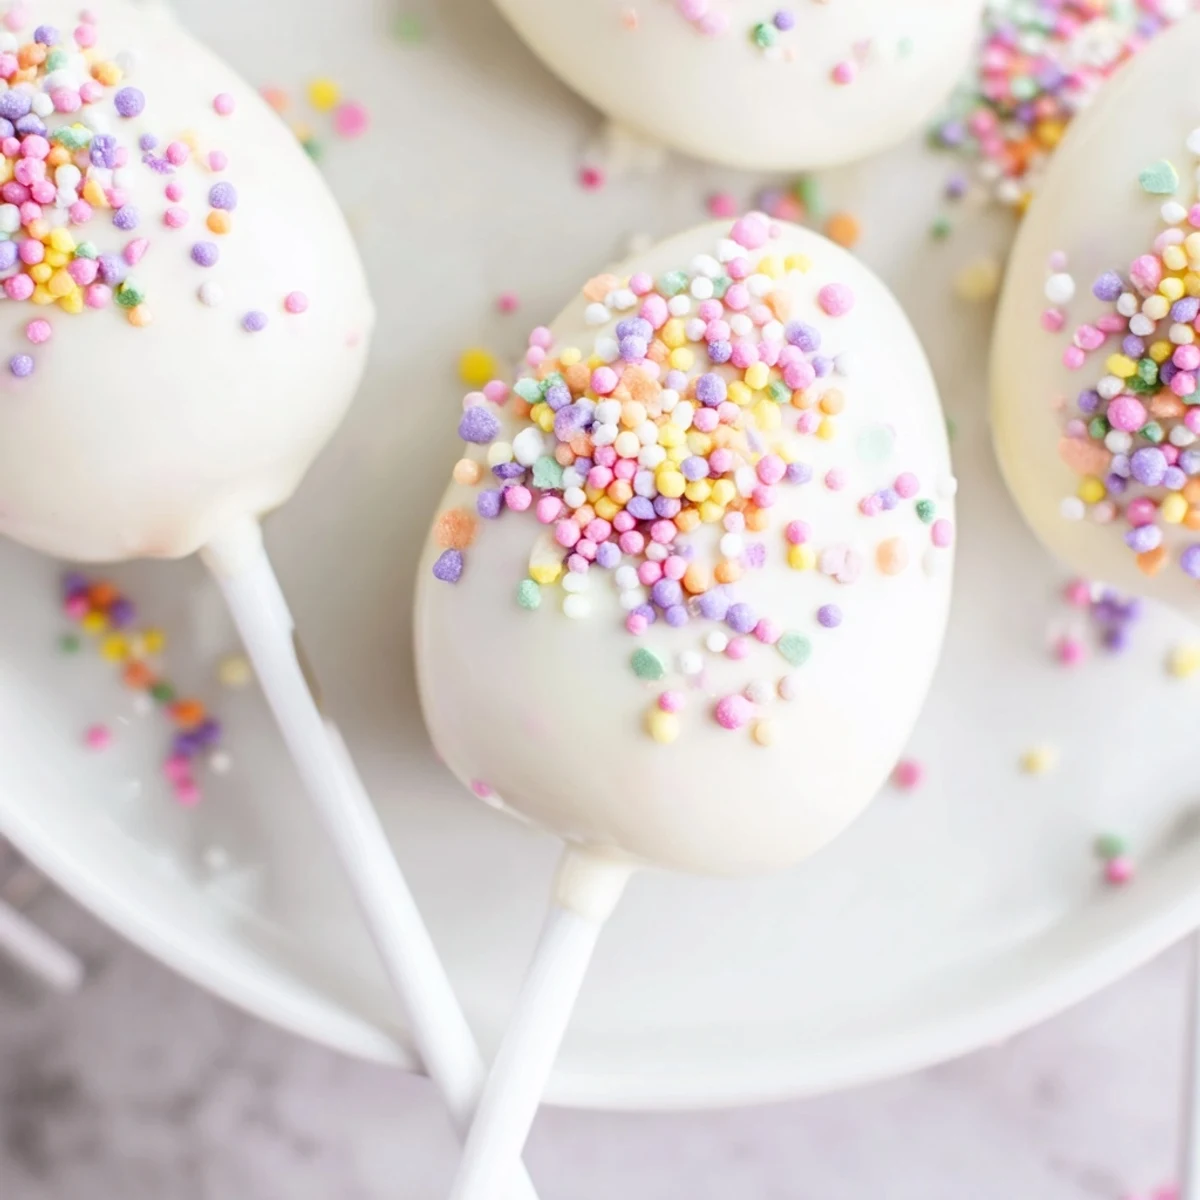
Save There is something magical about these tiny egg-shaped treats that captures the joy of spring in every bite.
Recipe Questions & Answers
- → How do I shape the cake mixture into eggs?
-
Crumble the cooled cake finely and mix with frosting until moldable. Use your hands to gently roll tablespoon-sized portions into smooth oval egg shapes before chilling.
- → Can I use different chocolate colors for coating?
-
Yes, you can melt various colored candy melts to create a festive and vibrant assortment of coated cake pops.
- → What is the best way to prevent cracking during dipping?
-
Chill the shaped cake balls thoroughly before dipping in melted chocolate to ensure they hold their shape without cracking.
- → How should I store the finished cake pops?
-
Store them in an airtight container at room temperature for up to three days to maintain freshness and coating texture.
- → Can I substitute the frosting ingredients?
-
Yes, for a lighter option, Greek yogurt can replace some butter in the frosting, or homemade frosting can be used instead of store-bought.
