 Save
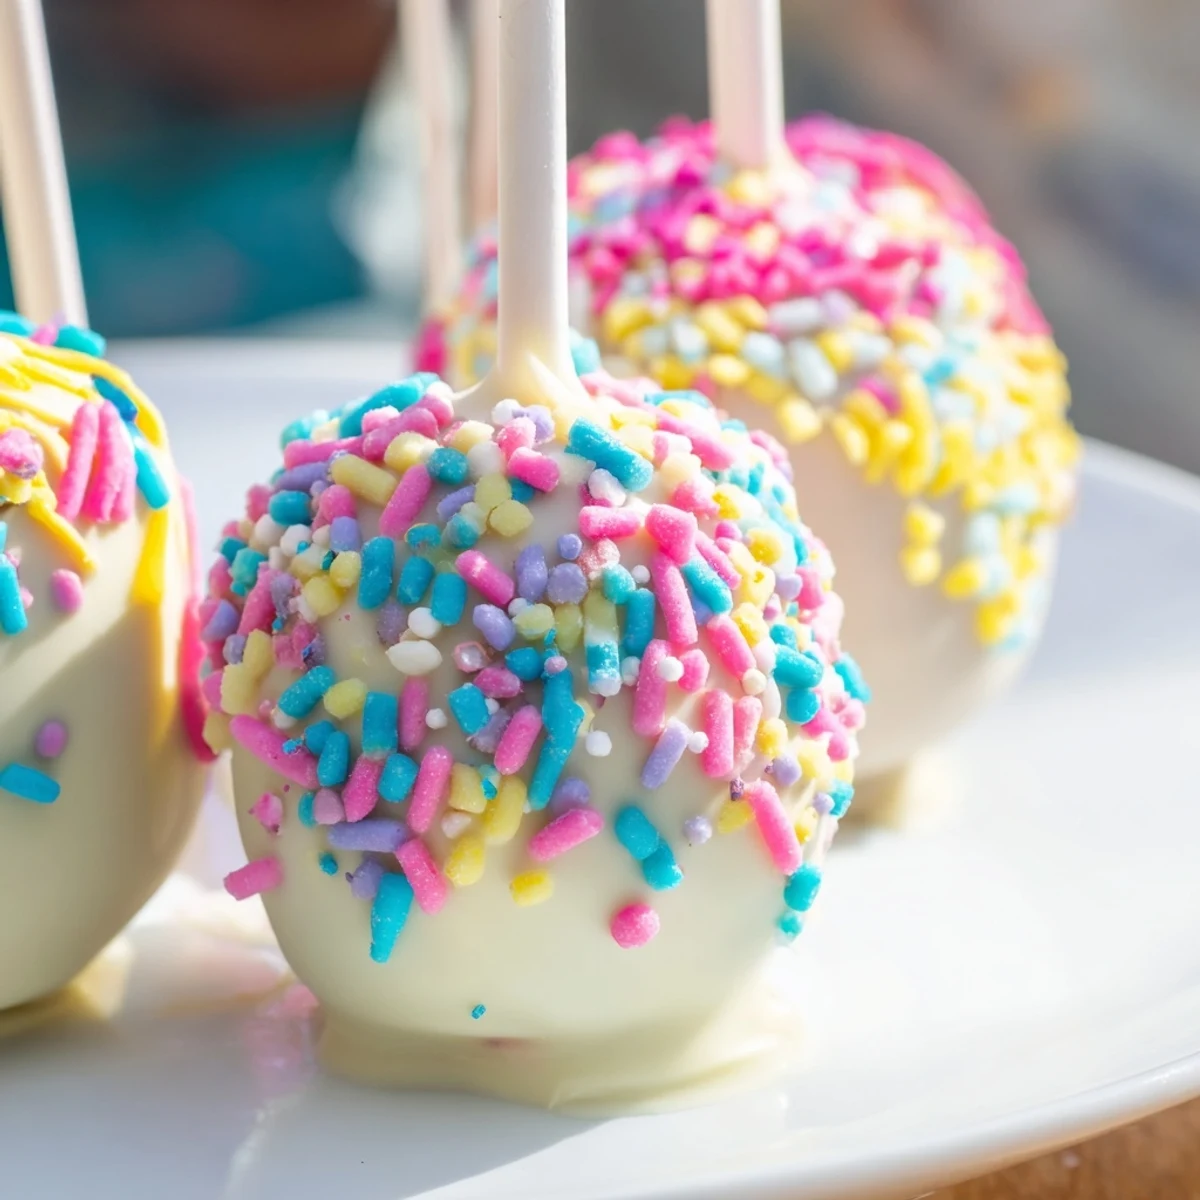
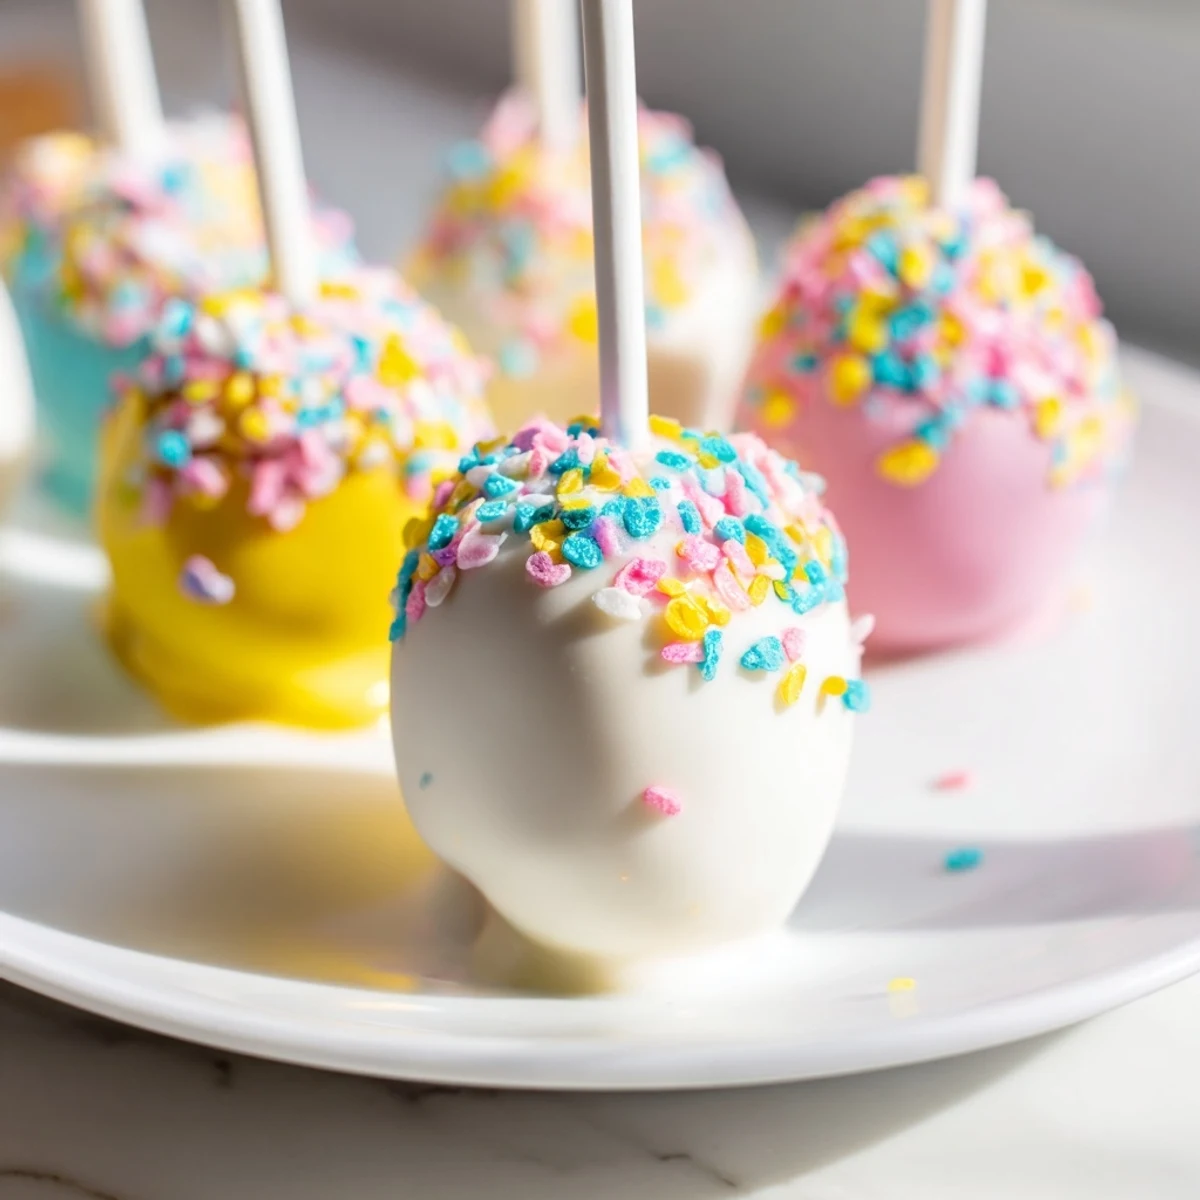
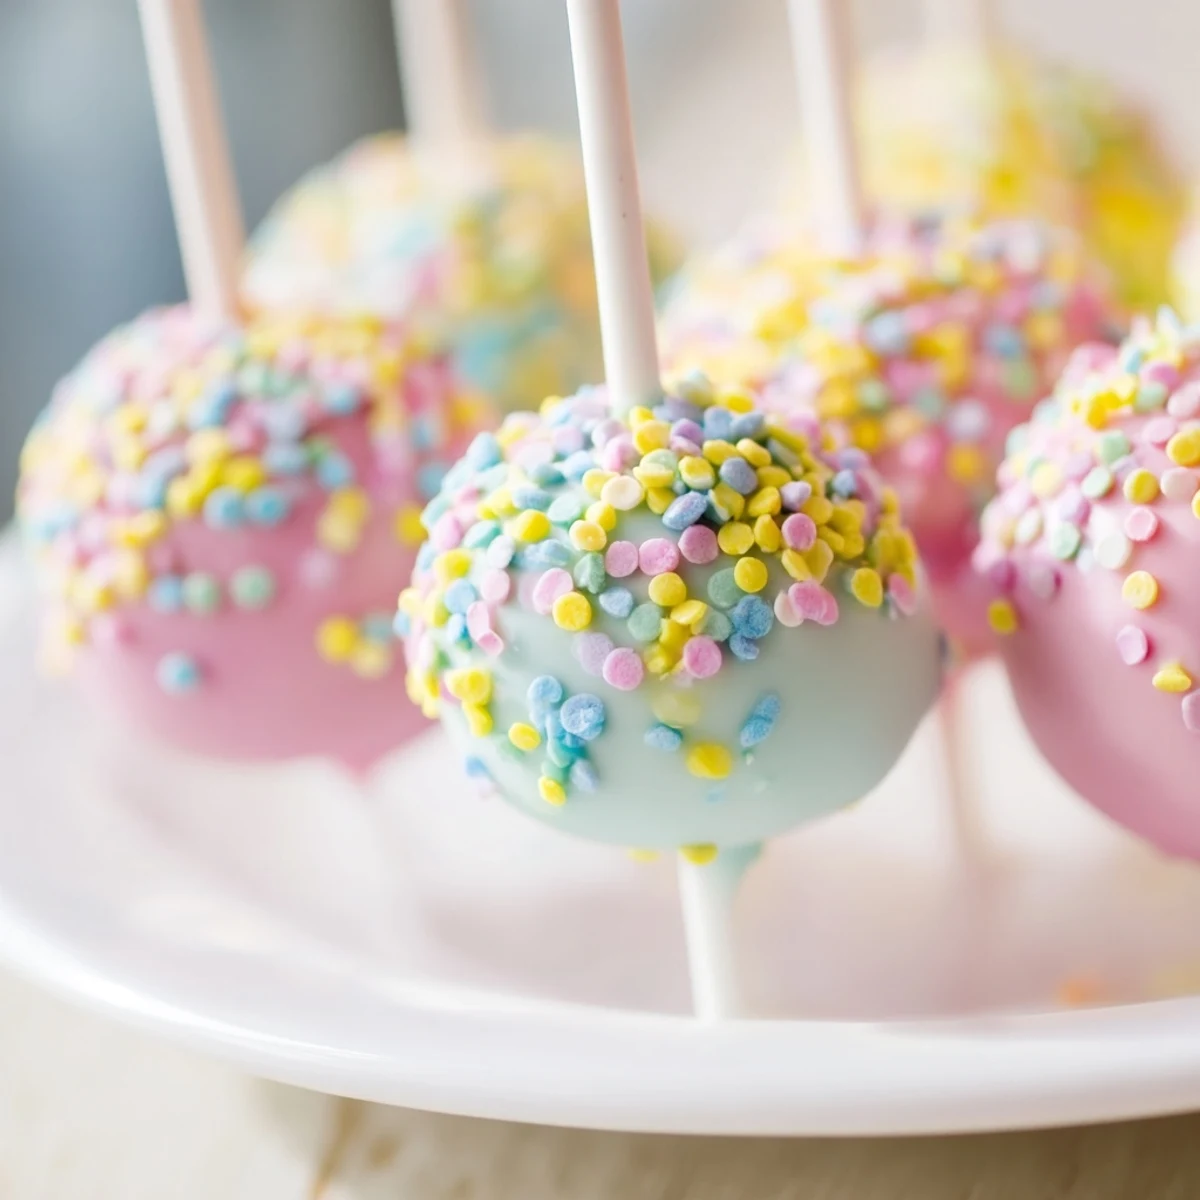
Save These festive cake pops are shaped like Easter eggs, combining moist cake crumbs mixed with creamy frosting to form the base. Each is dipped in smooth melted chocolate, then decorated with colorful sprinkles or tinted chocolate for a vibrant look. After chilling to set, these treats offer a delightful balance of texture and flavor, ideal for springtime celebrations and gatherings. Variations like carrot or lemon cake add a fresh seasonal twist, making them versatile and visually appealing.
My kitchen counter looked like a pastel explosion had gone off, but I couldn't stop grinning at the rainbow of egg-shaped cake pops lined up like little soldiers. I'd attempted cake pops once before and ended up with a bowl full of crumbs and determination, so this time I invited my niece over for what we called 'Operation Easter Egg' - partly because she wanted to help, mostly because I needed someone small enough to have patience for the fiddly dipping part. The house smelled like vanilla birthday cake and melted chocolate, which is basically what happiness smells like.
Last year I brought these to an Easter brunch and watched my friend's three-year-old's eyes widen like he'd just witnessed actual magic. He kept pointing at each color and whispering 'you can EAT that' like someone had played a trick on him. The best part was seeing adults sneak seconds when they thought nobody was watching, because apparently sprinkles make everyone feel five years old again.
Ingredients
- Vanilla or chocolate cake mix: I've learned that nobody judges you for starting with a box mix here, since you're transforming it completely anyway
- Unsalted butter: Make sure it's actually softened to room temperature or your frosting will rebel
- Powdered sugar: Sift it if you can feel any lumps, because smooth frosting makes for smoother cake pop centers
- White or milk chocolate: Melting wafers are honestly worth it for the silky consistency they achieve
- Gel food coloring: The liquid kind will seize your chocolate and nobody needs that heartbreak
- Cake pop sticks: You can also use lollipop sticks or even sturdy straws in a pinch
Instructions
- Bake your base:
- Prepare and bake the cake according to package instructions, then let it cool completely because warm cake will turn your frosting into a sad melty situation
- Make the frosting:
- Beat that softened butter until it's creamy and dreaming of powdered sugar, then gradually add the sugar, milk, and vanilla until you have something smooth and spreadable
- Create the dough:
- Crumble your cooled cake into fine crumbs and mix in just enough frosting to make it hold together when you squeeze it - about 4 to 5 tablespoons should do it
- Shape the eggs:
- Roll about 2 tablespoons of mixture into egg shapes and place them on a parchment-lined baking sheet, then pop them in the fridge for at least an hour or freeze for 20 minutes until firm
- Melt and prep:
- Melt your chocolate until it's smooth and divide it into bowls if you want multiple colors, then stir in gel food coloring
- Add the sticks:
- Dip just the tip of each stick into melted chocolate and insert into the base of each egg - this acts as edible glue and will save you from tragic pops sliding off mid-dip
- Dip and decorate:
- Dip each egg completely in the melted chocolate, tap gently to remove excess, and immediately add sprinkles before the chocolate starts setting
- Set and serve:
- Stand the pops upright in a styrofoam block or cake pop stand and let them set completely before serving or wrapping
 Save
Save My sister now requests these for every spring gathering, and I've realized they've become something we make together while catching up about our lives. There's something meditative about dipping and decorating that makes conversation flow easier, and by the end we're both covered in chocolate smudges and laughing about how the 'ugly' ones always taste the best.
Flavor Variations to Try
I once made these with carrot cake and cream cheese frosting for a more sophisticated Easter brunch, and they disappeared faster than the vanilla version. Lemon cake with white chocolate also works beautifully, especially if you add a tiny bit of lemon zest to the chocolate for that extra bright punch.
Chocolate Temperatures Matter
After several failed batches where my coating turned streaky or never fully set, I finally accepted that chocolate is picky about temperature. Microwave in 30-second intervals and stir between each - it might feel tedious but smooth chocolate coating is worth the patience.
Make Ahead and Storage
You can shape and chill the eggs a day before dipping them, which actually makes the whole process feel more manageable. Store finished cake pops in an airtight container with wax paper between layers, and they'll stay fresh for up to four days - though in my house they rarely make it past day two.
- Set up a decorating station with small bowls of sprinkles before you start dipping
- Keep a damp paper towel nearby for chocolate-covered fingers
- Have your styrofoam block ready before you begin dipping
 Save
Save These little egg-shaped treats have somehow become the thing people ask me about most, and I think it's because they're equal parts nostalgic and special. Plus, there's something deeply satisfying about handing someone a stick with a chocolate-covered surprise on the end.
Recipe Questions & Answers
- → How do I achieve the right texture for shaping the cake pops?
-
Mix the cake crumbs with just enough frosting until the mixture is moist and holds together when pressed, ensuring they form firm shapes without being too wet.
- → What’s the best way to melt chocolate for coating?
-
Melt chocolate gently in a microwave-safe bowl in short bursts or over a double boiler, stirring frequently to avoid burning.
- → How can I add bright colors without affecting the chocolate consistency?
-
Use gel food coloring, which provides vibrant hues without thinning the melted chocolate, ideal for decorative coatings.
- → What alternatives can I try for cake flavors?
-
Try carrot or lemon cake mixes to add fresh seasonal flavors and enhance the spring theme of the pops.
- → How long should the cake pops chill before decorating?
-
Refrigerate for at least 1 hour or freeze for 20 minutes until firm to make dipping and decorating easier and neater.
- → How should I store finished cake pops?
-
Keep them in an airtight container at room temperature or refrigerated for up to 4 days to maintain freshness and texture.
