 Save
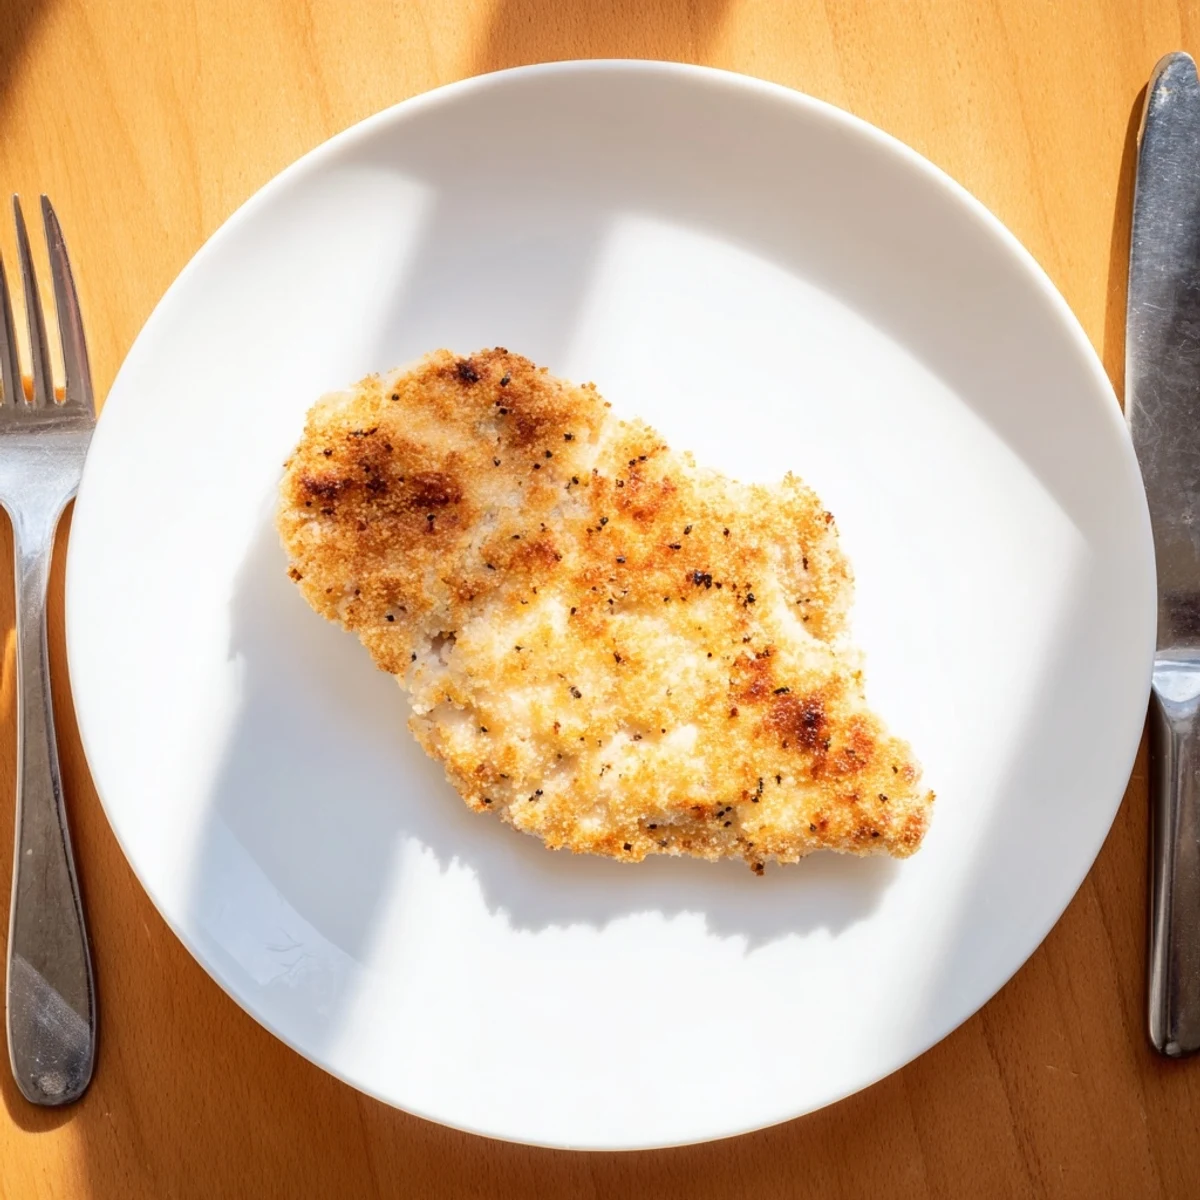
Save Enjoy perfectly crispy, juicy chicken breasts with a golden parmesan coating that delivers all the comfort of fried food with significantly less oil. The air fryer creates that irresistible crunch while keeping the meat tender and moist inside. Ready in just over half an hour, this protein-packed main serves four and adapts easily to gluten-free needs with simple panko substitutions.
The first time I made parmesan crusted chicken in the air fryer, I stood there watching through the glass like it was a magic trick. That golden crust was forming without a single drop of oil splattering on my stovetop, and I knew my weeknight dinner game had changed forever. Now it is the one recipe my family actually asks for by name.
Last winter when my sister came over complaining about how fried chicken never turns out right at home, I made this recipe. She took one bite and literally asked if I had secretly bought it from a restaurant. Watching someone discover that healthy food can taste this indulgent is exactly why I keep cooking.
Ingredients
- 4 boneless skinless chicken breasts: Pounding them to even thickness is the secret to uniform cooking
- 1 cup panko breadcrumbs: These create a lighter crunch than regular breadcrumbs
- 2/3 cup grated parmesan cheese: Freshly grated melts better but pre-grated works in a pinch
- 1 teaspoon garlic powder: Do not skip this, it creates that savory depth everyone notices
- 1 teaspoon Italian seasoning: Dried oregano, basil, and thyme bring garden freshness
- 1/2 teaspoon paprika: Adds a subtle smokiness and beautiful golden color
- 1/2 teaspoon salt: Essential because the parmesan needs something to balance against
- 1/4 teaspoon black pepper: Freshly ground makes a noticeable difference
- 2 large eggs: Room temperature eggs coat more evenly
- 2 tablespoons milk: Whole milk creates the richest coating
- Olive oil spray: This is what transforms panko from dry to golden and crispy
Instructions
- Get your air fryer ready:
- Preheat to 400°F for 3 full minutes while you prep everything else
- Prep the chicken:
- Pat each breast dry with paper towels and pound to an even 3/4 inch thickness
- Make the dipping station:
- Whisk eggs and milk in one shallow bowl, mix all the dry ingredients in another
- Coat each piece:
- Dip chicken in egg mixture, let excess drip off, then press firmly into the parmesan crumbs
- Give it a quick spray:
- Lightly coat both sides with olive oil spray, this is what creates that restaurant quality crunch
- Air fry to perfection:
- Arrange in a single layer and cook 9 minutes, flip carefully, spray again, then finish 7 to 9 minutes more
- Let it rest:
- Wait 3 minutes before slicing so the juices redistribute throughout the meat
 Save
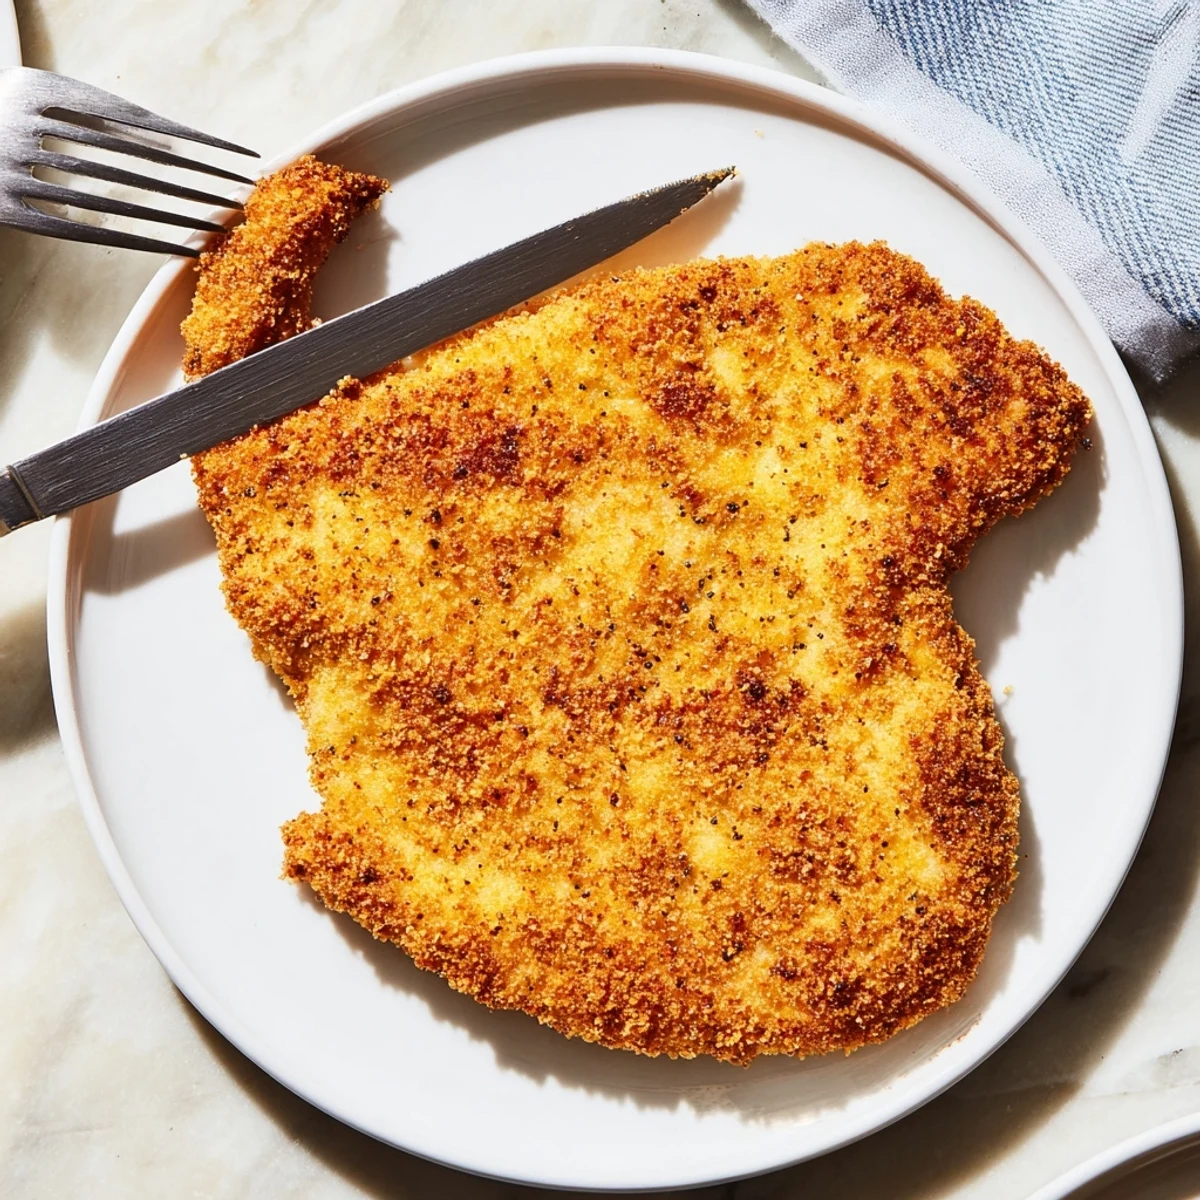
Save This recipe became my go-to for meal prep Sundays. There is something deeply satisfying about opening the fridge Monday morning and seeing those golden chicken breasts ready to transform into salads, sandwiches, or just eaten cold straight from the container.
Making The Perfect Crust
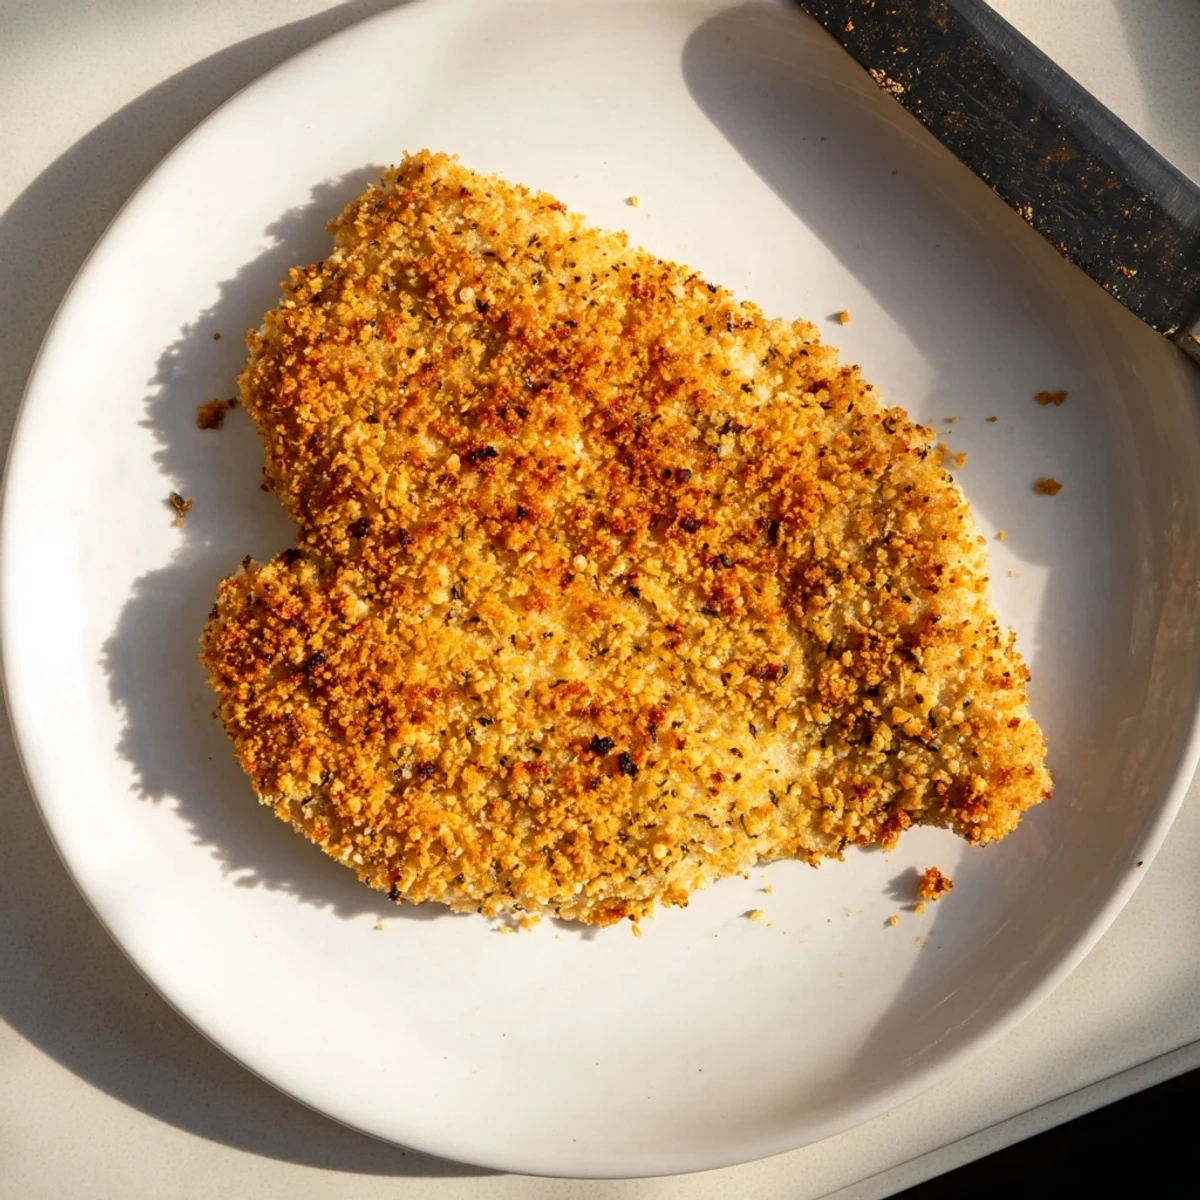
The difference between good and great comes down to pressing the breadcrumbs into the chicken. Do not just dip and go, use gentle pressure to really work that parmesan mixture into the surface. I learned this after my first batch had patchy spots that fell off during cooking.
Customization Ideas
Sometimes I add a pinch of red pepper flakes to the breading when I want a little heat. Other times I swap half the parmesan for aged asiago. The template stays the same but small tweaks keep it feeling new every time.
Serving Suggestions That Work
This chicken pairs beautifully with almost anything, but some combinations just hit different. I have learned to keep sides simple since the crust is already so flavorful.
- Lemon wedges brighten every bite and cut through the richness
- A simple arugula salad with vinaigrette balances the crispy texture
- Roasted broccoli or green beans add color without competing flavors
 Save
Save Trust me when I say this recipe will earn you more dinner requests than you know what to do with.
Recipe Questions & Answers
- → How do I get the crust to stick properly?
-
Pat the chicken completely dry before dipping. Press the breadcrumb mixture firmly onto each piece to ensure thorough coverage. A light spray of olive oil helps the breading adhere and promotes even browning.
- → Can I use chicken thighs instead of breasts?
-
Absolutely. Boneless thighs work beautifully and often yield juicier results due to their higher fat content. Adjust cooking time slightly—thighs typically need 12-14 minutes total, flipping halfway through.
- → What temperature should the chicken reach?
-
The internal temperature must reach 165°F (74°C) for safe consumption. Use a meat thermometer inserted into the thickest portion to verify doneness without overcooking.
- → How do I make this gluten-free?
-
Simply substitute regular panko with certified gluten-free panko breadcrumbs. All other ingredients, including parmesan and seasonings, are naturally gluten-free. Always verify labels to ensure no cross-contamination.
- → Why let the chicken rest before serving?
-
Resting for 3 minutes allows juices to redistribute throughout the meat, ensuring each bite remains tender and flavorful. Cutting too soon releases valuable moisture, potentially drying out the chicken.
